Ana içeriğe geç
Onarım Topluluğuna Katılın - Hesap Oluşturun

Crosley CR42 Power Cable Replacement

Neye ihtiyacın var

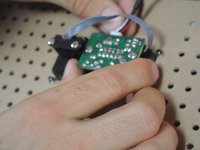
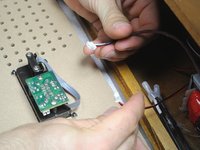
  1. Crosley CR42 Power Cable Replacement, Power Cable: adım 1, 2 resimden 1. Crosley CR42 Power Cable Replacement, Power Cable: adım 1, 2 resimden 2.
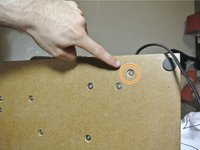
    • Turn the device around until you are looking at the line-out port.

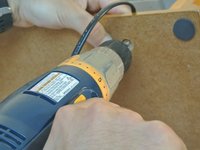
    • With a cordless drill or Phillips #0 screwdriver, remove the ten 12-mm screws.

    FixBot'a Sor

    Yorum Ekle

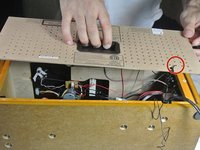
  2. Crosley CR42 Power Cable Replacement: adım 2, 3 resimden 1. Crosley CR42 Power Cable Replacement: adım 2, 3 resimden 2. Crosley CR42 Power Cable Replacement: adım 2, 3 resimden 3.
    • Gently remove the back of the device. It should be connected by two wires.

    FixBot'a Sor

    Yorum Ekle

  3. Crosley CR42 Power Cable Replacement: adım 3, 3 resimden 1. Crosley CR42 Power Cable Replacement: adım 3, 3 resimden 2. Crosley CR42 Power Cable Replacement: adım 3, 3 resimden 3.
    • Gently remove both wires.

    • After de-threading the antenna wire, remove the back of the device and set it aside.

    FixBot'a Sor

    Yorum Ekle

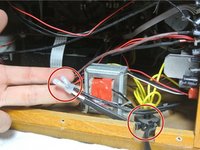
  4. Crosley CR42 Power Cable Replacement: adım 4, 3 resimden 1. Crosley CR42 Power Cable Replacement: adım 4, 3 resimden 2. Crosley CR42 Power Cable Replacement: adım 4, 3 resimden 3.
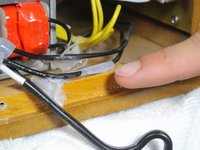
    • Locate where the power cable connects to the device.

    • Pick up the device and locate the screw holding the small black peg to the device. Unscrew it and set the screw aside.

    FixBot'a Sor

    Yorum Ekle

  5. Crosley CR42 Power Cable Replacement: adım 5, 3 resimden 1. Crosley CR42 Power Cable Replacement: adım 5, 3 resimden 2. Crosley CR42 Power Cable Replacement: adım 5, 3 resimden 3.
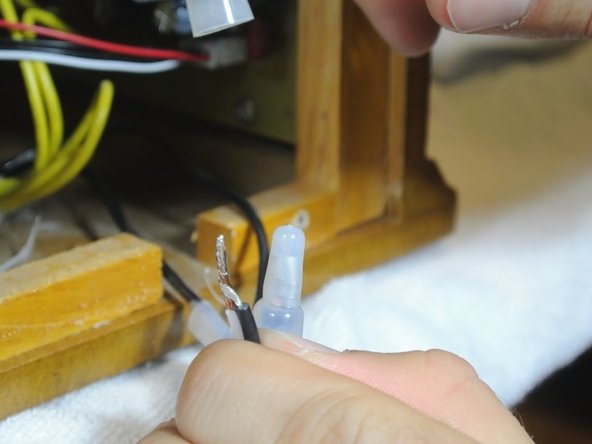
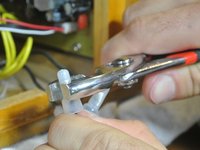
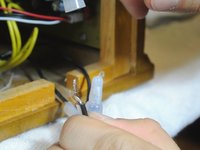
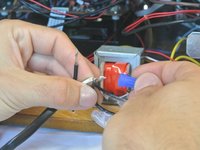
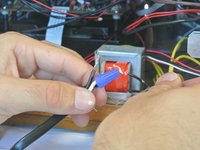
    • With the pliers, remove the wire connectors. You may need to be forceful

    • It is wise to attach a marking in order to recognize how the wires should be reattached.

    FixBot'a Sor

    Yorum Ekle

  6. Crosley CR42 Power Cable Replacement: adım 6, 3 resimden 1. Crosley CR42 Power Cable Replacement: adım 6, 3 resimden 2. Crosley CR42 Power Cable Replacement: adım 6, 3 resimden 3.
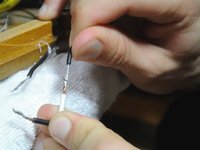
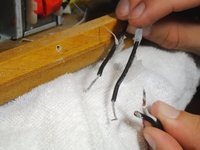
    • Pull apart both groups of wires.

    • After getting your replacement power cord, make sure you recognize how the wires should reattach.

    FixBot'a Sor

    Yorum Ekle

  7. Crosley CR42 Power Cable Replacement: adım 7, 3 resimden 1. Crosley CR42 Power Cable Replacement: adım 7, 3 resimden 2. Crosley CR42 Power Cable Replacement: adım 7, 3 resimden 3.
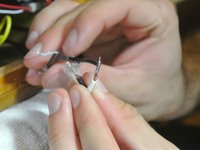
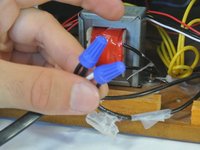
    • Twist the connecting wires together.

    • Attach the twist-on wire connectors to the exposed wires.

    FixBot'a Sor

    Yorum Ekle

Sonuç

To reassemble your device, follow these instructions in reverse order.

İptal et: Bu kılavuzu tamamlamadım.

Bir başkası bu kılavuzu tamamladı.

Eric Dybsetter

Üyelik tarihi: 01/26/14

193 İtibar

1 Kılavuz yazıldı

Ekip

Cal Poly, Team 1-38, Maness Winter 2014 Cal Poly, Team 1-38, Maness Winter 2014 üyesi

CPSU-MANESS-W14S1G38

4 Üyeler

5 adet Kılavuz yazıldı

0Kılavuz Yorumları

Yorum Ekle

İstatistikleri Görüntüle:

Son 24 Saat: 1

Son 7 gün: 8

Son 30 gün: 35

Her zaman: 6,917