Giriş
For the price of two rechargeable batteries, you can restore your Fly 12.
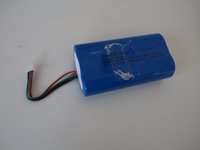
Rather than the generic 1865 batteries, why not upgrade to genuine Panasonic 1865B. They are the same size but have a higher capacity. Make sure you get the ones with solder tabs, even though they are more expensive you’ll find them easier to solder.
I bought my replacement batteries on eBay.
Neye ihtiyacın var
-
-
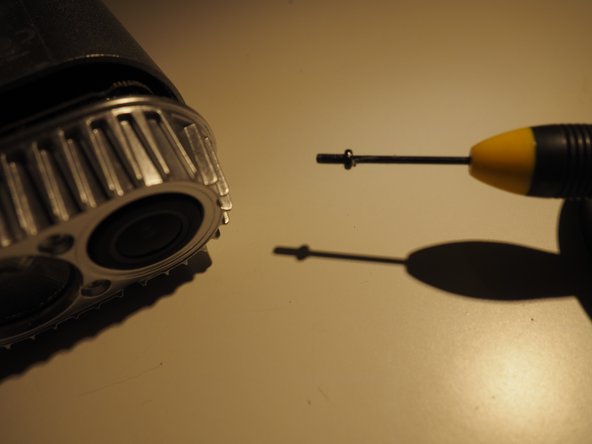
Remove the 2 silver screws from the black cover
-
Remove the 4 black screws from the camera housing
-
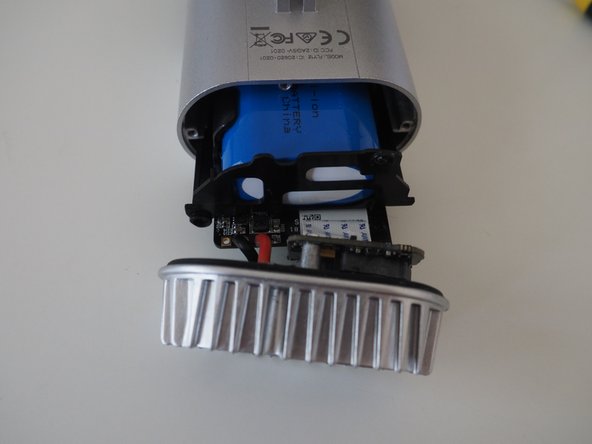
Remove the 2 screws holding the battery into the case. One is tight so you'll need to rotate the camera without pulling the wires too much
-
-
-
Carefully push through the slot above the SD card (NOT the slot I'm showing!). If you have to push hard you've probably forgotten to remove a screw. Use a match stick if you can because you are pushing on a piece of tape and don't want to tear it.
-
Push until you can grab the battery from the front and pull it.
-
-
-
-
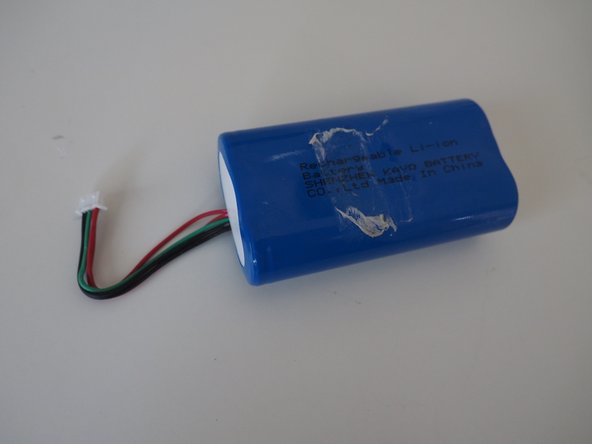
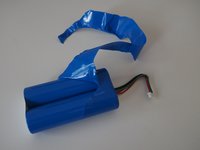
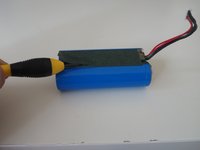
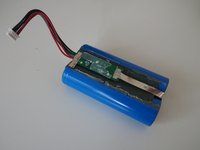
The blue battery pack is taped in. Remove it. Save the foam and double sided tape.
-
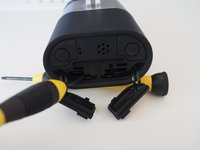
Make a note of plug orientation (maybe mark with a pen), then unplug the white clip from the board.
-
-
-
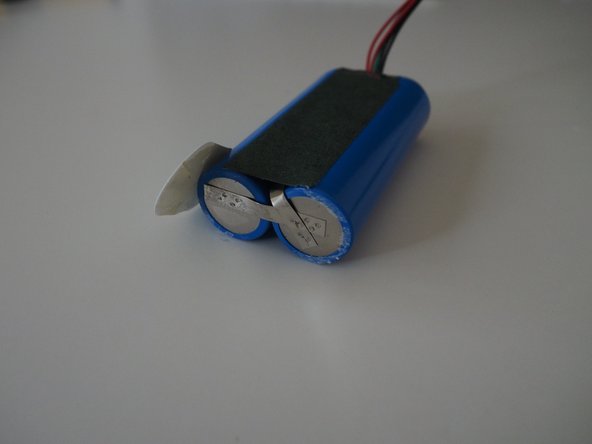
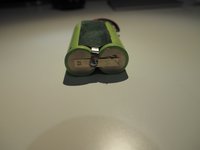
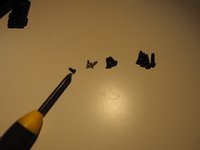
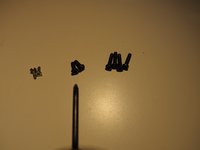
Cut the blue plastic holding the batteries together, and peel it off to reveal the black strip shown in the second pic. You'll want to keep the black strip.
-
-
-
Remove the strip of black tape to reveal the voltage regulator.
-
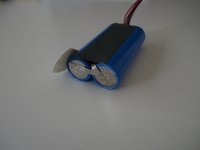
Notice how the batteries are soldered in parallel - "+ve to +ve" and "-ve to -ve". The batteries have a ridge on the +ve end. The board goes close to the +ve end with the lip.
-
Remove the voltage regulator and its attached wires. Keep it because you'll solder to the new batteries.
-
-
-
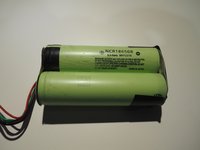
Use the battery tabs to solder the two batteries together. The tolerances around the battery pack are tight, so keep the overlaps and solder to a minimum. You solder the negative to negative so the batteries are in parallel. Take a look at the batteries and you'll see they have an indent on the body at one end.
-
Solder the voltage regulator board between the batteries. Be careful not to heat the batteries too much.
-
I used tape on the two ends of the batteries, but a heat shrink tube would work better.
-
-
-
Plug the battery pack's white clip back in.
-
Now's a good time to charge the battery and check the light works before completely reassembling.
-
-
-
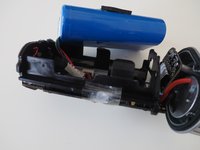
Push the board back into the case. Make sure the back USB and micro SD card flaps are attached. Check you can open the flaps when the board is pushed in.
-
The smallest single black screw goes in the back
-
The two small black screws hold the battery in. I used a bit of blue tack to hold onto the screwdriver.
-
One screw is tight to get in. I used a small flat bladed screwdriver held at an angle
-


To reassemble your device, follow these instructions in reverse order.
To reassemble your device, follow these instructions in reverse order.
İptal et: Bu kılavuzu tamamlamadım.
9 farklı kişi bu kılavuzu tamamladı.

19Kılavuz Yorumları
Thanks for putting this guide together. Mine is still working fine, but it’s nice to know it has standard batteries in it and that I should be able to replace them when required.
Thanks. These are great safety lights so it’s nice to keep them going.
I didn't find one, but I did manage to open mine.
1. Leave the side panel on, remove the micro-SD card.
2. Pry off the rear plate covering the speaker and microphones.
3. Unscrew the 4 screws now visible (under the waterproof adhesive).
4. Pry open the sub-plate those 4 screws were retaining.
5. Disconnect speaker and microphones.
6. Unscrew those 6 screws.
7. The internal should slide out freely.
At this point I removed the bar over the battery, warmed the case to help free the battery, and pried it out.
My FLY12 had sat unused for a while, and the unit wouldn't charge at all.
I opened the top of the battery, where the wires come out, and measured the voltage of the batteries before the protection circuit, it was around 2.4V. Low, but likely before actual damage occurred. I trickle charged the battery up to 3.5V, at which point the cell could be charged via the regular charging circuit.
If it comes to it, I think I could find some new pouch cells and replace the original cells, keeping the original protection board.
dhiltonp -
Worked fine. Thanks. A couple of extra points I would add. The tolerances around the battery pack are tight, so keep the overlaps and solder to a minimum. Make particular note of the plug orientation in the photos, it is possible to get it in the wrong way around. If it doesn’t fire up and give the bips straight away, or start charging when plugged in…try hitting the white reset button and try again - that worked for me.