Giriş
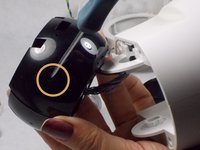
If the security camera image is not clear or does not show any picture, at first, take a look at the lens of the camera. If the lens of the camera was scratched or broken follow this replacement guide to replace the broken lens with a new one.
Neye ihtiyacın var
-
Bu adımda kullanılan alet:Tweezers$4.99
-
Remove the four rubber feet with tweezers to access the screws.
-
Remove all four 7mm screws by using a #1 Phillips screwdriver.
-
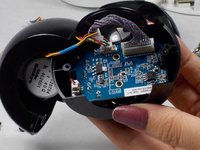
Then, with your hands, pull off the lower part of the camera body.
 FixBot'a Sor
-
-
-
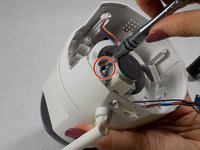
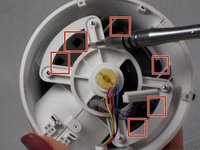
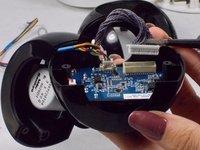
On the base motherboard, there are five connecting cables. Disconnect all of them from the motherboard gently using safety tweezers.
-
-
-
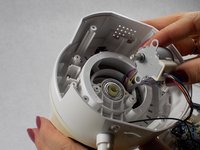
Remove the two 7mm screws holding the motor using a #1 Phillips screwdriver.
-
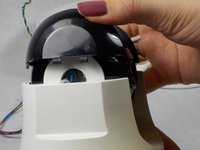
Pull off the motor and lift away the midbody of the camera using your hands.
-
-
-
-
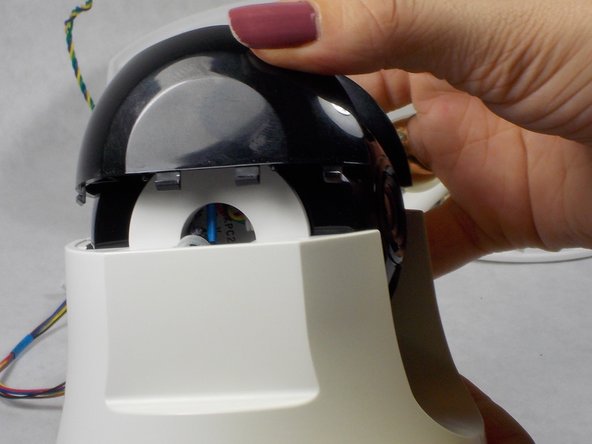
Separate the black camera shroud from the upper body by prying loose the tabs with a plastic opening tool or spudger.
-
Use your hands to wiggle the shroud free.
-
-
-
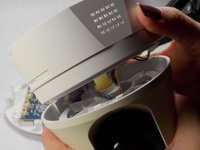
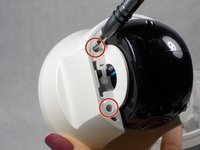
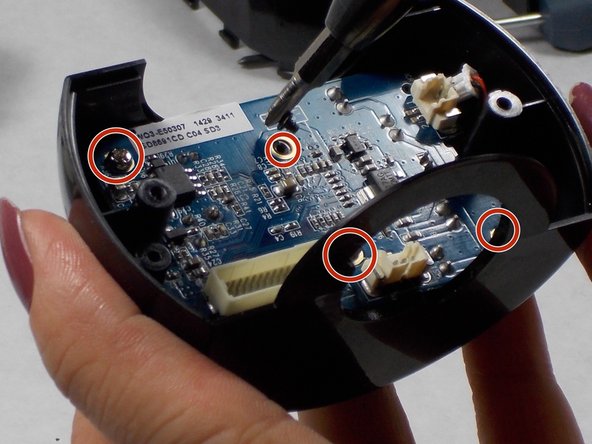
Use a #1 Phillips screwdriver to unscrew the four 5mm screws on both sides of the black camera housing to separate it from white body.
-
Unscrew the two 7mm #1 Phillips screws on both sides of the camera housing to open it.
-
-
-
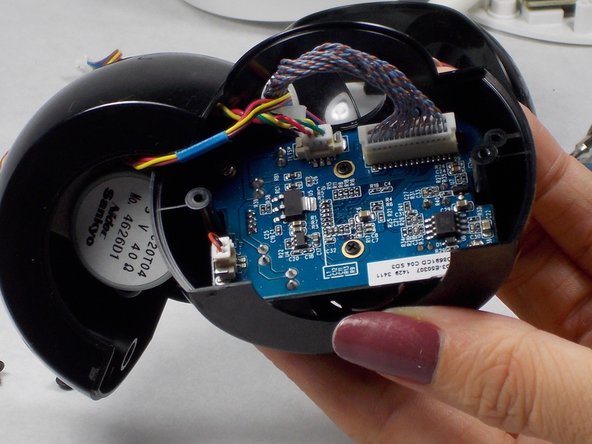
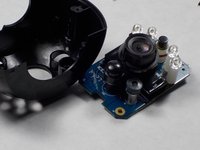
Gently disconnect the three cables from the small motherboard using safety tweezers.
-
Use a #0 Phillips screwdriver to remove the two black 2mm screws and a #1 Phillips screwdriver to remove the 2 silver 6mm screws.
-
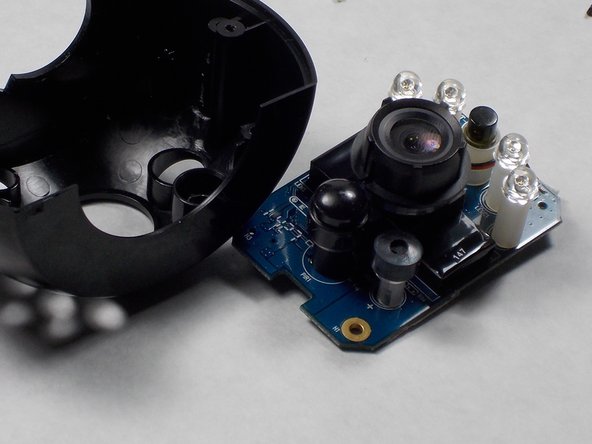
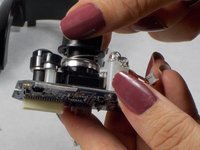
Separate the board from the black housing.
-
-
-
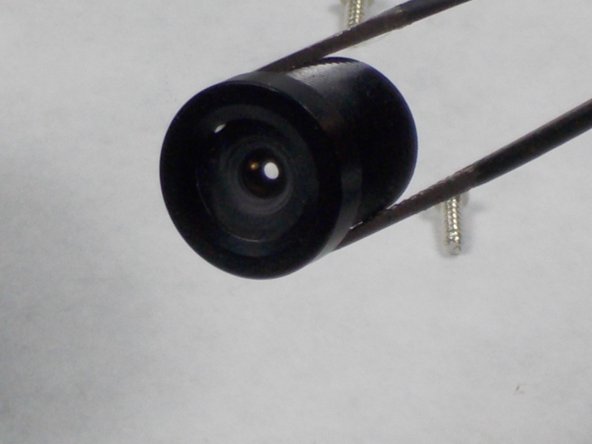
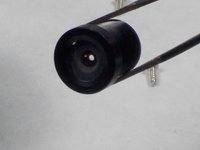
Using your fingers, remove the focus adjustment ring.
-
Twist the lens to unscrew it from the camera module.
-
Replace the broken lens with new one and reassemble all parts of the camera respectively.
-


To reassemble your device, follow these instructions in reverse order.
İptal et: Bu kılavuzu tamamlamadım.
Bir başkası bu kılavuzu tamamladı.
Ekip

UMass Dartmouth, Team S2-G5, Peak Fall 2018 UMass Dartmouth, Team S2-G5, Peak Fall 2018 üyesi
UMASSD-PEAK-F18S2G5
3 Üyeler
10 adet Kılavuz yazıldı