Ana içeriğe geç

DDX/ Copperhead Hotend Installation

  1. DDX/ Copperhead Hotend Installation, Prepare Copperhead™ Adapter: adım 1, 3 resimden 1. DDX/ Copperhead Hotend Installation, Prepare Copperhead™ Adapter: adım 1, 3 resimden 2. DDX/ Copperhead Hotend Installation, Prepare Copperhead™ Adapter: adım 1, 3 resimden 3.
    • Use 2x 2.5x6mm screws supplied with the Copperhead™ hotend.

    • Insert them in the mounting holes.

  2. DDX/ Copperhead Hotend Installation, Attach Adapter To Hotend: adım 2, 2 resimden 1. DDX/ Copperhead Hotend Installation, Attach Adapter To Hotend: adım 2, 2 resimden 2.
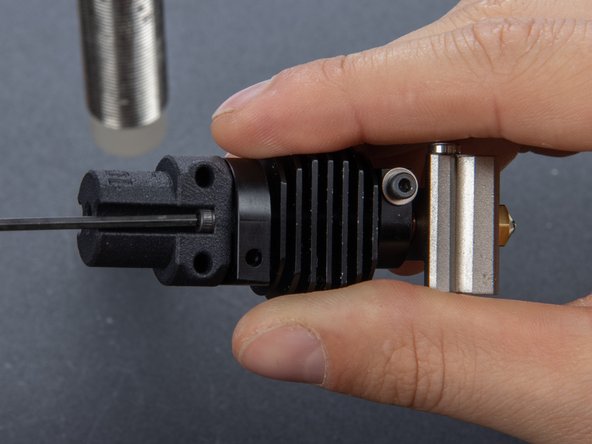
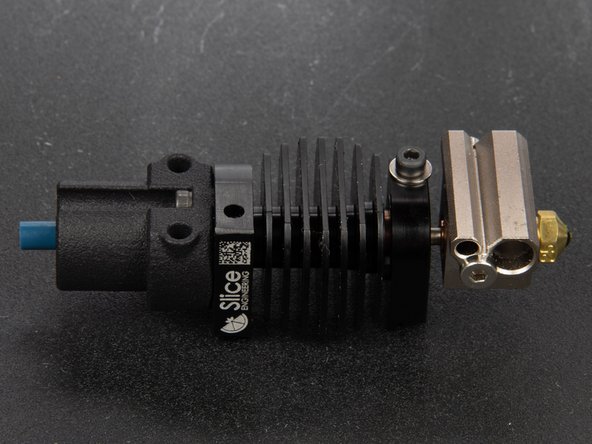
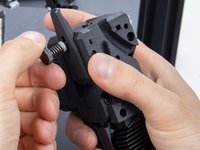
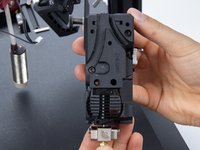
    • Attach Adapter and hotend.

    • New lineNotice the orientation of the Adapter and Hot Block.

    • These indented marks should be oriented towards the front of the DDX.

    • The fixation screws that attach the DDX to the carriage plate will enter through them.

  3. DDX/ Copperhead Hotend Installation, Prepare PTFE Tube: adım 3, 3 resimden 1. DDX/ Copperhead Hotend Installation, Prepare PTFE Tube: adım 3, 3 resimden 2. DDX/ Copperhead Hotend Installation, Prepare PTFE Tube: adım 3, 3 resimden 3.
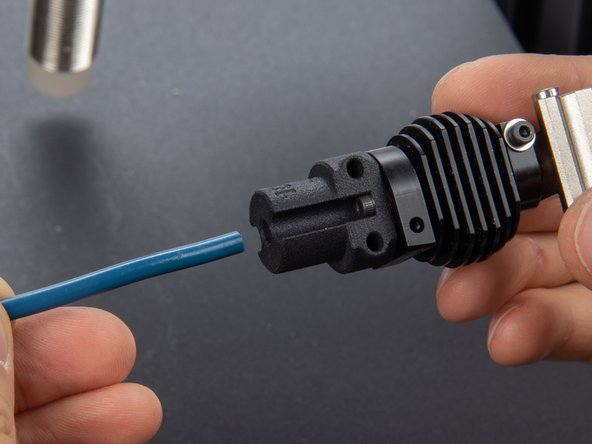
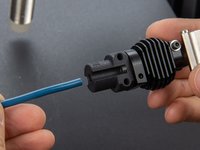
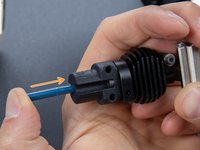
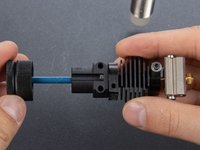
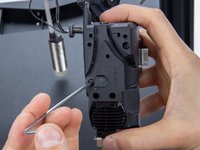
    • Insert the Capricorn tube inside the Adapter and hotend.

    • Push hard until it hits the bottom.

    • Download the PTFE cutting fixture

  4. DDX/ Copperhead Hotend Installation, Cut PTFE Tube To Spec: adım 4, 3 resimden 1. DDX/ Copperhead Hotend Installation, Cut PTFE Tube To Spec: adım 4, 3 resimden 2. DDX/ Copperhead Hotend Installation, Cut PTFE Tube To Spec: adım 4, 3 resimden 3.
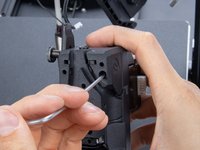
    • Insert the Capricorn tube in the cutting fixture

    • Drive it until it fits the Adapter

    • Pressing all together use the hobby knife to cut the tube straight.

    • At the end, the Capricorn should stand out about 5mm.

  5. DDX/ Copperhead Hotend Installation, Insert Copperhead™ Into DDX: adım 5, 3 resimden 1. DDX/ Copperhead Hotend Installation, Insert Copperhead™ Into DDX: adım 5, 3 resimden 2. DDX/ Copperhead Hotend Installation, Insert Copperhead™ Into DDX: adım 5, 3 resimden 3.
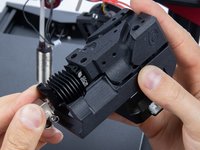
    • Spread the housing apart from 2 to 3mm

    • Insert the Copperhead™ in at an angle.

    • Push it until the mounting holes align.

  6. DDX/ Copperhead Hotend Installation, Close DDX 1/2: adım 6, 3 resimden 1. DDX/ Copperhead Hotend Installation, Close DDX 1/2: adım 6, 3 resimden 2. DDX/ Copperhead Hotend Installation, Close DDX 1/2: adım 6, 3 resimden 3.
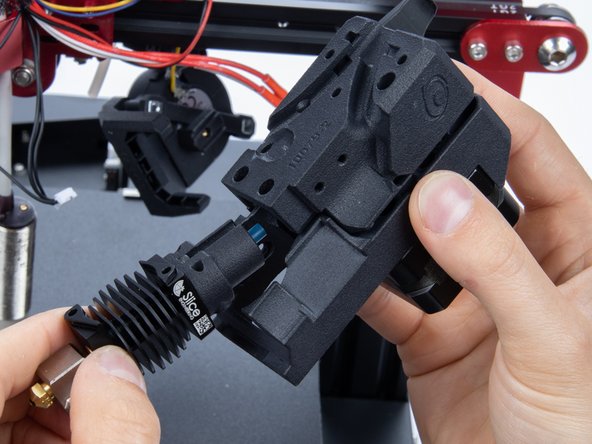
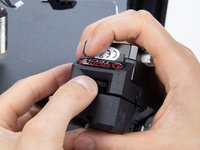
    • If when clamping the DDX the gears collide:

    • Release the thumbscrew.

    • Open the hinge.

    • Clamp both halves while rotating the main gear back and forth.

  7. DDX/ Copperhead Hotend Installation, Close DDX 2/2: adım 7, 3 resimden 1. DDX/ Copperhead Hotend Installation, Close DDX 2/2: adım 7, 3 resimden 2. DDX/ Copperhead Hotend Installation, Close DDX 2/2: adım 7, 3 resimden 3.
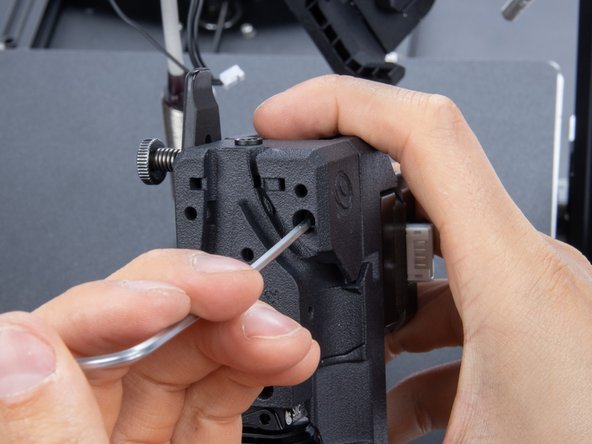
    • When the DDX closes down verify the mounting holes alignment.

    • Screw the back screws to close it.

Sonuç

To reassemble your device, follow these instructions in reverse order.

Tiny Machines 3D

Üyelik tarihi: 11/16/19

3.019 İtibar

14 adet Kılavuz yazıldı

Ekip

Tiny Machines 3D Tiny Machines 3D üyesi

Community

5 Üyeler

41 adet Kılavuz yazıldı

2Kılavuz Yorumları

where do i get the cutting fixture

Sarbartha Sengupta - Yanıt

Thanks for your questions. We’ve added a link to step 3.

Tiny Machines 3D -

Yorum Ekle

İstatistikleri Görüntüle:

Son 24 Saat: 0

Son 7 gün: 0

Son 30 gün: 6

Her zaman: 164