
DJI Phantom 2 Vision DJI Phantom 2 Vision Motor Replacement Replacement

David Rios ve 2 diğer katkıda bulunanlar
En son 23 Ara 2024 tarihinde güncellendi
Görüntüleme: 446
İstatistikleri görüntüle:
- Son 24 Saat:
- 1
- Son 7 Gün:
- 8
- Son 30 Gün:
- 68
- Her zaman:
- 446
Yorumlar: 0
Hiç kimse bu kılavuza yorum bırakmadı. Birinci olacak mısın?
Go to guide commentsTamamlandı: 0 1
Hiç kimse bu kılavuzu "tamamlandı" olarak işaretlemedi. İlk mi olacaksın?
1 kişi bu kılavuzu "tamamlandı" olarak işaretledi. Bu sensin - harika iş!
Sık Kullanılanlar: 0 1
Hiç kimse bu kılavuzu favorilere eklemedi (ve abone olmadı). İlk mi olacaksın?
1 kişi bu kılavuzu favorilerine ekledi (ve abone oldu) — ve bu sizsiniz!
Tutarsız Görseller
Bu kılavuzdaki görselleri ön koşullarla daha tutarlı olacak şekilde güncellemek, kusursuzluğunuza katkıda bulunacaktır.
Metin kafa karıştırıcı
Bu kılavuzdaki bazı metinler ya kafa karıştırıcı, ya tekrar edilmiş ya da konu dışı. Düzenleyerek daha açıklayıcı hale getirin!
Daha İyi Resimler Gerekli
Daha iyi fotoğraflar bu kılavuzu geliştirecektir. Yeni fotoğraflar çekerek, düzenleyerek ya da yükleyerek katkıda bulunun!
Hatalı İşaretlenmiş
Bu kılavuz için daha iyi işaretler gerekli. Düzelterek ya da işaret notları oluşturarak yardımcı olun.
Daha Fazla Görsel Gerekli
Biraz daha fazla görsel sayesinde bu kılavuzdaki prosedürler apaçık olacaktır.
Daha iyi giriş
Girişi tamamlayarak ya da daha iyi hale getirerek bu kılavuzu geliştirin.
Giriş
1. adıma git ↓This guide demonstrates how to remove the motors from the DJI Phantom 2 Vision. Tools needed to complete the motor removal are a hex driver and a screwdriver. When completing the disassembly make sure to clean any residue that may be surrounding the screws before beginning, as doing this will ensure no over or under-tightening of screws may occur. Also, make sure to verify the size of the screws if you plan on replacing them, they are 9mm and 6mm hex heads and one 9mm Philips head.
Note: The drone we worked on already had the propellers removed. However, you will need to remove the propellers before Step 4. Refer to the DJI Phantom 2 Vision+ Propellers Removal for detailed instructions, as the process is identical.
Neye ihtiyacın var
Parçalar
-
11.1V 5200mAh 10C LiPo Intelligent Flight BatteryOrtaklık bağlantısıAmazon tedarikçisinden satışta
Aletler


-
-
-
The battery is located on the backside of the drone. You will see a large rectangular indent protruding outward.
 FixBot'a Sor
-
-
-
Remove the battery from the compartment by pinching the top and bottom pressure points near the center and pulling the battery towards you.
-
-
-
-
-
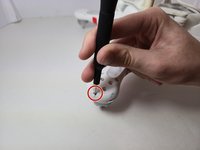
Remove the 4 hex screws(9mm) using a #2 Allen head bit, under the motor on each arm of the drone, then the 2 hex screws (6mm) next to those previous 4.
-
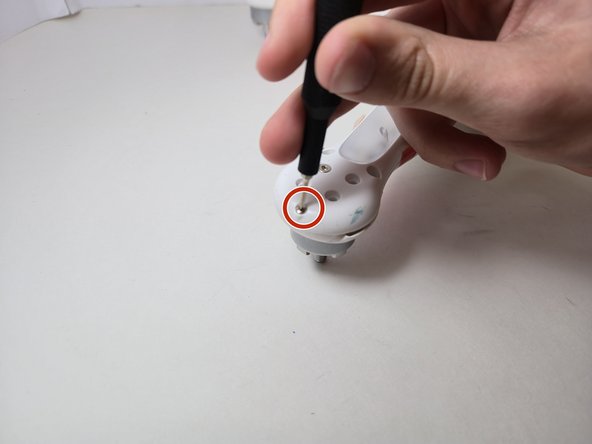
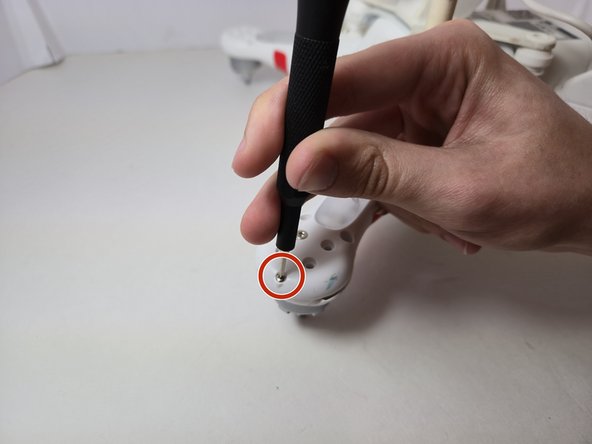
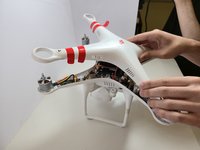
Remove the final hex screw(9mm) using #2 located next to the landing gear legs, then use a screwdriver to remove the 1 Philips head screw(9mm) on each arm using a 00 Philips Bit head.
-
-
-
-
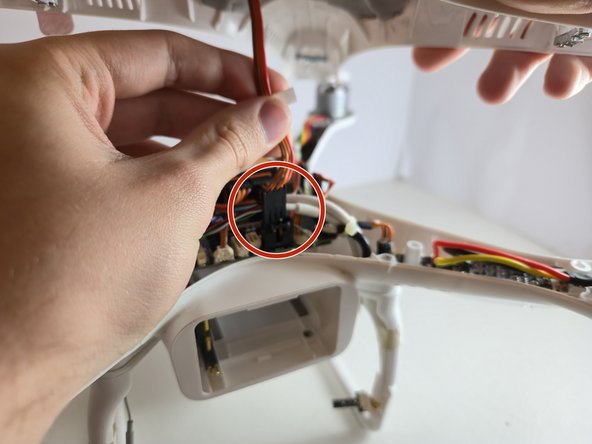
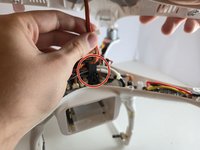
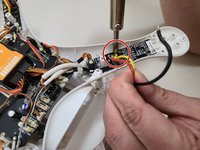
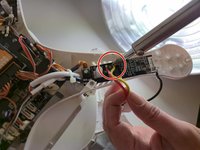
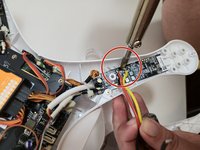
Use a soldering iron to remove the solder wire from the old motor off of the board.
-





To reassemble your device, follow these instructions in reverse order.

Ekip

Austin Community College, Team 7-1, Watkins Fall 2024 Austin Community College, Team 7-1, Watkins Fall 2024 üyesi
AUSTINCC-WATKINS-F24S7G1
4 Üyeler
60 adet Kılavuz yazıldı
