Giriş
If the coffee becomes thin, the grindstones may have become blunt. The beans are then only crushed and not cut, making the coffee less aromatic and thin. This can already happen after about 10000 cups. In DeLonghi machines, unfortunately, the entire grinder must be replaced, since the grindstones are not available as spare parts. A hint on how to replace the grindstones is given in this guide: DeLonghi Kaffeemaschine Mahlsteine tauschen
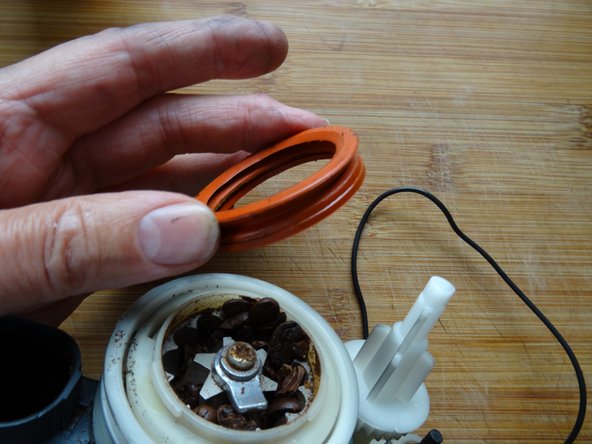
Please also refer to our wiki DeLonghi grinder jammed.
Neye ihtiyacın var
-
-
Remove all attachments such as water tank, pulp drawer, brew group.
-
Turn the machine with the back facing you.
-
Remove five Torx T20 security screws.
-
-
-
Push the side panel back about 1.5 cm.
-
Lift off the panel.
-
The following compononents are exposed:
-
Heater
-
Expansion chamber
-
Gear drive
-
Steam valve
-
-
-
-
Depending on the model, the steam tap/water spout must be removed, there are slight differences here.
-
Pull out the plastic clip on the steam nozzle.
-
Pull the steam nozzle out towards you.
-
-
-
If you haven't already done so, also detach the right-hand cover on the water tank.
-
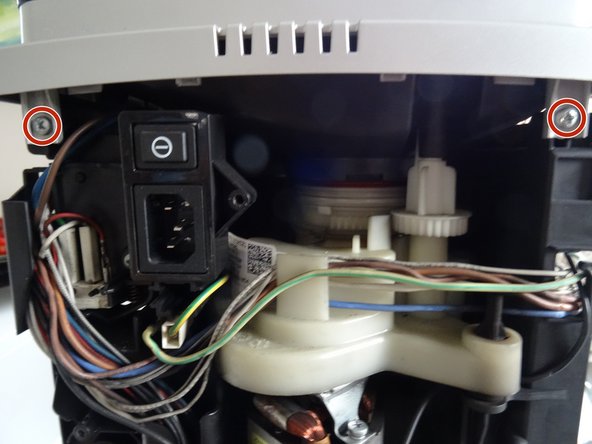
Remove the four Phillips screws securing the top cover.
-
Lift the top cover up a bit. That might be a bit sticky.
-
If there is a cup warmer, then unscrew the nut SW7 with which the two green-yellow cables are connected and loosen it. The two brown cables on the other side can stay if you just put the cover on top.
-
Place the top cover on top, or remove it entirely.
-
-
-
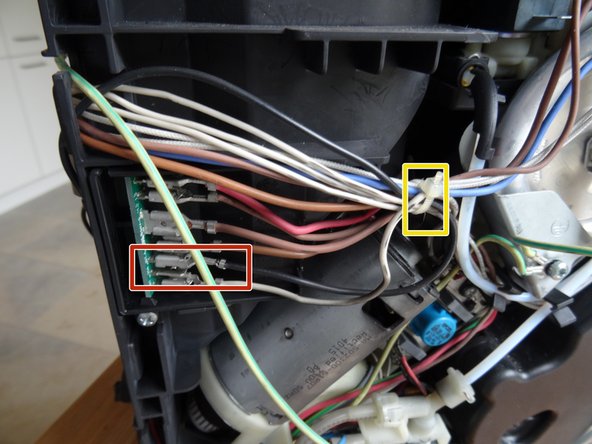
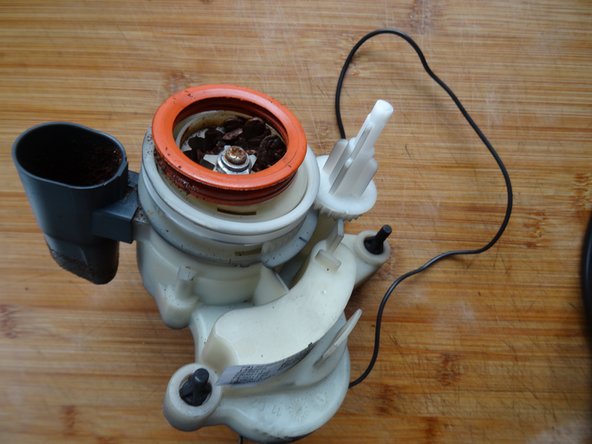
Turn the machine so that the grinder faces you. The grinder stands in the machine without further attachment. You only have to follow the course of the two black connection cables and disconnect the plugs.
-
Turn the machine so that the left side is facing you.
-
The black cable is part of the cable bundle. Cut the cable tie first. Replace it with a new one when reassembling.
-
Loosen the flat plug at the end of the black cable. You have to push in a small catch on the connector.
-
Remove the black cable.
-
-
-
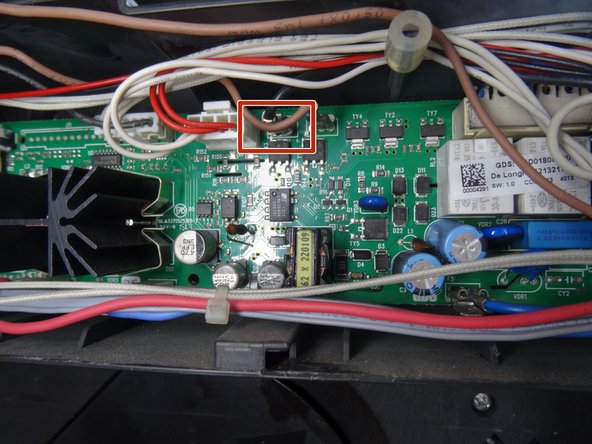
Turn the machine so that the other side is facing you. The second black cable leads from the back to the control board.
-
Cut the cable tie on the cable bundle here as well. Replace it with a new one when reassembling.
-
Pull off the flat plug at the end of the cable. You have to push in a small catch on the connector.
-
Remove the second black cable.
-


Follow this guide in reverse order to reassemble your device.
Follow this guide in reverse order to reassemble your device.
İptal et: Bu kılavuzu tamamlamadım.
2 farklı kişi bu kılavuzu tamamladı.
Bu çevirmenlere özel teşekkürler:
100%

oldturkey03 dünyayı onarmamıza yardım ediyor! Katkıda bulunmak ister misiniz?
Çeviriye Başlayın ›
Ekip

Repair is War on Entropy Repair is War on Entropy üyesi
Community
27 Üyeler
1.209 adet Kılavuz yazıldı
2 Yorum
Thanks , just needed to replace grinder in magnifica S ECAM 22.110.SB.
Different machine but very similar.
In all that you have shown above; it all helped thanks but also made me look
more at the individual parts and how its put together.
What I needed as the machine is 8 years old so I'll either be replacing a lot of parts or
buying a new machine.