Giriş
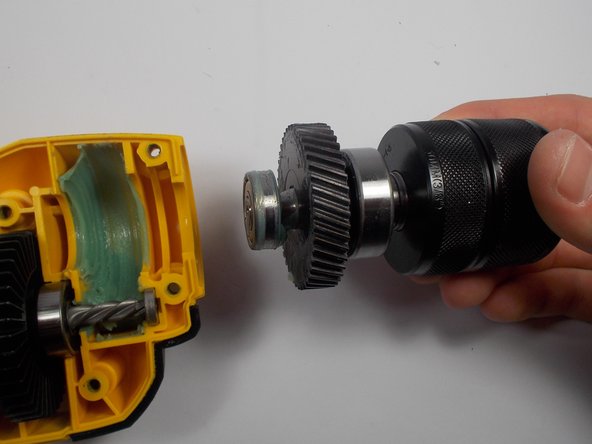
The chuck holds the drill bit in place—and if the chuck becomes broken, the drill serves no function. Use this guide to replace a damaged or broken chuck in the DeWalt DWD112.
Neye ihtiyacın var


To reassemble your device, follow these instructions in reverse order.
To reassemble your device, follow these instructions in reverse order.
İptal et: Bu kılavuzu tamamlamadım.
Bir başkası bu kılavuzu tamamladı.
Ekip

UMass Dartmouth, Team 2-3, Isaacson Spring 2016 UMass Dartmouth, Team 2-3, Isaacson Spring 2016 üyesi
UMASSD-ISAACSON-S16S2G3
3 Üyeler
6 adet Kılavuz yazıldı
1Rehber Yorum
Or actually read the manual, and find you can use an allen wrench with no dissasembly at all.