Ana içeriğe geç
Onarım Topluluğuna Katılın - Hesap Oluşturun

Dell E193FPc Inverter Board Replacement

Neye ihtiyacın var

    1. Dell E193FPc Inverter Board Replacement, Stand: adım 1, 1 resimden 1.
      • Lay the monitor screen-down so the back screws are exposed.

      • Remove the four 11.9 mm Phillips #2 screws securing the stand to the back of the monitor.

      FixBot'a Sor

      Yorum Ekle

    2. Dell E193FPc Inverter Board Replacement: adım 2, 1 resimden 1.
      • Gently lift and pull away the stand at a slight angle away from the monitor.

      FixBot'a Sor

      Yorum Ekle

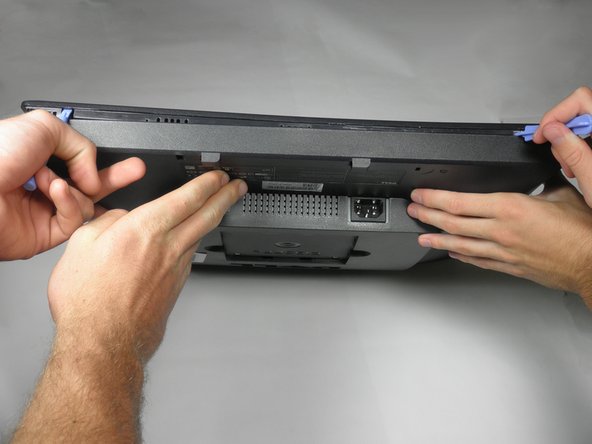
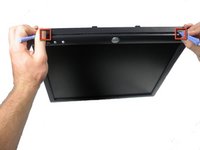
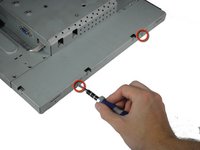
    1. Dell E193FPc Inverter Board Replacement, Display Bezel: adım 3, 2 resimden 1. Dell E193FPc Inverter Board Replacement, Display Bezel: adım 3, 2 resimden 2.
      • Locate the two holes on the bottom of the monitor.

      • Insert a plastic opening tool or spudger into the holes and gently pry the plastic apart along the groove.

      • This task is much easier if two people pry simultaneously at each hole.

      • Continue prying along the entire edge of the monitor.

      FixBot'a Sor

      Yorum Ekle

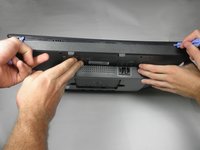
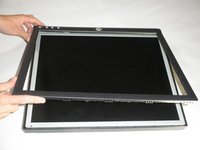
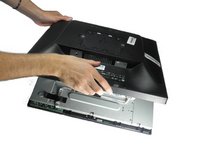
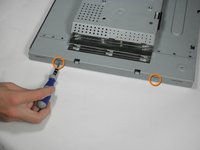
    2. Dell E193FPc Inverter Board Replacement: adım 4, 2 resimden 1. Dell E193FPc Inverter Board Replacement: adım 4, 2 resimden 2.
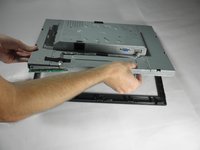
      • When finished prying, the plastic will partially fall away from the rest of the monitor.

      • Do not try to fully remove the front frame yet. The frame is still attached to the buttons.

      • While holding the frames together, carefully flip the monitor over so it faces screen down.

      • Gently lift and remove remove the rear case from the monitor.

      FixBot'a Sor

      Yorum Ekle

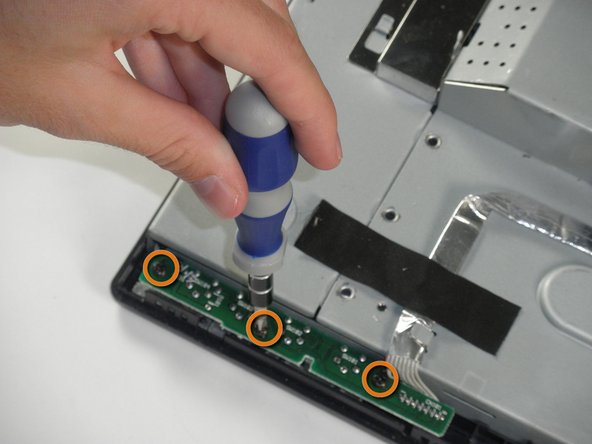
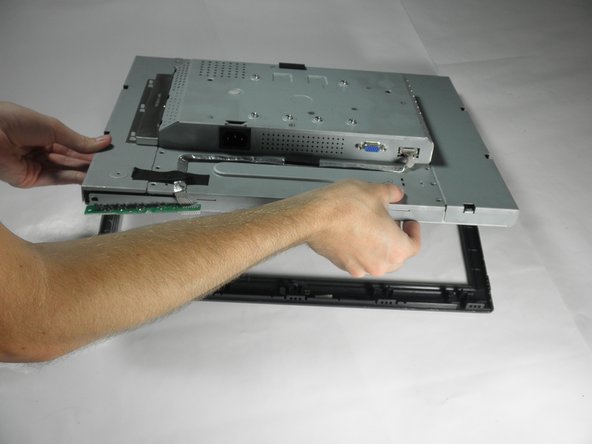
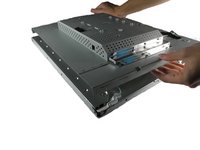
    3. Dell E193FPc Inverter Board Replacement: adım 5, 3 resimden 1. Dell E193FPc Inverter Board Replacement: adım 5, 3 resimden 2. Dell E193FPc Inverter Board Replacement: adım 5, 3 resimden 3.
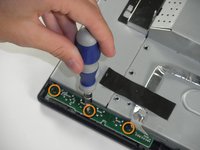
      • Locate the green interface button board.

      • Remove the three 9.71 mm Phillips #2 screws holding the interface button board to the display bezel.

      • Lift the monitor interior away from the front cover.

      FixBot'a Sor

      Yorum Ekle

    1. Dell E193FPc Inverter Board Replacement, Inverter Board: adım 6, 3 resimden 1. Dell E193FPc Inverter Board Replacement, Inverter Board: adım 6, 3 resimden 2. Dell E193FPc Inverter Board Replacement, Inverter Board: adım 6, 3 resimden 3.
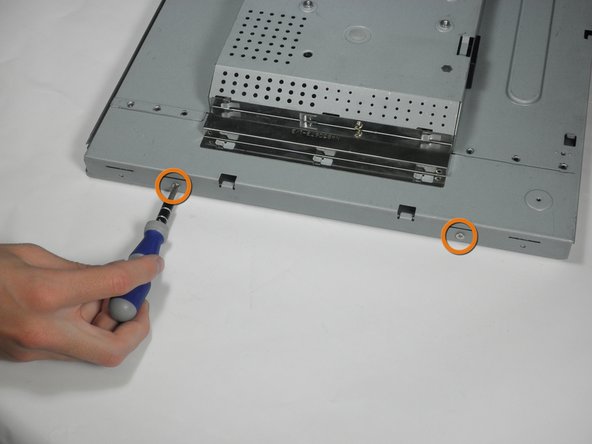
      • With the monitor facing down, remove the two 5.81 mm Phillips #2 screws on the right side of the metal casing.

      • With the monitor still facing down, remove the two 5.81 mm Phillips #2 screws on the left side of the casing.

      • Do attempt to pull apart the casing. There are still wires holding the front and back together.

      FixBot'a Sor

      Yorum Ekle

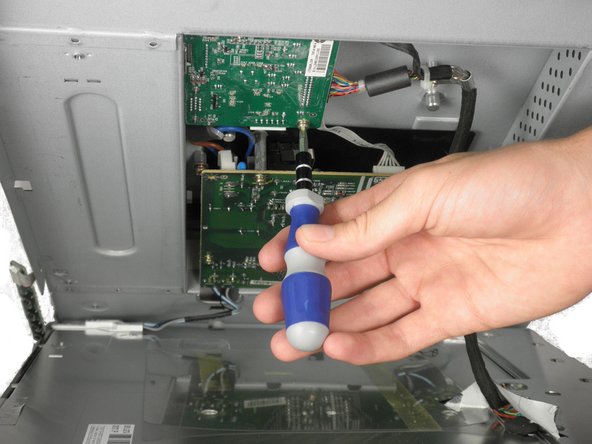
    2. Dell E193FPc Inverter Board Replacement: adım 7, 1 resimden 1.
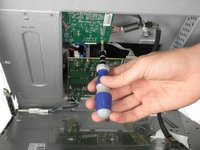
      • Using a 5 mm nut driver, unscrew the VGA port's mounting screws from the metal casing.

      FixBot'a Sor

      Yorum Ekle

    3. Dell E193FPc Inverter Board Replacement: adım 8, 1 resimden 1.
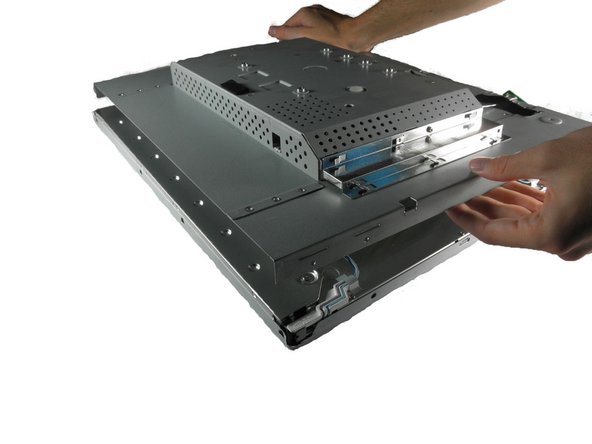
      • With the monitor facing down, gently lift the back case away from the rest of the monitor to expose the inverter board and mother board.

      • Recall that the casing is still held together by several wires. Do not attempt to fully remove the back casing.

      FixBot'a Sor

      Yorum Ekle

    4. Dell E193FPc Inverter Board Replacement: adım 9, 2 resimden 1. Dell E193FPc Inverter Board Replacement: adım 9, 2 resimden 2.
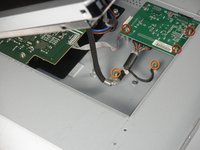
      • The inverter board is the smaller board in the corner.

      • Remove the three 7.69 mm Phillips #2 screws from the inverter board.

      • Remove the two 7.69 mm Phillips #2 grounding screws from the wire with the black connector.

      • Gently pull the inverter board away from the case. Note that the board is still connected to several components by wires.

      FixBot'a Sor

      Yorum Ekle

    5. Dell E193FPc Inverter Board Replacement: adım 10, 2 resimden 1. Dell E193FPc Inverter Board Replacement: adım 10, 2 resimden 2.
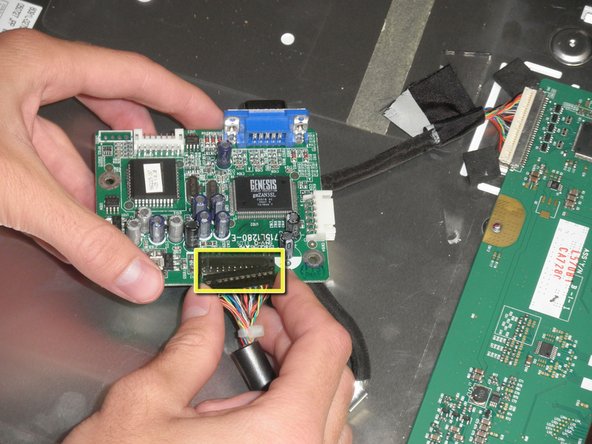
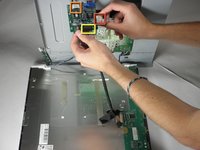
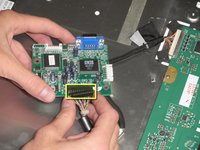
      • There is a wire connecting the motherboard to the inverter board. Squeeze both sides of the connector and pull to remove it from the socket.

      • There is another wire connecting the button board to the inverter board. Remove the second white wire connector.

      • A third wire connects the inverter board to the screen circuit board. Remove the black wire connector.

      • The inverter board can now be fully removed.

      FixBot'a Sor

      Yorum Ekle

Sonuç

To reassemble your device, follow these instructions in reverse order.

İptal et: Bu kılavuzu tamamlamadım.

3 farklı kişi bu kılavuzu tamamladı.

Mackenzie Keane

Üyelik tarihi: 10/04/11

523 İtibar

5 adet Kılavuz yazıldı

Ekip

Cal Poly, Team 5-36, Amido Fall 2011 Cal Poly, Team 5-36, Amido Fall 2011 üyesi

CPSU-AMIDO-F11S5G36

4 Üyeler

24 adet Kılavuz yazıldı

0Kılavuz Yorumları

Yorum Ekle

İstatistikleri Görüntüle:

Son 24 Saat: 1

Son 7 gün: 6

Son 30 gün: 34

Her zaman: 5,432