Bu sürüm, hatalı düzenlemeler içerebilir. En son doğrulanmış bellek kopyası dönün.
Neye ihtiyacın var
-
Bu adım çevrilmemiş. Çevrilmesine yardım edin
-
Close the computer display and turn the computer over so that the base of the computer is facing up.
-
-
Bu adım çevrilmemiş. Çevrilmesine yardım edin
-
Remove the ten screws that secure the base cover to the base of the computer.
-
-
Bu adım çevrilmemiş. Çevrilmesine yardım edin
-
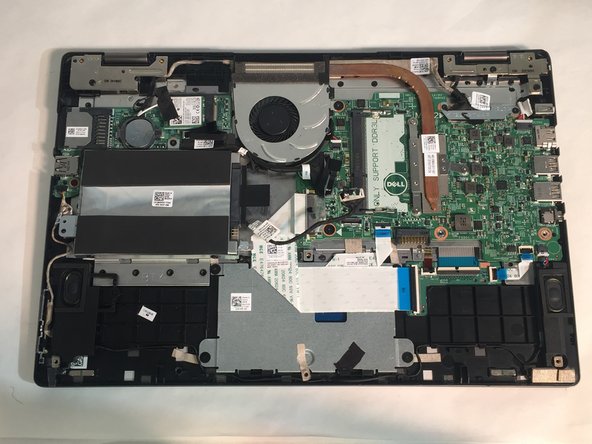
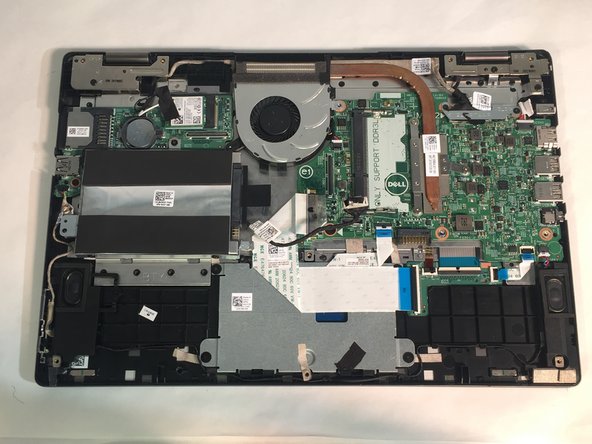
Using a plastic scribe (plastic opening tool), pry the base cover off of the base of the computer.
-
-
Bu adım çevrilmemiş. Çevrilmesine yardım edin
-
Remove the two M2 3mm screws attaching the battery using the Phillips #1 screwdriver.
-
Remove the battery.
-
-
-
Bu adım çevrilmemiş. Çevrilmesine yardım edin
-
Pry open the two clips.
-
Gently lift the RAM stick and pull it out of the motherboard.
-
-
Bu adım çevrilmemiş. Çevrilmesine yardım edin
-
Unplug the daughterboard cable in two places, then remove the daughterboard.
-
Unplug the fan cable.
-
-
Bu adım çevrilmemiş. Çevrilmesine yardım edin
-
Remove two 3mm screws from the cooling fan using the Phillips #1 screwdriver.
-
Remove the cooling fan from the laptop.
-
-
Bu adım çevrilmemiş. Çevrilmesine yardım edin
-
Remove three 2mm screws from the heat sink using a Phillips #0 screwdriver.
-
Remove the heat sink.
-
-
Bu adım çevrilmemiş. Çevrilmesine yardım edin
-
Remove 2 M2 3mm bracket screws, using the Phillips 1 screwdriver, on the LCD cable bracket.
-
Remove the bracket on the LCD cable.
-
-
Bu adım çevrilmemiş. Çevrilmesine yardım edin
-
Remove the plug of the LCD cable.
-
Remove the plug of the touchscreen cable.
-
-
Bu adım çevrilmemiş. Çevrilmesine yardım edin
-
Remove the plug of the DC Jack cable.
-
Remove the plug of the speaker cable.
-
-
Bu adım çevrilmemiş. Çevrilmesine yardım edin
-
Loosen the top of the keyboard tape.
-
Loosen the latches of the keyboard cable with a screwdriver.
-
Remove the plug of the keyboard cable.
-
-
Bu adım çevrilmemiş. Çevrilmesine yardım edin
-
Remove the plug of the touchpad cable.
-
Remove the plug of the keyboard backlight cable.
-
-
Bu adım çevrilmemiş. Çevrilmesine yardım edin
-
Remove one M2 2mm wafer screw, using the Phillips 1 screwdriver, from the motherboard.
-
Remove the motherboard.
-


İptal et: Bu kılavuzu tamamlamadım.
2 farklı kişi bu kılavuzu tamamladı.
Ekip

University of Memphis, Team S2-G2, Kim Spring 2018 University of Memphis, Team S2-G2, Kim Spring 2018 üyesi
UM-KIM-S18S2G2
3 Üyeler
5 adet Kılavuz yazıldı