Giriş
If your Dell Inspiron 13z 5323 cooling fan is no longer running and/or your Dell Inspiron is overheating, use this guide to remove the cooling fan so that you can check for damages and look at different options for replacing or fixing it.
The cooling fan is one of the only ways to cool down the internal technology for any laptop, therefore faulty cooling fans can cause damage to the laptop components and slow it down.
Before using this guide to remove the cooling fan from your Dell Inspiron 13z 5323, please check to make sure that there isn't any internal debris that may be blocking the vents of the laptop. Test to make sure that your fan either isn't running or that the fan isn't cooling down the laptop fast enough.
Please be sure to disconnect any external power sources to the laptop and make sure it is completely powered off before beginning work.
Neye ihtiyacın var
-
-
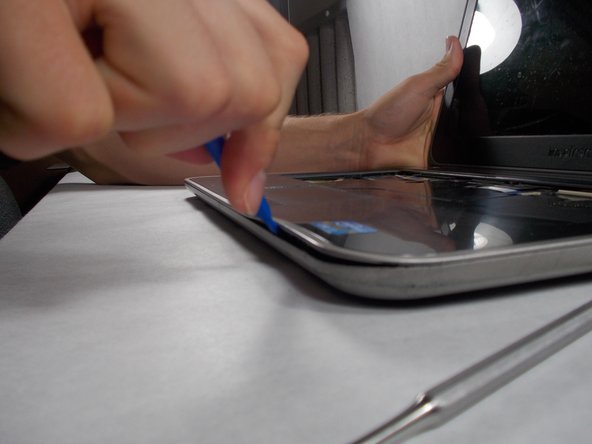
First flip the device over, so the bottom is facing you. Then you will remove the 9 red highlighted screws.
-
The orange highlighted screw is held in place with a washer, so when it is loosened and the plate is removed, the screw will stay in the plate.
-
Once the orange screw is loosened you can then remove the small plate on the bottom of the device.
-
-
-
There are 3 slots on the top of the keyboard where you will have to use a thin tool, such as a small flathead screwdriver to push the tabs so the keyboard will pop out.
-
You will have to flip a small tab up where this thin wire goes into the insert, so the wire can be released and the keyboard can be removed.
-
-
-
-
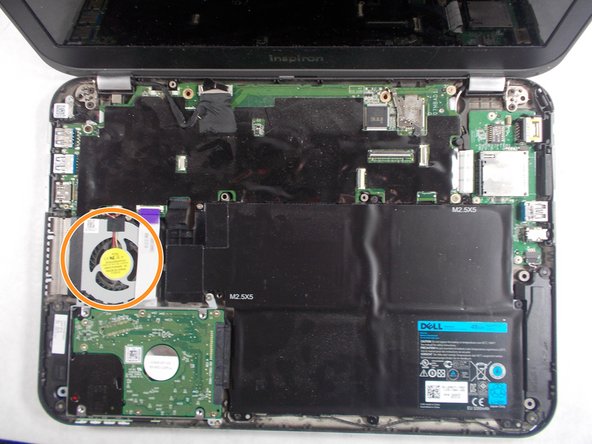
Remove the screw holding the fan in place.
-
Once the screw is removed, use tweezers to pull on the tab as shown. Lift up on the tab to create separation between the fan and the rest of the laptop.
-
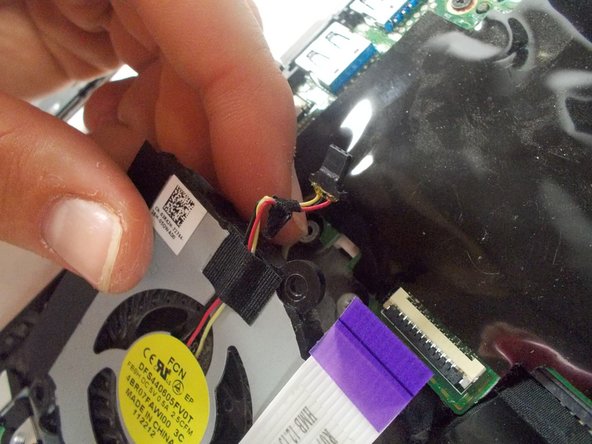
The purple tabbed ribbon connector will have to be released, as it prohibits the fan from being separated from the system. You can do so, by lifting the small tab identical to the ribbon connector used to keep the keyboard in place.
-
Detach the wires connecting the fan as shown to the laptop. Once they are free, the fan can be taken out.
-


To reassemble your device, follow these instructions in reverse order.
To reassemble your device, follow these instructions in reverse order.
Ekip

UMass Dartmouth, Team S5-G6, Botvin Spring 2017 UMass Dartmouth, Team S5-G6, Botvin Spring 2017 üyesi
UMASSD-BOTVIN-S17S5G6
3 Üyeler
4 adet Kılavuz yazıldı