Bu kılavuzda güncel değişiklikler var. En son onaylanmamış sürüme geçin.
Giriş
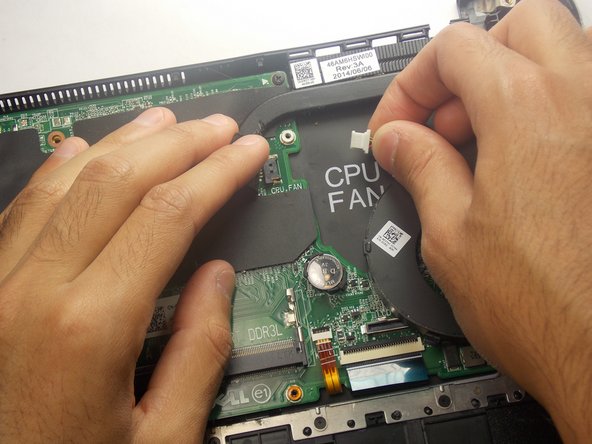
The CPU fan makes sure your CPU does not overheat. This guide shows the process of removing the CPU fan from the Dell Inspiron 15-7547.
Neye ihtiyacın var
-
-
Close the display and flip the laptop on its back.
-
Loosen the ten 5.0 mm-long Phillips #0 screws.
-
The four screws marked with orange will remain captive to the cover.
-
-
-
-
Remove the two 5.0 mm-long Philips #0 screws from the fan.
-
The screw marked in orange will remain captive to the fan.
-


To reassemble your device, follow these instructions in reverse order.
To reassemble your device, follow these instructions in reverse order.
Ekip

Appalachian State University, Team S2-G4, Menagarishvili Fall 2018 Appalachian State University, Team S2-G4, Menagarishvili Fall 2018 üyesi
APSU-MENAGARISHVILI-F18S2G4
3 Üyeler
10 adet Kılavuz yazıldı