Giriş
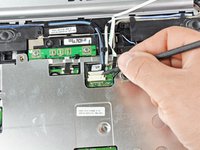
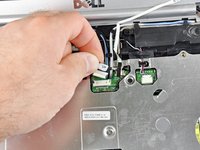
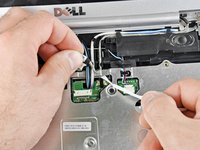
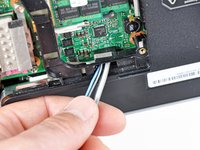
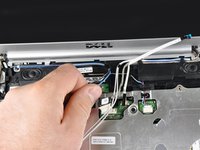
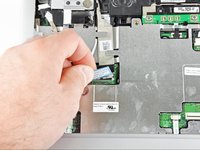
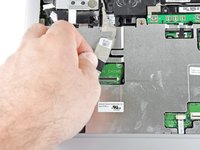
Use this guide to help you replace the display assembly on a Dell Inspiron 1525.
Neye ihtiyacın var
-
-
Remove the two 4.00 mm Phillips #1 screws from the battery tray.
-
-
-
-
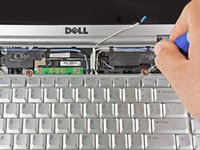
Remove the two 5.75 mm Phillips #1 screws securing the keyboard to the laptop.
-
Gently slide the keyboard towards the display until the tabs on its front side are free.
-
-
-
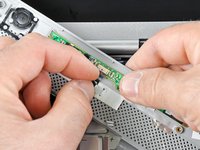
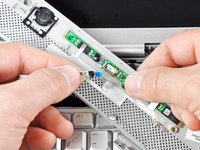
Use a spudger to gently lift the ribbon cable retaining flap.
-
Disconnect the ribbon cable.
-
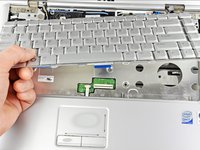
Shift the keyboard sideways enough to free one side from it's retaining tab. Then lift the keyboard away from the laptop.
-
-
-
Remove/loosen the eight 4.80 mm Phillips #1 screws securing the bottom panel.
-
The screws may only need to be loosened, as they are generally retained by plastic washers.
-
Remove the bottom panel.
-
-
-
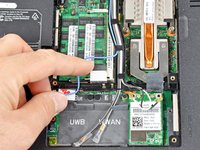
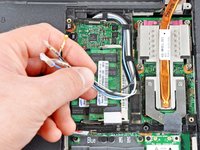
Disconnect the five antennas from their respective cards.
-
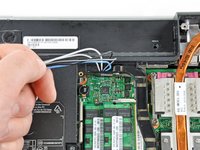
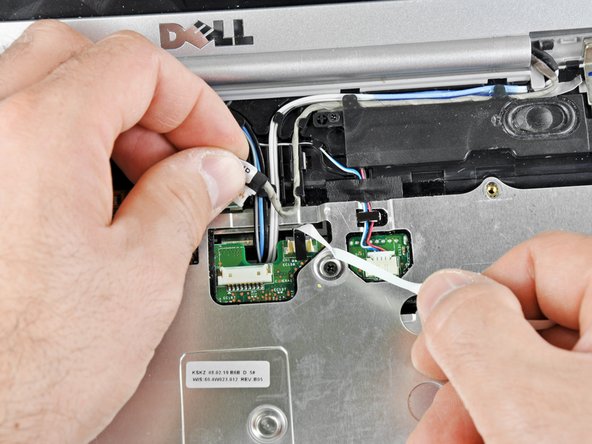
De-route the antennas from their routing retainers.
-
To reassemble your device, follow these instructions in reverse order.
To reassemble your device, follow these instructions in reverse order.
İptal et: Bu kılavuzu tamamlamadım.
8 farklı kişi bu kılavuzu tamamladı.
1Rehber Yorum
Hi There,
Thanks for the great article. Can you please advise what is the part number (LCD number). For example I have LTN156AT17-101 for my Inspiron N5110. I am actually planning to use the screen from 1525 to replace the one in N5110. Are they both same connector type? Thanks.


