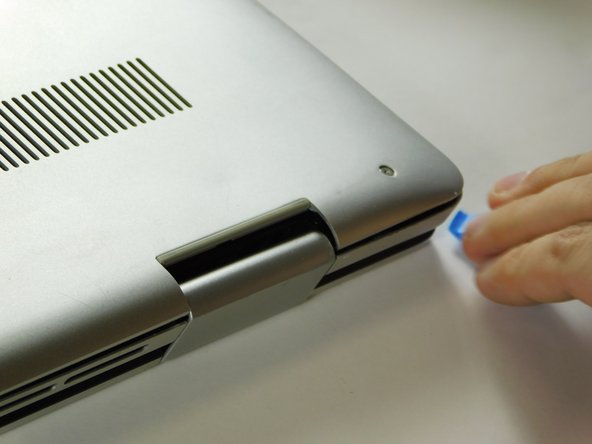
Ana içeriğe geç

Dell Inspiron 17" 7786 2-in-1 Wireless Card (NIC) Replacement

Neye ihtiyacın var

  1. Dell Inspiron 17" 7786 2-in-1 Wireless Card (NIC) Replacement, Base Cover: adım 1, 2 resimden 1. Dell Inspiron 17" 7786 2-in-1 Wireless Card (NIC) Replacement, Base Cover: adım 1, 2 resimden 2.
    • Remove the eight M2 5mm screws that secure the base cover using a Phillips #0 screwdriver.

  2. Dell Inspiron 17" 7786 2-in-1 Wireless Card (NIC) Replacement: adım 2, 2 resimden 1. Dell Inspiron 17" 7786 2-in-1 Wireless Card (NIC) Replacement: adım 2, 2 resimden 2.
    • Loosen the three captive screws that secure the base closer to the hinges.

    • Do not attempt to remove the three captive screws! You need only to loosen them. They're supposed to stay on the base cover.

  3. Dell Inspiron 17" 7786 2-in-1 Wireless Card (NIC) Replacement: adım 3, 3 resimden 1. Dell Inspiron 17" 7786 2-in-1 Wireless Card (NIC) Replacement: adım 3, 3 resimden 2. Dell Inspiron 17" 7786 2-in-1 Wireless Card (NIC) Replacement: adım 3, 3 resimden 3.
    • Carefully pry the base cover using an iFixit opening tool in the crevice near the hinges. Guide the pick along the edges and slightly lift upwards as you go along.

    • Do not start from the speaker end of the edges when opening, or you may cause further damage to your device!

  4. Dell Inspiron 17" 7786 2-in-1 Wireless Card (NIC) Replacement: adım 4, 3 resimden 1. Dell Inspiron 17" 7786 2-in-1 Wireless Card (NIC) Replacement: adım 4, 3 resimden 2. Dell Inspiron 17" 7786 2-in-1 Wireless Card (NIC) Replacement: adım 4, 3 resimden 3.
    • Carefully remove the base cover from the laptop.

  5. Dell Inspiron 17" 7786 2-in-1 Wireless Card (NIC) Replacement, Wireless Card (NIC): adım 5, 3 resimden 1. Dell Inspiron 17" 7786 2-in-1 Wireless Card (NIC) Replacement, Wireless Card (NIC): adım 5, 3 resimden 2. Dell Inspiron 17" 7786 2-in-1 Wireless Card (NIC) Replacement, Wireless Card (NIC): adım 5, 3 resimden 3.
    • Remove the screw holding down the small bracket for the wireless card using a Phillips #0 screwdriver.

    • Remove the black wired connection from the port over the black triangle.

    • Remove the wire with the white marking from the port above the white triangle.

    • Pull the Wi-Fi card out of its slot.

Sonuç

To reassemble your device, follow these instructions in reverse order.

Antonio Franco

Üyelik tarihi: 08/25/22

1.025 İtibar

10 adet Kılavuz yazıldı

Ekip

Gateway, Team 1-3, Class Fall 2022 Gateway, Team 1-3, Class Fall 2022 üyesi

GCC-CLASS-F22S1G3

4 Üyeler

15 adet Kılavuz yazıldı

0 Yorum

Yorum Ekle

İstatistikleri Görüntüle:

Son 24 Saat: 0

Son 7 gün: 2

Son 30 gün: 14

Her zaman: 464