Ana içeriğe geç
Onarım Topluluğuna Katılın - Hesap Oluşturun

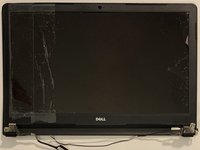
Dell Inspiron 5555 LCD Display Replacement

Neye ihtiyacın var

    1. Dell Inspiron 5555 LCD Display Replacement, Battery: adım 1, 1 resimden 1.
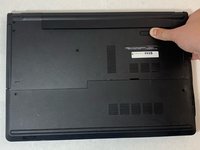
      • Close the laptop and lay it flat, logo side down.

      • Make sure that the battery is visible and at the top of the device.

      FixBot'a Sor

      Yorum Ekle

    2. Dell Inspiron 5555 LCD Display Replacement: adım 2, 3 resimden 1. Dell Inspiron 5555 LCD Display Replacement: adım 2, 3 resimden 2. Dell Inspiron 5555 LCD Display Replacement: adım 2, 3 resimden 3.
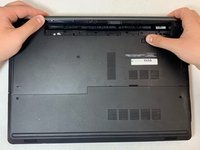
      • Push the lock switch to the left to pop out the battery.

      FixBot'a Sor

      Yorum Ekle

    3. Dell Inspiron 5555 LCD Display Replacement: adım 3, 3 resimden 1. Dell Inspiron 5555 LCD Display Replacement: adım 3, 3 resimden 2. Dell Inspiron 5555 LCD Display Replacement: adım 3, 3 resimden 3.
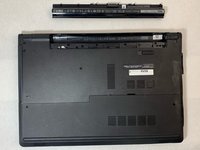
      • When the battery pops out, lift it so that it comes out completely.

      FixBot'a Sor

      Yorum Ekle

    1. Dell Inspiron 5555 LCD Display Replacement, Keyboard: adım 4, 3 resimden 1. Dell Inspiron 5555 LCD Display Replacement, Keyboard: adım 4, 3 resimden 2. Dell Inspiron 5555 LCD Display Replacement, Keyboard: adım 4, 3 resimden 3.
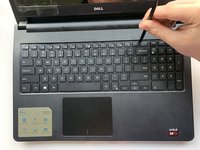
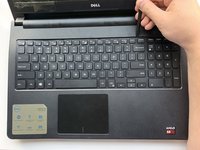
      • Turn the laptop over and open the device.

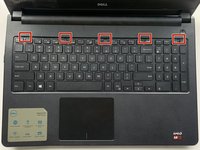
      • Insert the flat end of the spudger into the five notches located at the top of the keyboard and pry the keyboard up by pushing down and up.

      FixBot'a Sor

      Yorum Ekle

    2. Dell Inspiron 5555 LCD Display Replacement: adım 5, 2 resimden 1. Dell Inspiron 5555 LCD Display Replacement: adım 5, 2 resimden 2.
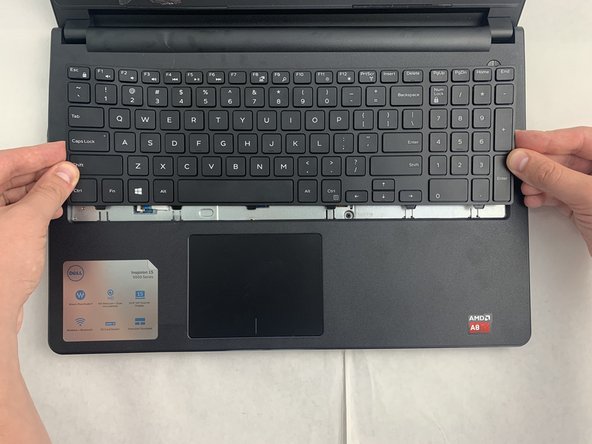
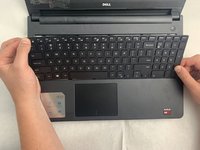
      • Lift up and slide back to release the six notches from the bottom of the keyboard.

      • Be careful not to lift the keyboard up all the way because it is still connected to the laptop by a cable on the bottom.

      FixBot'a Sor

      Yorum Ekle

    3. Dell Inspiron 5555 LCD Display Replacement: adım 6, 3 resimden 1. Dell Inspiron 5555 LCD Display Replacement: adım 6, 3 resimden 2. Dell Inspiron 5555 LCD Display Replacement: adım 6, 3 resimden 3.
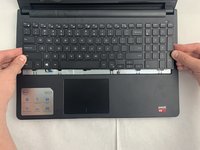
      • Flip the keyboard upside down to access the keyboard cable.

      • Using the flat end of the spudger, flip the black tab securing the keyboard cable up to remove the keyboard cable.

      • Remove the keyboard by lifting it off of the laptop.

      FixBot'a Sor

      Yorum Ekle

    1. Dell Inspiron 5555 LCD Display Replacement, Fan: adım 7, 3 resimden 1. Dell Inspiron 5555 LCD Display Replacement, Fan: adım 7, 3 resimden 2. Dell Inspiron 5555 LCD Display Replacement, Fan: adım 7, 3 resimden 3.
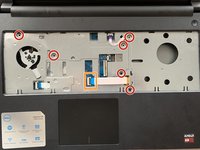
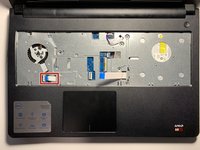
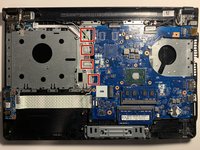
      • Remove the six 5 mm screws using the Phillips #0 screwdriver.

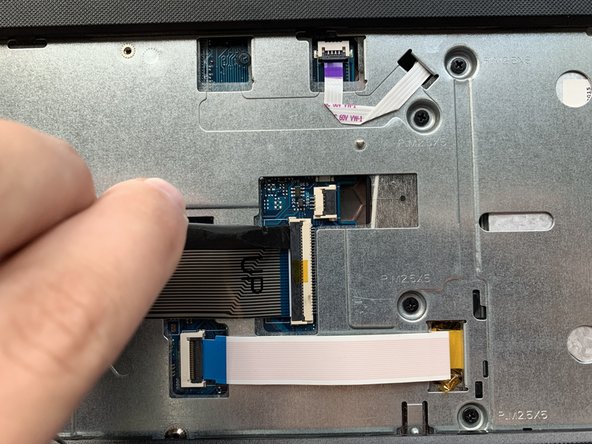
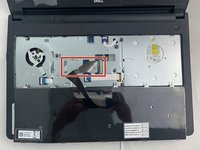
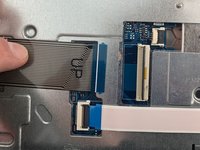
      • Use the spudger to lift the black tab of the ZIF connector, removing the optical drive cable.

      FixBot'a Sor

      Yorum Ekle

    2. Dell Inspiron 5555 LCD Display Replacement: adım 8, 3 resimden 1. Dell Inspiron 5555 LCD Display Replacement: adım 8, 3 resimden 2. Dell Inspiron 5555 LCD Display Replacement: adım 8, 3 resimden 3.
      Bu adımda kullanılan alet:
      Halberd Spudger
      $2.99
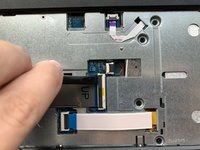
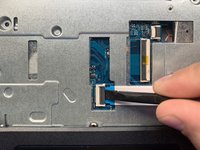
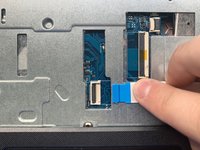
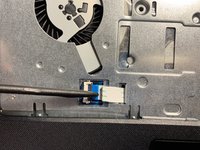
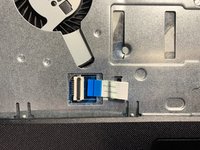
      • Using the hooked end of the Halberd Spudger, pull the black tab to the left to expose the touchpad cable.

      • Close the laptop and flip it over, so the bottom is facing up.

      FixBot'a Sor

      Yorum Ekle

    3. Dell Inspiron 5555 LCD Display Replacement: adım 9, 3 resimden 1. Dell Inspiron 5555 LCD Display Replacement: adım 9, 3 resimden 2. Dell Inspiron 5555 LCD Display Replacement: adım 9, 3 resimden 3.
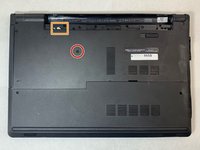
      • Remove the 5 mm screw using the Phillips #0 Screwdriver.

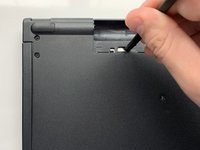
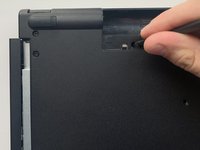
      • Use the flat end of the spudger to slide the optical drive out to the left at the screwdriver push point.

      FixBot'a Sor

      Yorum Ekle

    4. Dell Inspiron 5555 LCD Display Replacement: adım 10, 2 resimden 1. Dell Inspiron 5555 LCD Display Replacement: adım 10, 2 resimden 2.
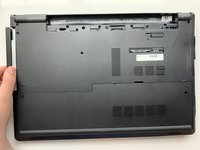
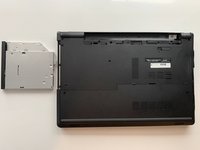
      • Pull the optical drive horizontally to the left to remove it from the laptop.

      FixBot'a Sor

      Yorum Ekle

    5. Dell Inspiron 5555 LCD Display Replacement: adım 11, 3 resimden 1. Dell Inspiron 5555 LCD Display Replacement: adım 11, 3 resimden 2. Dell Inspiron 5555 LCD Display Replacement: adım 11, 3 resimden 3.
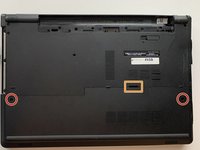
      • Remove the two 8 mm screws with the Phillips #0 Screwdriver.

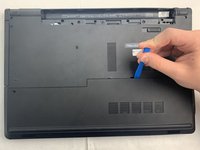
      • Use the iFixit opening tool to pry open the access door by pushing down and up at the notch on the top of the access door, running it along the edges.

      FixBot'a Sor

      Yorum Ekle

    6. Dell Inspiron 5555 LCD Display Replacement: adım 12, 3 resimden 1. Dell Inspiron 5555 LCD Display Replacement: adım 12, 3 resimden 2. Dell Inspiron 5555 LCD Display Replacement: adım 12, 3 resimden 3.
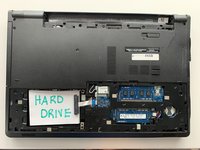
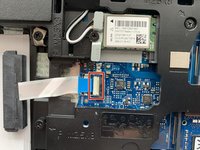
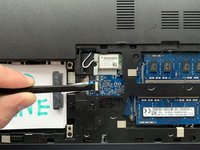
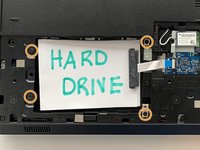
      • Use the flat end of the spudger to lift the white tab up that holds the hard drive cable in place.

      • Remove the four 8 mm screws with the Phillips #0 screwdriver.

      • Lift the hard drive from the laptop.

      FixBot'a Sor

      Yorum Ekle

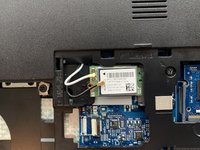
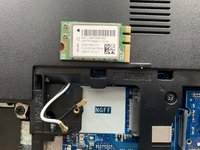
    7. Dell Inspiron 5555 LCD Display Replacement: adım 13, 3 resimden 1. Dell Inspiron 5555 LCD Display Replacement: adım 13, 3 resimden 2. Dell Inspiron 5555 LCD Display Replacement: adım 13, 3 resimden 3.
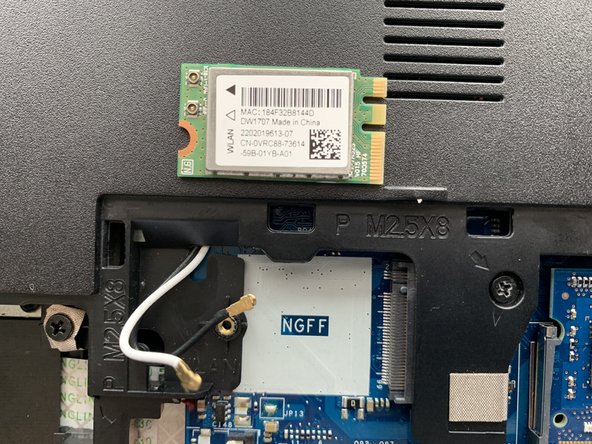
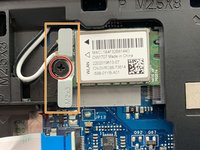
      • Remove the 3 mm screw on the wireless card with a Phillips #0 screwdriver.

      • Lift the metal bracket to remove.

      • Detach the antenna cables at the gold metal end by carefully pulling them up from the Wireless WLAN Card.

      • Lift the Wireless WLAN Card from the device.

      FixBot'a Sor

      Yorum Ekle

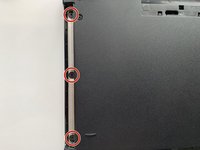
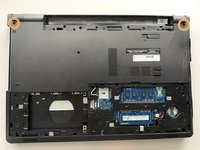
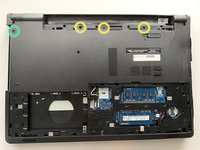
    8. Dell Inspiron 5555 LCD Display Replacement: adım 14, 3 resimden 1. Dell Inspiron 5555 LCD Display Replacement: adım 14, 3 resimden 2. Dell Inspiron 5555 LCD Display Replacement: adım 14, 3 resimden 3.
      • Remove the three 2 mm wafer screws in the optical drive port with the Phillips #0 screwdriver.

      • Remove the two 8 mm hinge screws with the Phillips #0 screwdriver.

      • Remove the three 5 mm screws from the battery opening with the Phillips #0 screwdriver.

      • Remove the 5 mm screw with the Phillips #0 screwdriver.

      FixBot'a Sor

      Yorum Ekle

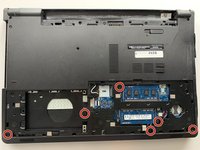
    9. Dell Inspiron 5555 LCD Display Replacement: adım 15, 3 resimden 1. Dell Inspiron 5555 LCD Display Replacement: adım 15, 3 resimden 2. Dell Inspiron 5555 LCD Display Replacement: adım 15, 3 resimden 3.
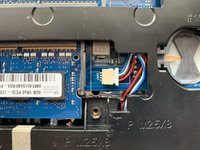
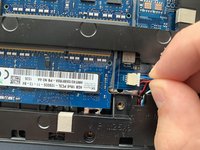
      • Remove the six 8 mm screws under the access door using the Phillips #0 Screwdriver.

      • Disconnect the speaker connection by using your fingers and carefully pulling it to the right.

      • It may be snug in the connector, so gradually use more force until the speaker connection disconnects.

      FixBot'a Sor

      Yorum Ekle

    10. Dell Inspiron 5555 LCD Display Replacement: adım 16, 2 resimden 1. Dell Inspiron 5555 LCD Display Replacement: adım 16, 2 resimden 2.
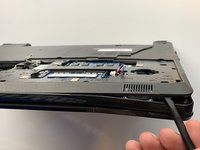
      • Using the flat end of the spudger, pry the bottom base off of the laptop by the crack around the perimeter of the laptop and running the spudger around the edges.

      FixBot'a Sor

      Yorum Ekle

    11. Dell Inspiron 5555 LCD Display Replacement: adım 17, 3 resimden 1. Dell Inspiron 5555 LCD Display Replacement: adım 17, 3 resimden 2. Dell Inspiron 5555 LCD Display Replacement: adım 17, 3 resimden 3.
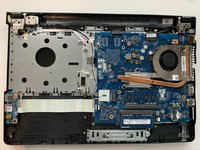
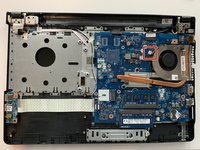
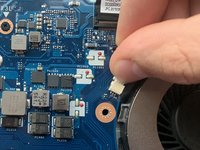
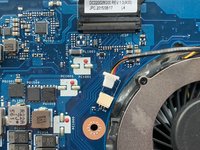
      • Using your fingers gently pull the fan cable out if its port.

      • Avoid pulling the fan cable out by the actual wire. Instead pull on the plastic white piece that is attached to the wire.

      FixBot'a Sor

      Yorum Ekle

    12. Dell Inspiron 5555 LCD Display Replacement: adım 18, 3 resimden 1. Dell Inspiron 5555 LCD Display Replacement: adım 18, 3 resimden 2. Dell Inspiron 5555 LCD Display Replacement: adım 18, 3 resimden 3.
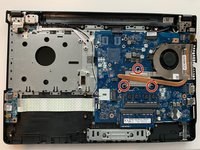
      • Loosen the three captive screws attached to the metal bracket of the fan using the Phillips #0 Screwdriver.

      • The screws should remain attached to the metal bracket by springs.

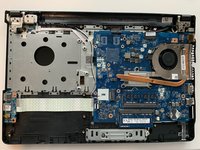
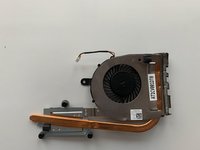
      • Carefully lift the fan out of the laptop.

      FixBot'a Sor

      Yorum Ekle

    1. Dell Inspiron 5555 LCD Display Replacement, LCD Display: adım 19, 3 resimden 1. Dell Inspiron 5555 LCD Display Replacement, LCD Display: adım 19, 3 resimden 2. Dell Inspiron 5555 LCD Display Replacement, LCD Display: adım 19, 3 resimden 3.
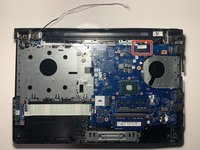
      • Use the pointed end of the spudger to untape the antenna cables.

      • Make sure to untape all four spots where the tape holds the antenna cables in place.

      FixBot'a Sor

      Yorum Ekle

    2. Dell Inspiron 5555 LCD Display Replacement: adım 20, 3 resimden 1. Dell Inspiron 5555 LCD Display Replacement: adım 20, 3 resimden 2. Dell Inspiron 5555 LCD Display Replacement: adım 20, 3 resimden 3.
      Bu adımda kullanılan alet:
      Halberd Spudger
      $2.99
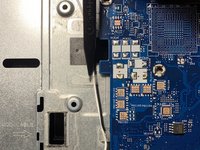
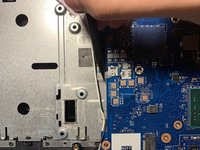
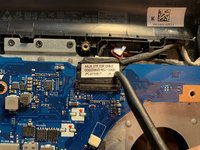
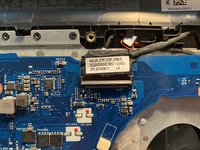
      • Using the hooked end of the Halberd Spudger, hook onto the black tab that holds the LCD cable in place and pull up on it to lift it.

      FixBot'a Sor

      Yorum Ekle

    3. Dell Inspiron 5555 LCD Display Replacement: adım 21, 3 resimden 1. Dell Inspiron 5555 LCD Display Replacement: adım 21, 3 resimden 2. Dell Inspiron 5555 LCD Display Replacement: adım 21, 3 resimden 3.
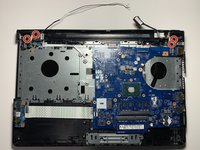
      • Remove the four 8 mm screws on the display hinges using the Phillips #0 screwdriver.

      • Open the laptop.

      • The display will come apart from the bottom frame as you open the laptop.

      FixBot'a Sor

      Yorum Ekle

Sonuç

To reassemble your device, follow these instructions in reverse order.

İptal et: Bu kılavuzu tamamlamadım.

0Kılavuz Yorumları

Yorum Ekle

İstatistikleri Görüntüle:

Son 24 Saat: 0

Son 7 gün: 4

Son 30 gün: 26

Her zaman: 1,264