Ana içeriğe geç

Dell Latitude 9410 2-in-1 Wi-Fi Card Replacement

Neye ihtiyacın var

  1. Dell Latitude 9410 2-in-1 Wi-Fi Card Replacement, Base Panel: adım 1, 1 resimden 1.
    • Ensure that the laptop is unplugged and powered off before beginning.

    • Place the laptop upside down on a flat surface.

  2. Dell Latitude 9410 2-in-1 Wi-Fi Card Replacement: adım 2, 2 resimden 1. Dell Latitude 9410 2-in-1 Wi-Fi Card Replacement: adım 2, 2 resimden 2.
    • Use a Phillips #00 screwdriver to loosen the ten captive screws.

    • The screws are permanently fastened to the base panel; do not attempt to remove them.

  3. Dell Latitude 9410 2-in-1 Wi-Fi Card Replacement: adım 3, 3 resimden 1. Dell Latitude 9410 2-in-1 Wi-Fi Card Replacement: adım 3, 3 resimden 2. Dell Latitude 9410 2-in-1 Wi-Fi Card Replacement: adım 3, 3 resimden 3.
    • Carefully lift off the back panel.

  4. Dell Latitude 9410 2-in-1 Wi-Fi Card Replacement, Wi-Fi Card: adım 4, 2 resimden 1. Dell Latitude 9410 2-in-1 Wi-Fi Card Replacement, Wi-Fi Card: adım 4, 2 resimden 2.
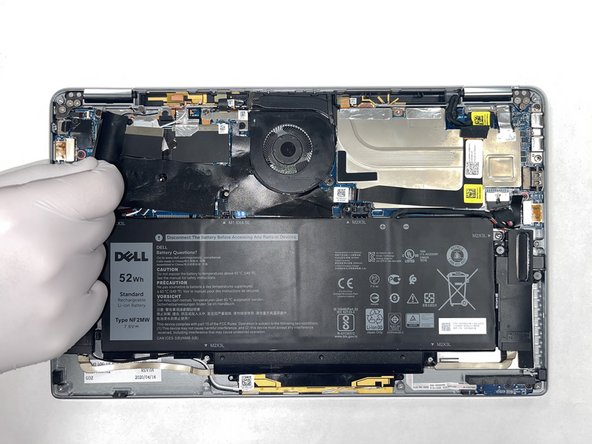
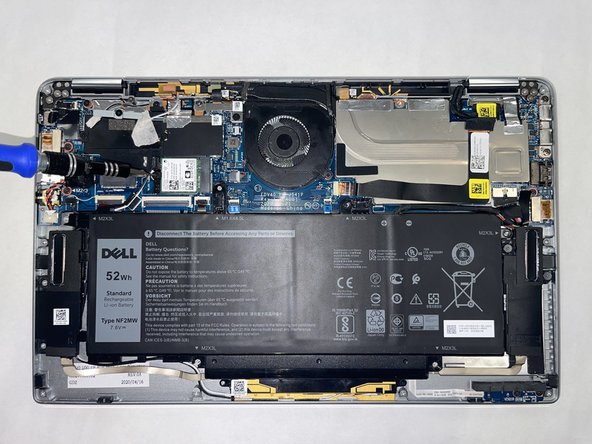
    • Remove the protective film located at the top left corner of the motherboard.

  5. Dell Latitude 9410 2-in-1 Wi-Fi Card Replacement: adım 5, 2 resimden 1. Dell Latitude 9410 2-in-1 Wi-Fi Card Replacement: adım 5, 2 resimden 2.
    • Use a Philips #00 screwdriver to remove the 2mm screw located above the wifi card.

  6. Dell Latitude 9410 2-in-1 Wi-Fi Card Replacement: adım 6, 1 resimden 1.
    • Remove the black and white wires located above the wifi card using a blue, plastic spudger.

  7. Dell Latitude 9410 2-in-1 Wi-Fi Card Replacement: adım 7, 1 resimden 1.
    • Remove the Wifi card from its slot in the motherboard.

Sonuç

To reassemble your device, follow these instructions in reverse order.

0 Yorum

Yorum Ekle

İstatistikleri Görüntüle:

Son 24 Saat: 0

Son 7 gün: 5

Son 30 gün: 18

Her zaman: 320