Giriş
If your screen is cracked, broken, doesn't respond to touch, or has broken pixels, it might be time to replace the screen. This guide will help you to replace the screen on the Dell Venue 8
Neye ihtiyacın var
-
-
-
Hold the device with the screen facing up. Gently wedge your plastic opening tool into the crease, and run it along the perimeter of the case
-
Remove the back panel of the device.
 FixBot'a Sor
-
-
-
Remove the 14 screws with the T-5 Torx screwdriver. (11 black 3.6mm screws, and three 4.45mm screws)
-
4.45mm Silver screws
-
3.6mm Black screws
-
Gently snap the perimeter clips open, and remove the internal plastic case.
-
-
-
-
-
Unclip the power clip from the motherboard by pulling down gently towards the bottom of the tablet.
-
-
-
-
Gently pry the battery away from the device with the plastic opening tool to remove it.
-
-
-
-
-
Using your plastic opening tool, unclip the speaker connection from the logic board.
-
-
-
Remove the speaker by placing using your plastic opening tool in the gap on the top of the speaker and prying it up.
-
-
-
-
-
Disconnect the display clip found next to the speaker.
-
Disconnect the Display connection located at the top of the tablet.
-
-


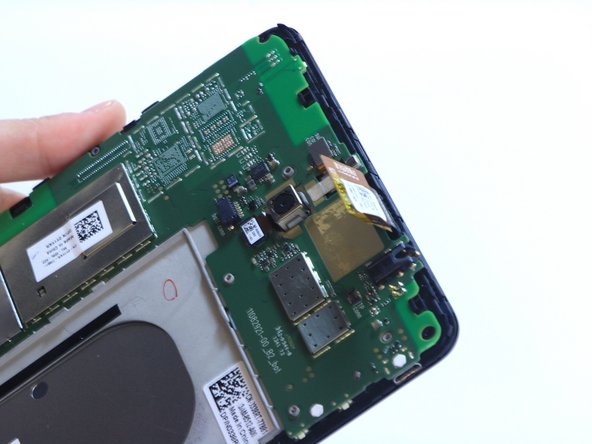
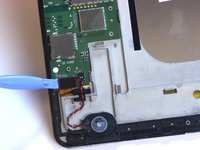
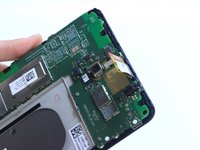

To reassemble your device, follow these instructions in reverse order.
İptal et: Bu kılavuzu tamamlamadım.
7 farklı kişi bu kılavuzu tamamladı.

Ekip

USF Tampa, Team 9-2, Leahy Winter 2015 USF Tampa, Team 9-2, Leahy Winter 2015 üyesi
USFT-LEAHY-W15S9G2
3 Üyeler
24 adet Kılavuz yazıldı
2Kılavuz Yorumları
LOL. Who rated this as a difficult repair? Seriously? T5 screws too much for you? The only issue with the repair for this device is the adhesive between the digi and frame is a REAL pain to remove, and the plastic frame is likely to melt if you use too much/high heat. Otherwise, it's very simple. Just be careful when installing the new digi, as the motherboard needs to be slightly lifted to feed the connector.
Thanks for the instructions!
Is there a part 2 for this guide? The instructions is incomplete and doesn't not include steps to actually remove the digitizer.
