Giriş
The fan helps the laptop remove the heat it produces and keeps your laptop from overheating. If your computer keeps over heating you will need to replace the fan. This guide will walk you through on how to replace the fan using only a #1 Philips head screwdriver.
Neye ihtiyacın var
-
-
Press and slide the two buttons outwards and away from the battery.
 FixBot'a Sor
-
-
-
-
Lift back cover from the groove on the left side of the cover next to the symbol.
-
-
-
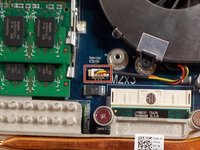
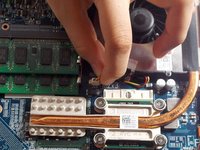
Unclip the power supply by pulling the cable directly up and out of the socket.
-
-
-
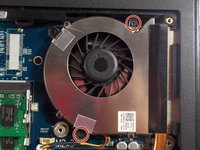
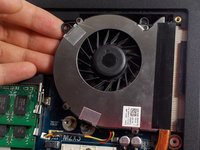
Remove the two 3mm screws located around the edge of the fan with a Philips #1 screw driver.
-
-
-
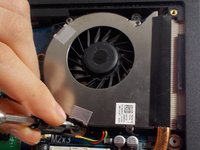
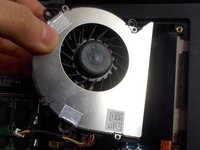
Gently lift and pull to the left until the fan is free from the heatsink.
-


To reassemble your device, follow these instructions in reverse order.
İptal et: Bu kılavuzu tamamlamadım.
Bir başkası bu kılavuzu tamamladı.
Ekip

UMass Dartmouth, Team S3-G7, Peak Spring 2018 UMass Dartmouth, Team S3-G7, Peak Spring 2018 üyesi
UMASSD-PEAK-S18S3G7
3 Üyeler
8 adet Kılavuz yazıldı