Giriş
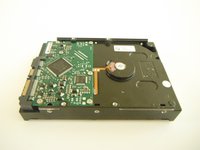
A hard drive is a magnetized storage area. Your Operating System is stored on your hard drive, as well as all your software programs. This guide will instruct you on how to take the hard drive out of the computer so that you may replace or repair it.
Neye ihtiyacın var
-
-
Remove the cover panel on the side of the computer by pulling out the latch on the back panel and pulling the panel downwards towards the ground.
-
-
-
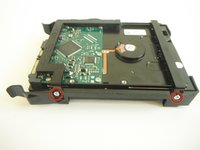
The hard drive is located the top-center area of the computer.
-
Carefully disconnect the data and power cables from the hard drive.
-
-


To reassemble your device, follow these instructions in reverse order.
To reassemble your device, follow these instructions in reverse order.
İptal et: Bu kılavuzu tamamlamadım.
2 farklı kişi bu kılavuzu tamamladı.
