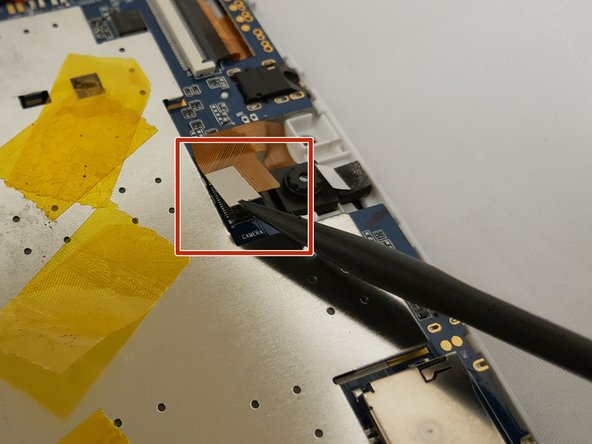
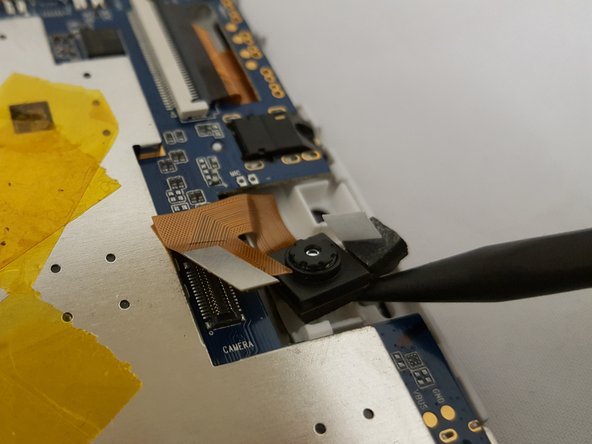
Ana içeriğe geç

Digital2 D2-861G Camera Replacement

Neye ihtiyacın var

  1. Digital2 D2-861G Camera Replacement, Camera: adım 1, 1 resimden 1.
    • Working on your device while powered on may result in electric shock. Make sure to unplug and power down your device before you begin.

    • Place your device on a soft cloth to avoid scratching the screen

    • Flip your device over so back panel is facing upwards.

  2. Digital2 D2-861G Camera Replacement: adım 2, 1 resimden 1.
    • Do not use a lot of force as it can break the clips or the back panel.

    • Insert spudger in the slot below the micro SD card.

    • You should hear clips releasing as you pry along the edges.

    • With the spudger tool, run along the edges of the backing undoing 20 plastic clips.

  3. Digital2 D2-861G Camera Replacement: adım 3, 1 resimden 1.
    • Disconnecting the bundled cable connector helps avoid short circuiting anything on the device.

    • Locate the bundled cable connector and disconnect it by simply pulling it gently or using a spudger.

  4. Digital2 D2-861G Camera Replacement: adım 4, 2 resimden 1. Digital2 D2-861G Camera Replacement: adım 4, 2 resimden 2.
    • Locate and unplug the flat-top connector from the motherboard..

    • To unplug the connector go under it with either side of the spudger and lift up.

  5. Digital2 D2-861G Camera Replacement: adım 5, 2 resimden 1. Digital2 D2-861G Camera Replacement: adım 5, 2 resimden 2.
    • Avoid pulling the gold connector as it can be damaged and/or broken.

    • To remove the camera, simply use the pointed end of the spudger and insert it in the corner and gently lift.

Sonuç

To reassemble your device, follow these instructions in reverse order.

Bir başkası bu kılavuzu tamamladı.

0 Yorum

Yorum Ekle

İstatistikleri Görüntüle:

Son 24 Saat: 0

Son 7 gün: 0

Son 30 gün: 0

Her zaman: 111