Giriş
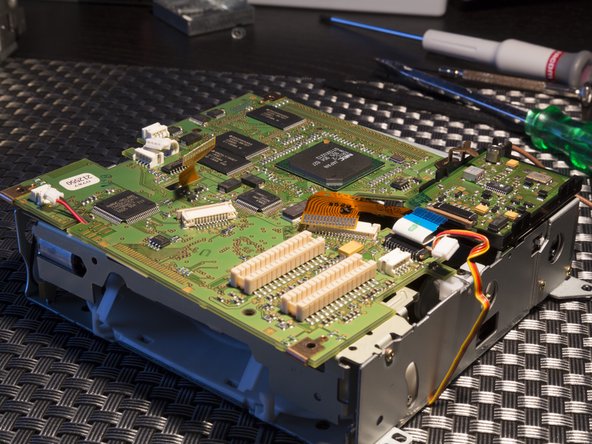
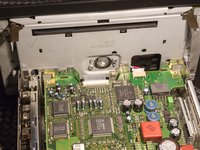
This guide will show you how to disassemble the top part (GPS navigation unit) and the front panel as far as I was still feeling comfortable and was sure that I was able to put it back together without damaging the unit or it's calibration.
Neye ihtiyacın var
-
-
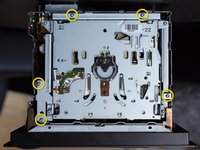
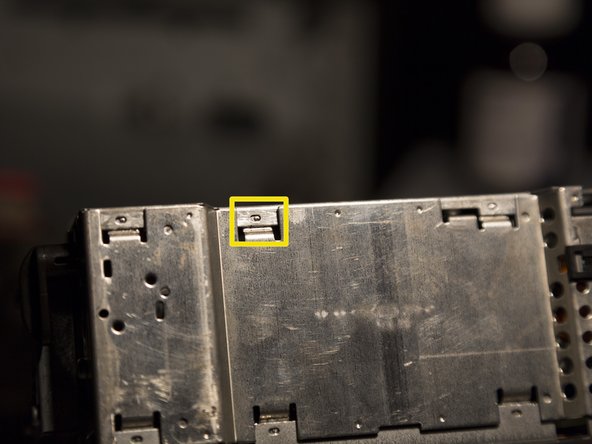
Remove the three 6 mm T9 Torx screws securing the cover plate.
-
Slightly loosen the rubber knob since it pushes down on the cover plate.
-
Slide the cover plate about 1 or 2 mm upwards and remove it from the unit.
 FixBot'a Sor
-
-
-
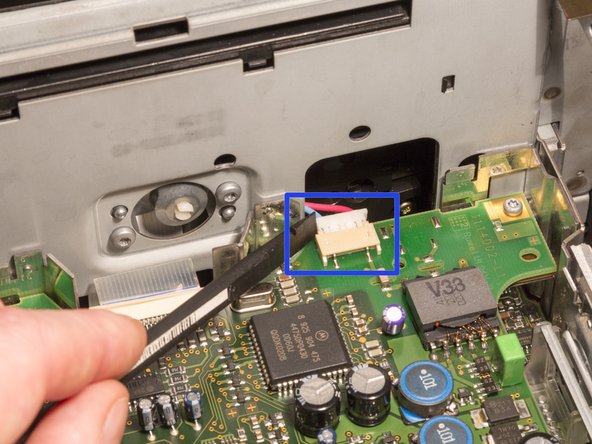
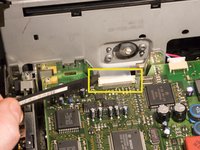
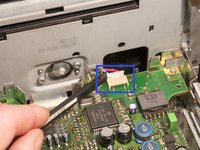
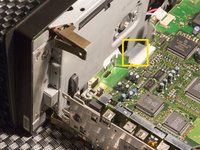
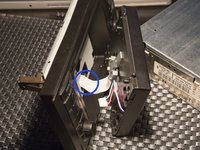
Use a spudger to disconnect the cable connecting the GPS with the radio unit.
-
-
-
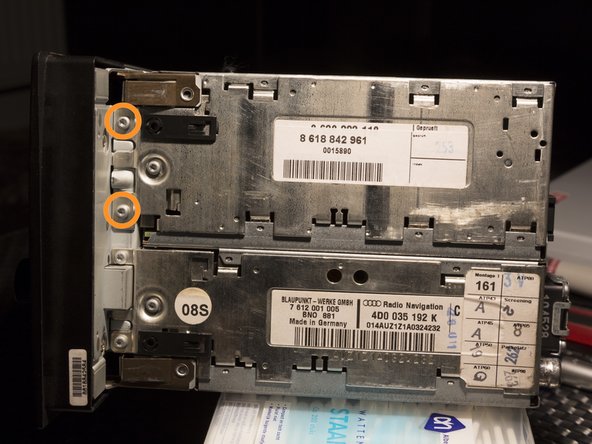
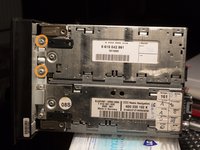
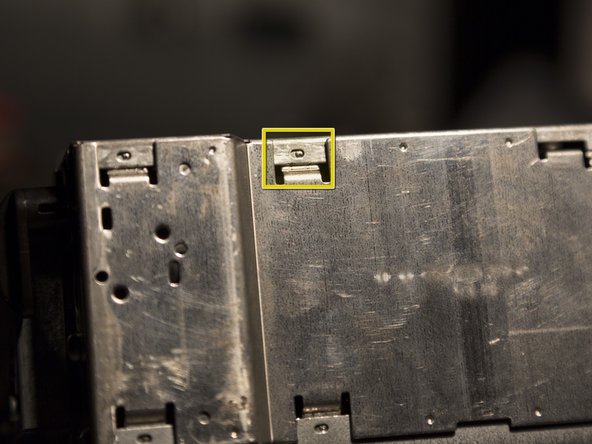
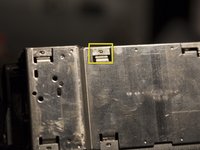
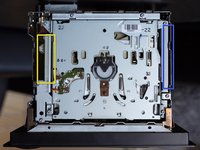
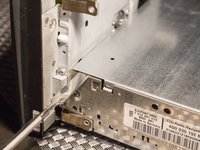
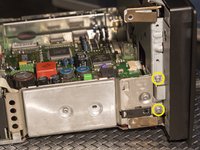
Remove two 6 mm T9 Torx screws from the left side of the unit.
-
Remove two 6 mm T9 Torx screws from the right side of the unit.
-
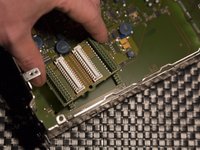
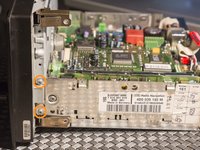
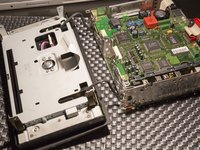
The GPS/CD-ROM unit can now be separated from the radio.
-
-
-
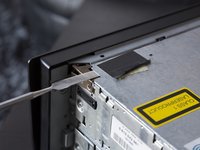
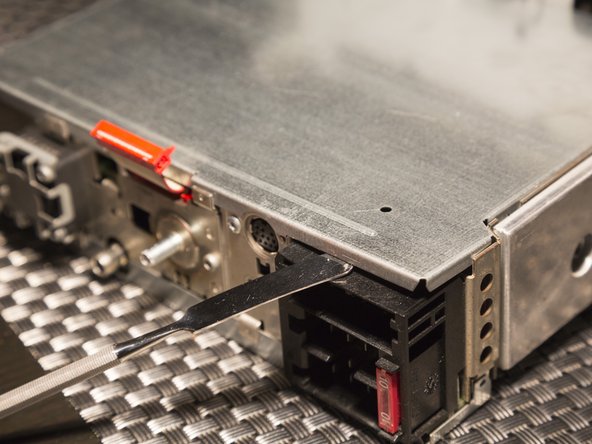
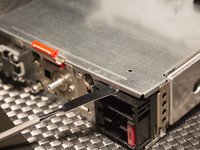
Use the flat edge of a metal spudger and/or a flat head screwdriver to pry open the top cover.
-
When closing the cover, make sure the cover is completely locked as shown in the third picture.
-
-
-
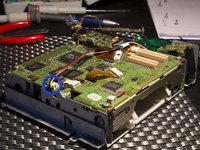
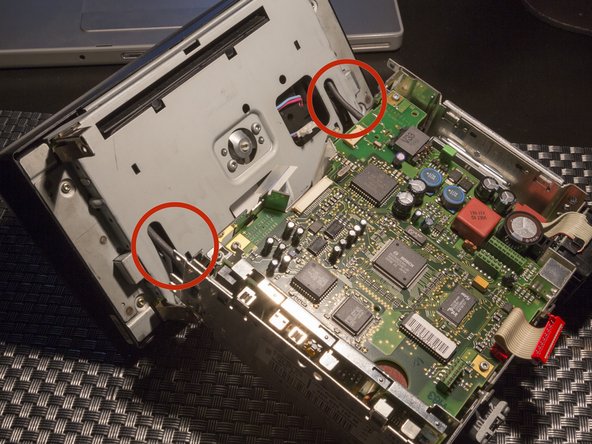
The CD-ROM has to be pulled out straight up. Some force might be needed since the unit is plugged into the logic board at the bottom of the housing with a connector board (see the third photo). The board might come out with the CD-ROM unit, or still be connected to the logic board.
-
At the left side, it might be possible to use fingers to pull out the unit.
-
At the right side, a flat head screwdriver can be used. The force that is needed will most likely bend a metal spudger.
-
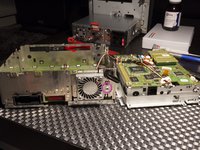
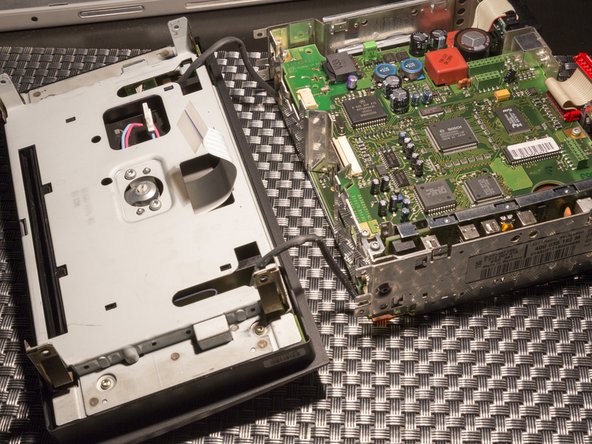
Once disconnected, flip over the CD-ROM unit and place it next to the housing with the logic board.
-
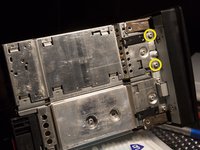
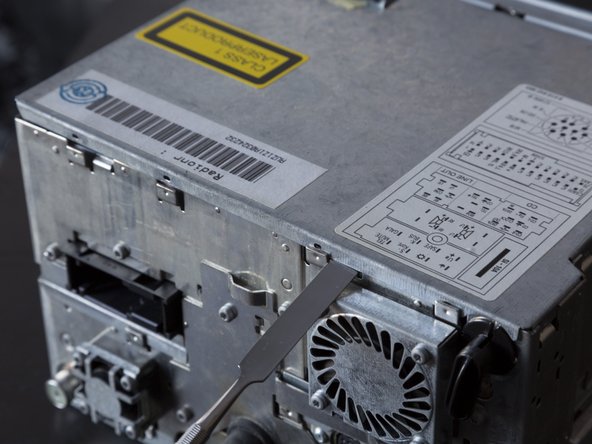
The brown cable will still be connected, optionally remove the one T9 Torx screw located next to the cooling fan (see second photo) to disconnect the connector from the housing.
-
-
-
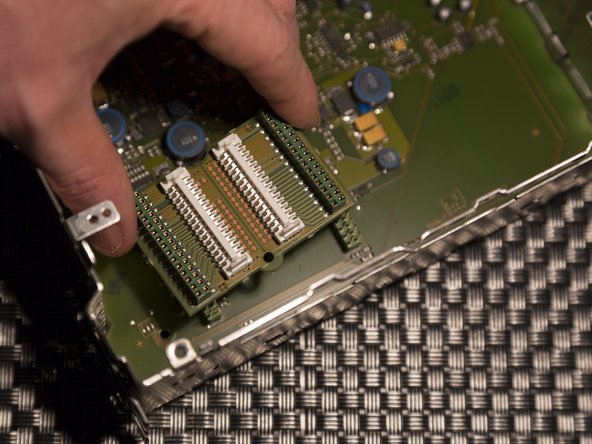
If the connector board is still connected to the CD-ROM unit:
-
Remove the connector board using two fingers on either side of the board and prying it up.
-
When assembling, place the connector board on the logic board inside the housing. Push it down until the connector pins are visible at the surface of the connector board.
-
-
-
-
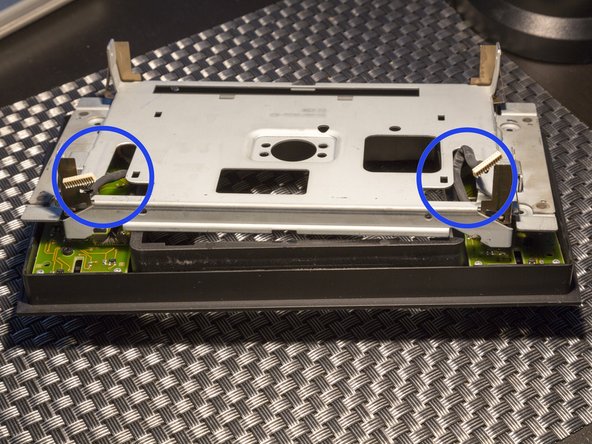
Use the tip of a plastic spudger to disconnect the cable that connects the (what is assumed to be an) angle calibration unit, to the logic board of the CD-ROM drive.
-
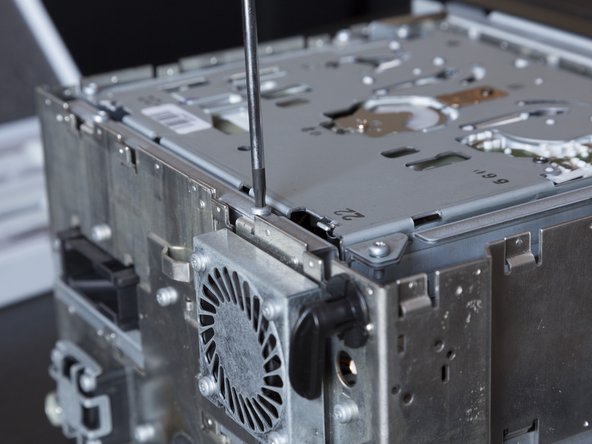
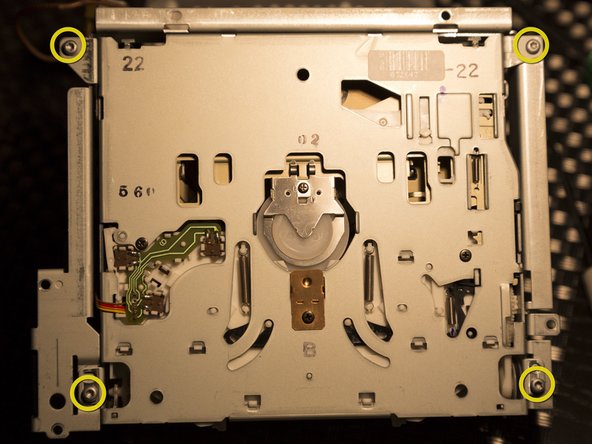
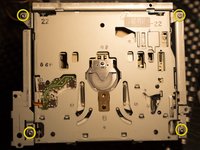
Flip the unit over to remove four 6 mm T9 Torx screws.
-
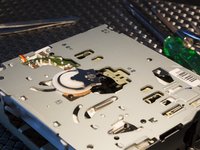
The CD-ROM unit is now separated from the surrounding bracket.
-
-
-
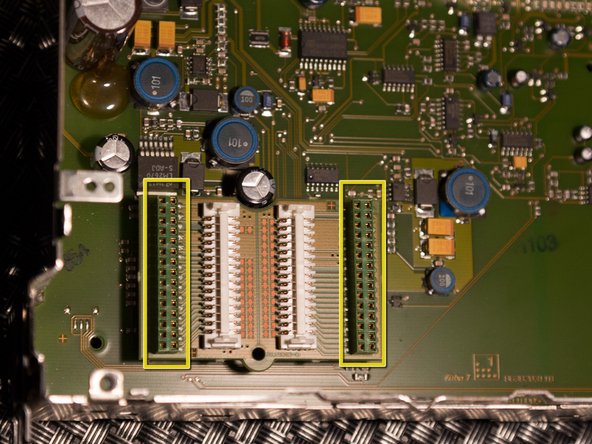
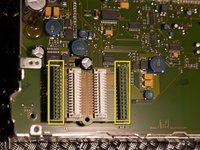
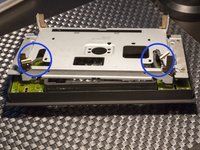
Use a plastic spudger to open the three plastic connectors and slide the ribbon cables out, no force should be used.
-
Disconnect the three other connectors from the logic board, using a spudger if necessary.
-
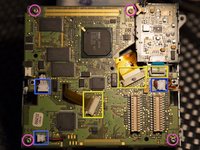
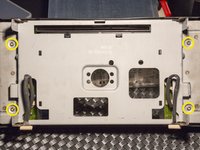
Remove the four 6 mm T9 Torx screws from the corners of the logic board.
-
The board can now safely be removed from the CD-ROM drive.
-
-
-
Flip the CD-ROM unit back over.
-
Remove one gold colored Phillips screw located in the center.
-
-
Bu adımda kullanılan alet:Tweezers$4.99
-
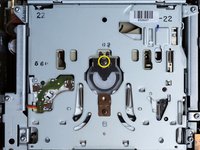
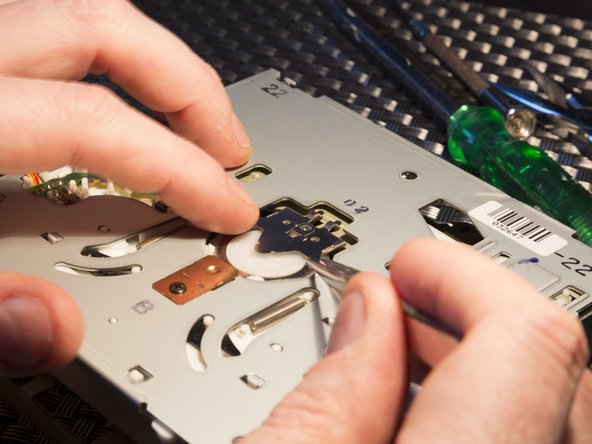
It is advisable to grab an old CD and push it half way into the CD-ROM drive until it is visible through the hole marked in the first picture. This will prevent the part that has to be removed in this step to fall down into the unit, with the risk of damaging the laser.
-
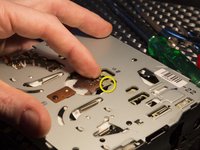
The metal plate slides forward as shown in the first picture.
-
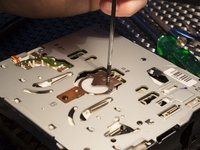
Use a pair of tweezers to very carefully slide forward and then lift up and remove the metal plate together with the white plastic disk.
-
-
-
Start by removing top cover.
-
Use the flat edge of a metal spudger and/or a flat head screwdriver to pry open the top cover.
-
When closing the cover, make sure the cover is completely locked as shown in the third picture.
-
-
-
Use a spudger to open the clip locking the flatcable, you can leave the cable in because it's difficult to remove it from the connector at this point.
-
Use a spudger to disconnect the screen powercable.
-
-
-
Remove two 6 mm T9 Torx screws from the left side of the unit.
-
Remove two 6 mm T9 Torx screws from the right side of the unit.
-
-
-
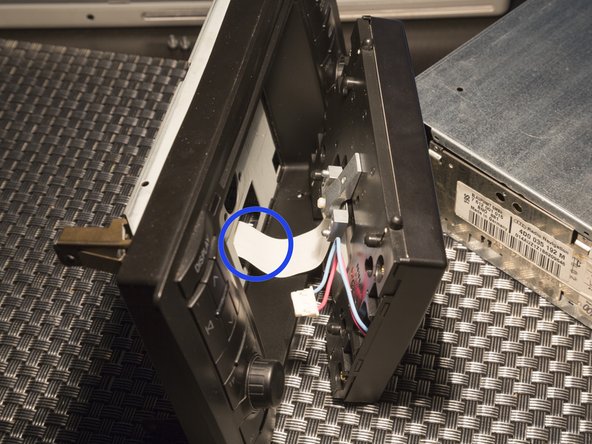
Gently separate the front part from the radio unit just far enough until you are able to pull out the flatcable by it's pulling-flap.
-
The two black cables are at the left and right bottom side and are long enough to allow the front to fold down without disconnecting them. But do make sure the folded cable is pulled out from behind the metal plate while folding the front away from the unit.
-
-
-
Carefully pull the two black wires out of their connector. It's almost impossible to use a spudger so pull them out by pulling at the sleeved cable. Do this very carefully.
-
-
-
Remove two 4 mm T10 Torx screws.
-
Guide the flatcable through the metal plate when removing the screen.
-
-
-
Remove four 6 mm T9 Torx screws.
-
Carefully remove the metal plate, guiding the two wires through the holes.
-
-
-
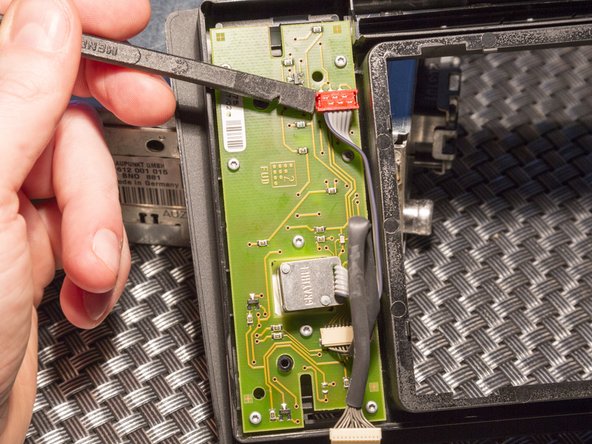
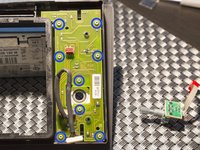
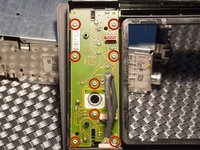
Use a spudger to disconnect the connector from the board.
-
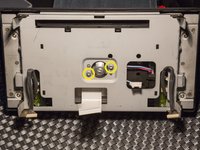
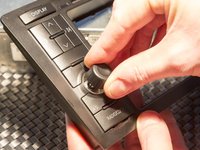
Flip over the front panel and pull off the rubber knob of the rotary push button.
-
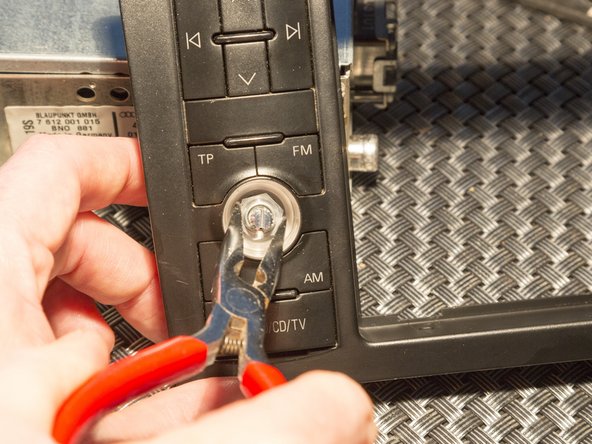
Remove the 11 mm nut with a pair of pliers or a socket wrench if you have one that is long enough.
-
-
-
You can now remove the rotary push button unit from the back.
-
Repeat these same procedure for the rotary push button on the right side.
-
-
-
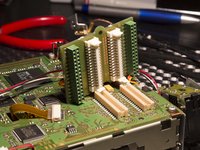
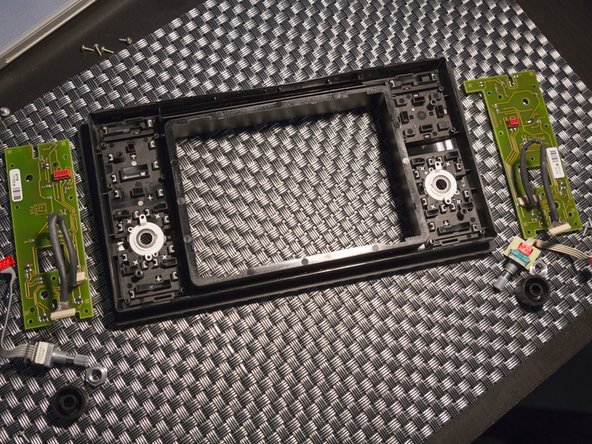
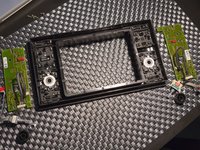
Remove eight 6 mm T6 Torx screws from the left side logic board.
-
Remove eight 6 mm T6 Torx screws from the right side logic board.
-
Remove the logic boards from the front panel of the unit.
-


To reassemble your device, follow these instructions in reverse order.
İptal et: Bu kılavuzu tamamlamadım.
14 farklı kişi bu kılavuzu tamamladı.
1Rehber Yorum
Very nicely, newbie friendly guide. Only it’s a shame, that You’ve not done any work around or at the CD-ROM unit (while it’s by far mostr popular thing in this navigation unit to go wrong), but i understand You being carefull about lens position etc. I guess it going to be on me, to add this part to make this full a-z guide, but my new RNS-E needs to be sorted out to work 100%, then i can start canibalising my old faithfull RNS-D :)