Bu sürüm, hatalı düzenlemeler içerebilir. En son doğrulanmış bellek kopyası dönün.
Neye ihtiyacın var
-
Bu adım çevrilmemiş. Çevrilmesine yardım edin
-
Remove all four screws on the camera's side using a Phillips #00 screwdriver.
-
Remove all four screws on the opposite side of the camera using the same screwdriver.
-
Remove all four screws on the bottom of the camera using the same screwdriver.
-
-
-
Bu adım çevrilmemiş. Çevrilmesine yardım edin
-
Pry open the bottom casing.
-
Remove the ribbon from the LCD screen using the tweezers and set aside the bottom casing.
-
-
Bu adım çevrilmemiş. Çevrilmesine yardım edin
-
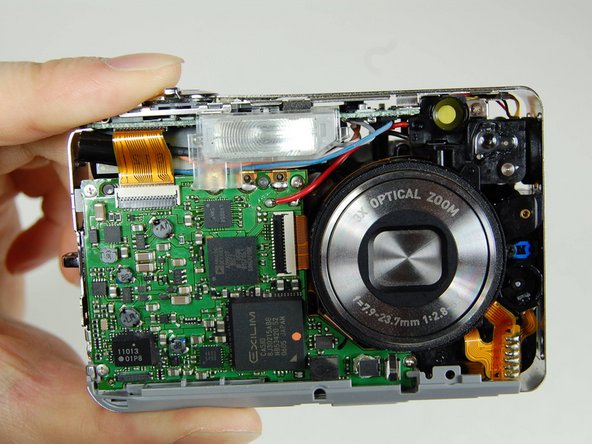
Pry apart the top casing using tweezers.
-
Remove the top casing from the camera and set aside the top casing.
-


İptal et: Bu kılavuzu tamamlamadım.
2 farklı kişi bu kılavuzu tamamladı.
Ekip

Cal Poly, Team 4-38, Regan Winter 2011 Cal Poly, Team 4-38, Regan Winter 2011 üyesi
CPSU-REGAN-W11S4G38
4 Üyeler
13 adet Kılavuz yazıldı