Giriş
After +/- 3 years of 24/7, the fan of the particle meter has worn out. The fan is making a terrible noise.
Neye ihtiyacın var
-
-
When removing the screen with the suction handle and a jimmy be very careful at the right side of the screen and don't damage the connection like I did (see red circle).
-
Carefully remove the screen towards the front. The screen is glued with some tape (see the orange marker).
-
Maybe use some heat to soften the clue.
-
I used a combination of a suction pad and Jimmy.
-
-
-
2 Philips screws are holding the backing plane of the screen
-
-
-
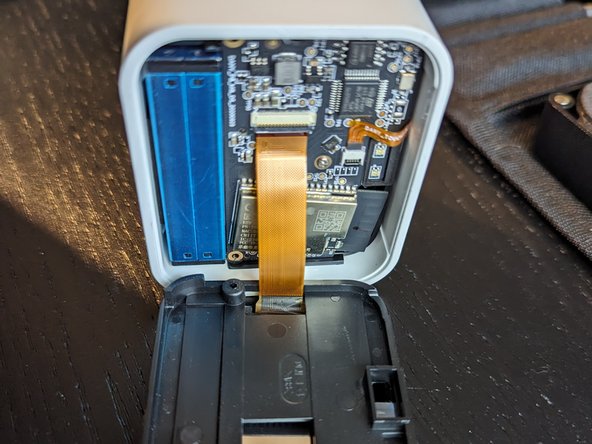
Lift the small black ledge to remove the flat cable of the screen. Orange circle
-
-
-
-
Disconnect the flat cable of the touch sensor by lifting the little black ledge, see the orange circle.
-
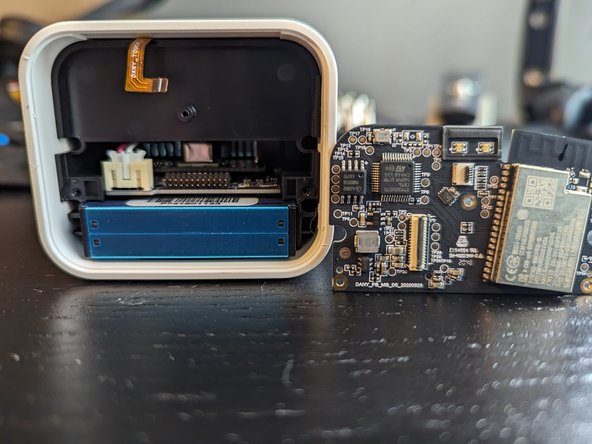
One screw holding the PCB, green circle
-
-
-
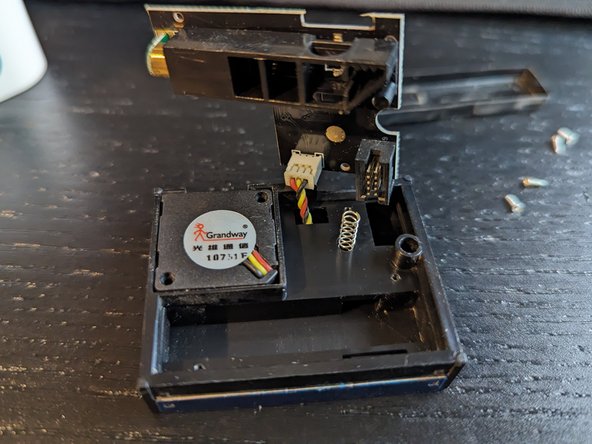
Sensor is held by the 10 pin connector
-
Don't let the springs jump away
-
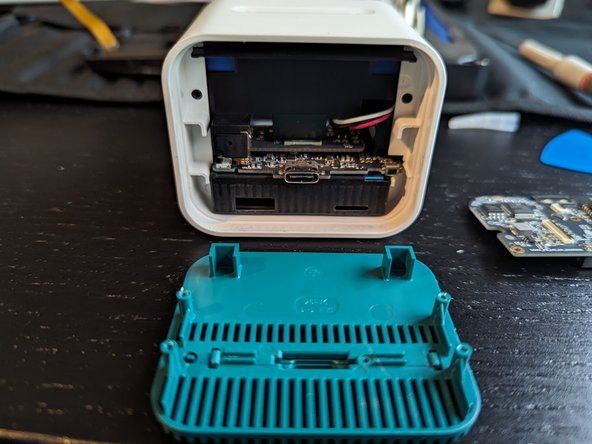
By slightly bending the cover you can lift the cover from the sensor housing
-
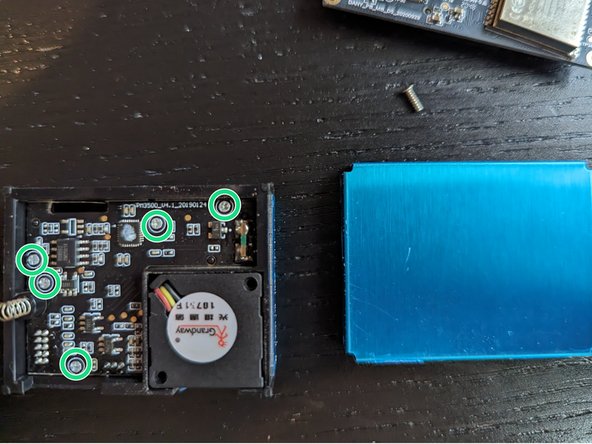
5 little philips screw hold the sesnor PCB in place. To access the fan connector you have to remove the pcb
-


To reassemble your device, follow these instructions in reverse order.
To reassemble your device, follow these instructions in reverse order.
İptal et: Bu kılavuzu tamamlamadım.
Bir başkası bu kılavuzu tamamladı.
2 Yorum
Thank you for the guide! The part number for a replacement sensor appears to be PMS7003. There are some minor cosmetic differences but it appears to function correctly. I would suggest conducting a calibration routine / making sure the sensor is exposed to exterior air a few times over the next few days.
Do you know whether the Air Monitor works when removing the battery? My air monitor is constantly running hot (temperature shown is ~3 Degrees higher than room temperature and I suspect a bad battery to be the culprit. It also only holds a charge for few minutes after disconnecting from power. I'd like to remove it for peace of mind and also to be able to use the temperature sensor again.