Bu kılavuzda güncel değişiklikler var. En son onaylanmamış sürüme geçin.
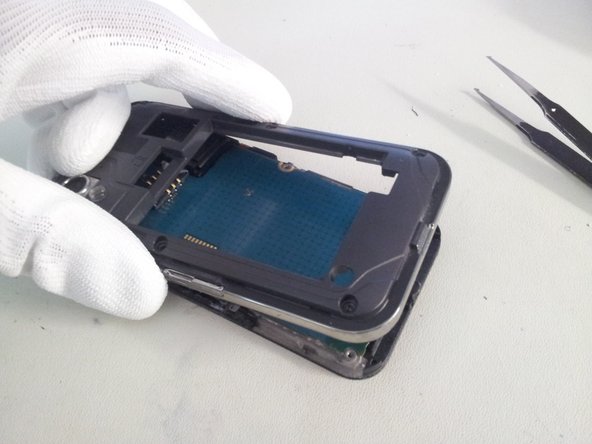
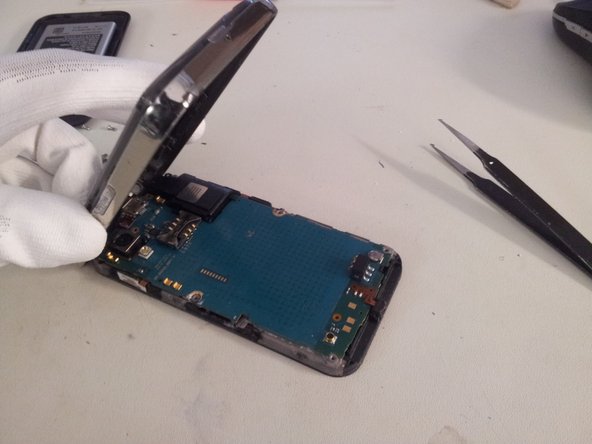
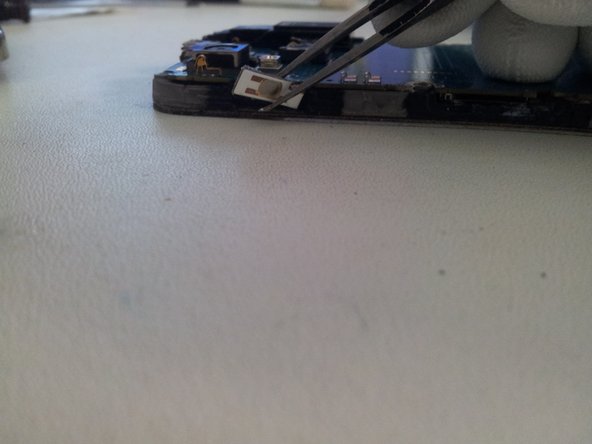
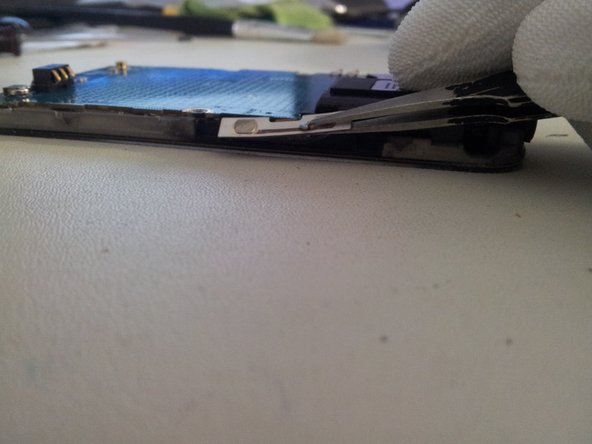
Neye ihtiyacın var


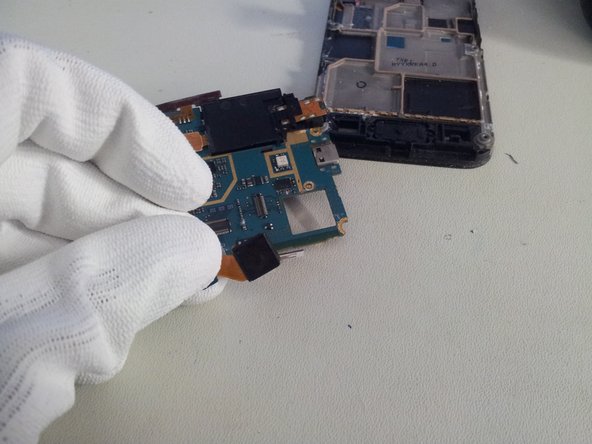


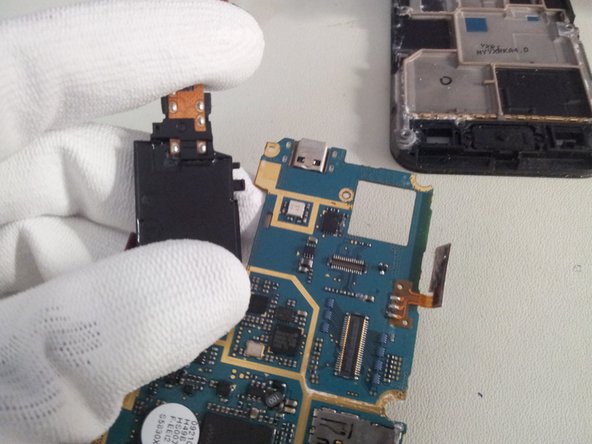

Neredeyse bitti!
To reassemble your device, follow these instructions in reverse order.
Sonuç
To reassemble your device, follow these instructions in reverse order.
İptal et: Bu kılavuzu tamamlamadım.
34 farklı kişi bu kılavuzu tamamladı.

2 Yorum
Thanks for the post. This is really Helpful
im curently selling one thx to you