Ana içeriğe geç
Onarım Topluluğuna Katılın - Hesap Oluşturun

Disassembling the Blue-Bot

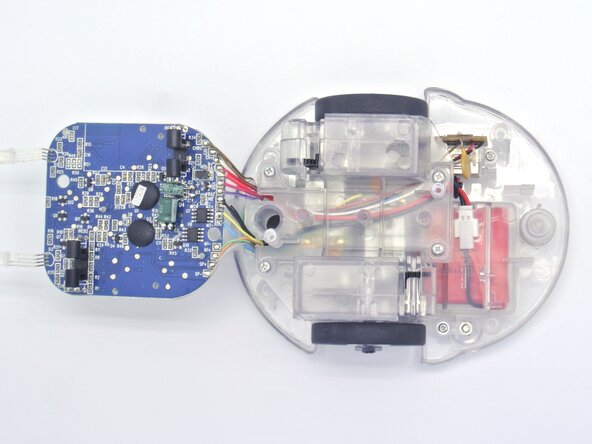
  1. Disassembling the Blue-Bot, Introduction: adım 1, 1 resimden 1.
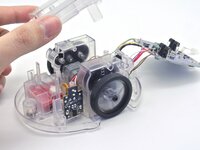
    • In this guide we will take a look at the internals of TTS's Blue-Bot and how we can completely disassemble it.

    FixBot'a Sor

    Yorum Ekle

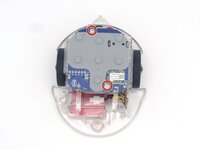
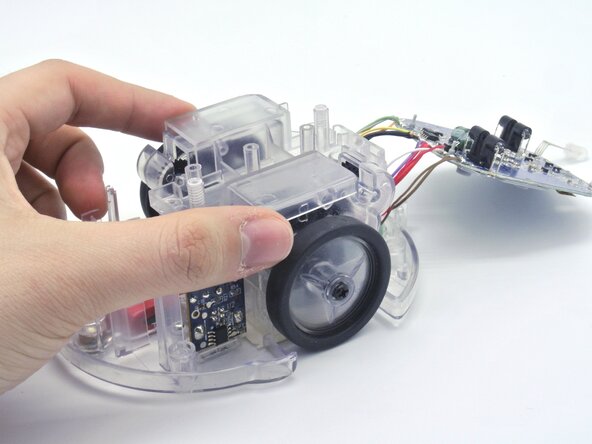
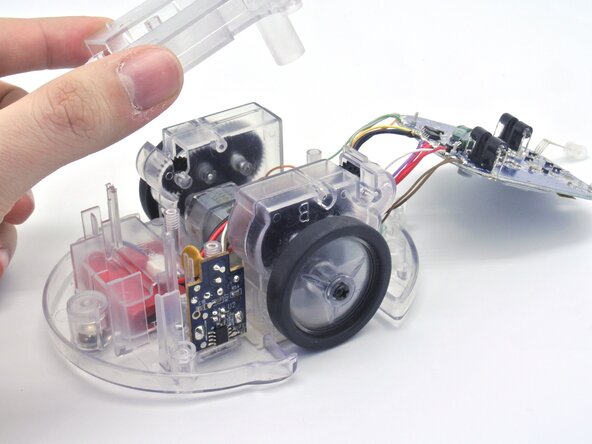
  2. Disassembling the Blue-Bot, Getting inside the robot: adım 2, 3 resimden 1. Disassembling the Blue-Bot, Getting inside the robot: adım 2, 3 resimden 2. Disassembling the Blue-Bot, Getting inside the robot: adım 2, 3 resimden 3.
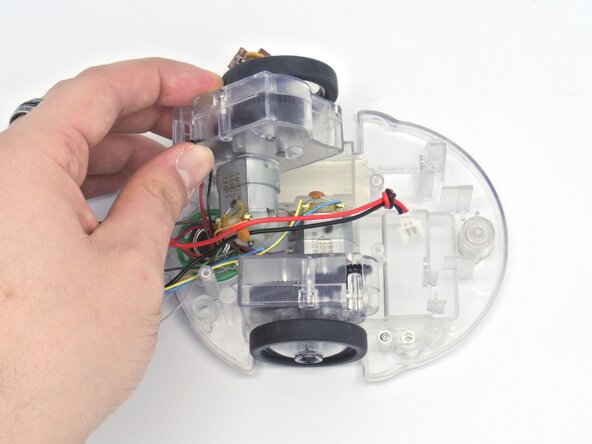
    • To open the Blue-Bot, remove the Phillips M3 screws and lift up the top cover.

    FixBot'a Sor

    Yorum Ekle

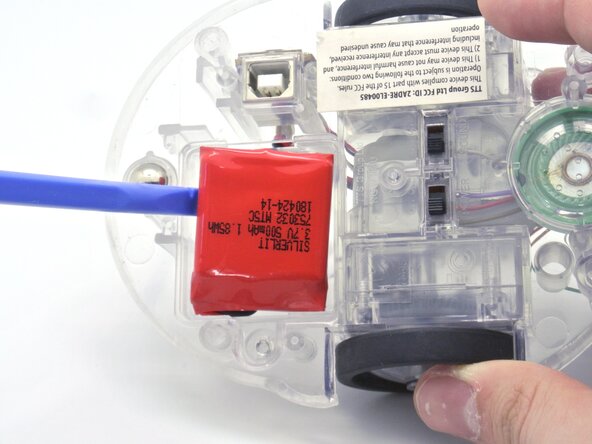
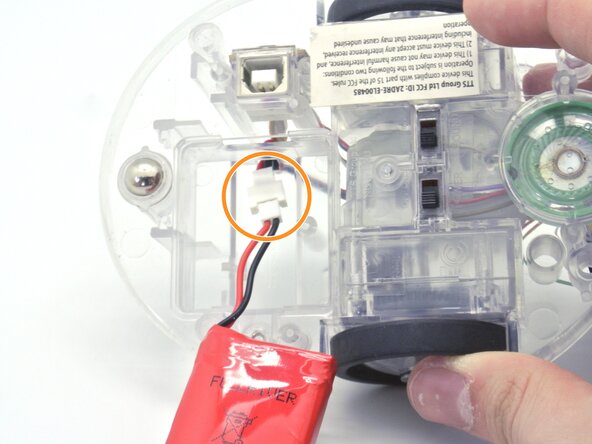
  3. Disassembling the Blue-Bot, Removing the battery: adım 3, 3 resimden 1. Disassembling the Blue-Bot, Removing the battery: adım 3, 3 resimden 2. Disassembling the Blue-Bot, Removing the battery: adım 3, 3 resimden 3.
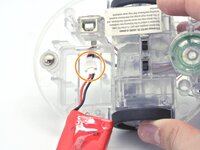
    • On the bottom of the robot, remove the Tri-angle screw.

    • This will reveal the battery that you need to disconnect to remove it.

    FixBot'a Sor

    Yorum Ekle

  4. Disassembling the Blue-Bot, Unglue the LEDs: adım 4, 2 resimden 1. Disassembling the Blue-Bot, Unglue the LEDs: adım 4, 2 resimden 2.
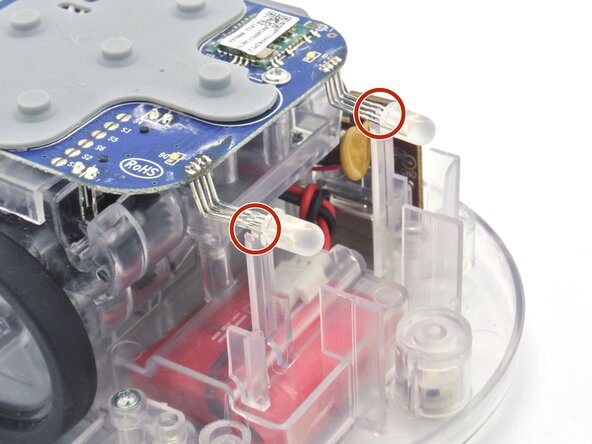
    • Now that the cover is off, we have access to the the PCB but before removing it the LEDs for the eyes are glued on the chassis.

    • With a hairdryer or a heat gun, we can soften the glue to remove it easily.

    • You can also remove the glue by force but you have to be careful to not break the LEDs.

    FixBot'a Sor

    Yorum Ekle

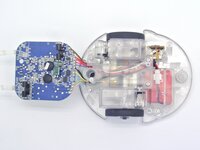
  5. Disassembling the Blue-Bot, Unscrewing the PCB: adım 5, 2 resimden 1. Disassembling the Blue-Bot, Unscrewing the PCB: adım 5, 2 resimden 2.
    • The next step is to remove the screws holding the PCB to the chassis.

    • Remove the two M3 screws and simply lift up the PCB.

    FixBot'a Sor

    Yorum Ekle

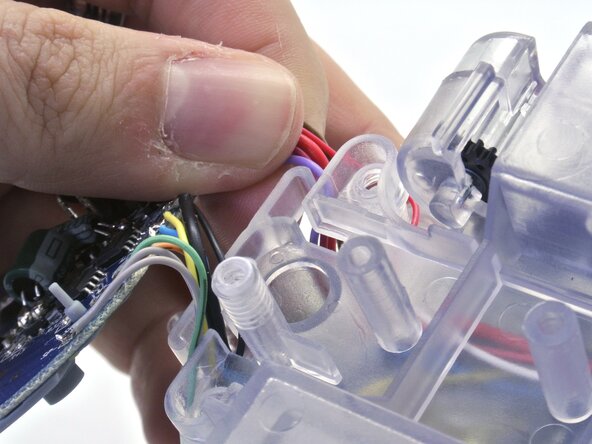
  6. Disassembling the Blue-Bot, Getting the cables out of the way: adım 6, 3 resimden 1. Disassembling the Blue-Bot, Getting the cables out of the way: adım 6, 3 resimden 2. Disassembling the Blue-Bot, Getting the cables out of the way: adım 6, 3 resimden 3.
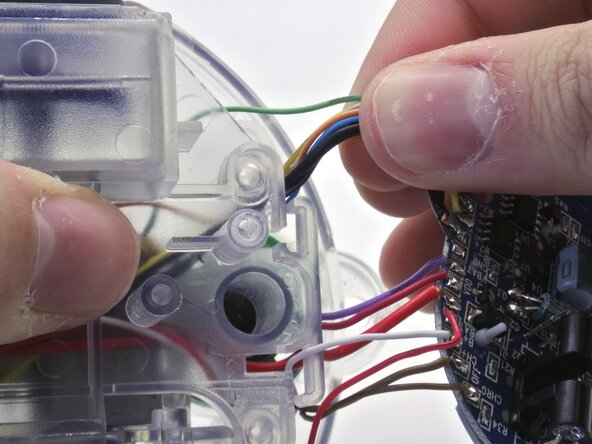
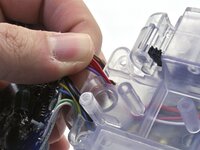
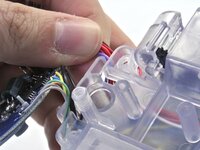
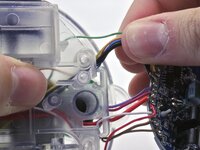
    • Before removing the plastic cover holding the motors we need to remove the PCB cables inserted in it.

    • These cables are very thin and weakly attached to the PCB so you need to remove them one by one and be sure not put too much force on them.

    FixBot'a Sor

    Yorum Ekle

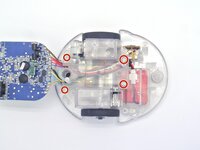
  7. Disassembling the Blue-Bot, Removing the plastic cover: adım 7, 3 resimden 1. Disassembling the Blue-Bot, Removing the plastic cover: adım 7, 3 resimden 2. Disassembling the Blue-Bot, Removing the plastic cover: adım 7, 3 resimden 3.
    • Remove the four Phillips M3 screws.

    • Simply lift the plastic cover and remove it.

    FixBot'a Sor

    Yorum Ekle

  8. Disassembling the Blue-Bot, Removing the USB connector: adım 8, 1 resimden 1.
    • To remove the USB connector, unscrew the two M3 screws on the side of the connector and lift.

    FixBot'a Sor

    Yorum Ekle

  9. Disassembling the Blue-Bot, Removing the motors: adım 9, 2 resimden 1. Disassembling the Blue-Bot, Removing the motors: adım 9, 2 resimden 2.
    • Now that everything is out of the way, you can just lift the motors up as shown.

    FixBot'a Sor

    Yorum Ekle

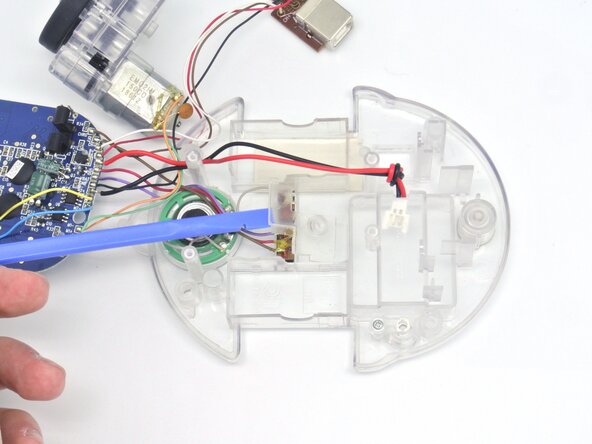
  10. Disassembling the Blue-Bot, Getting to the Switches: adım 10, 2 resimden 1. Disassembling the Blue-Bot, Getting to the Switches: adım 10, 2 resimden 2.
    • Remove the Phillips screw holding the plastic cover to get to the power and speaker switches.

    FixBot'a Sor

    Yorum Ekle

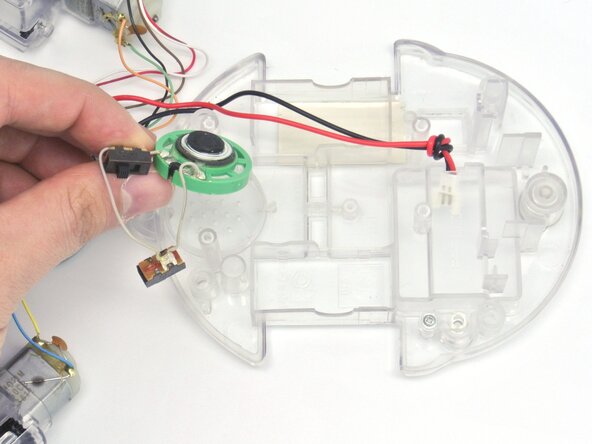
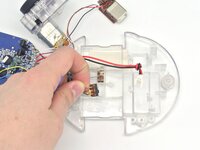
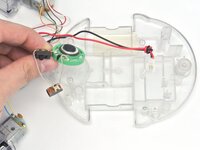
  11. Disassembling the Blue-Bot, Removing the Switches and Speaker: adım 11, 2 resimden 1. Disassembling the Blue-Bot, Removing the Switches and Speaker: adım 11, 2 resimden 2.
    • You can now remove the switches and the speaker from the chassis.

    FixBot'a Sor

    Yorum Ekle

  12. Disassembling the Blue-Bot, Conclusion: adım 12, 1 resimden 1.
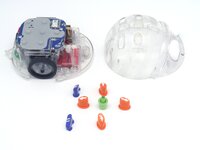
    • This concludes the Blue-Bot disassembly with all its different parts shown here.

    • Note: The only way to remove the battery connector is to remove solder on the PCB attaching the cable and pass the able through the hole.

    FixBot'a Sor

    Yorum Ekle

Sonuç

To reassemble your device, follow these instructions in reverse order!

İptal et: Bu kılavuzu tamamlamadım.

3 farklı kişi bu kılavuzu tamamladı.

Alexandre Aires Viegas

Üyelik tarihi: 03/07/25

1.686 İtibar

5 adet Kılavuz yazıldı

0Kılavuz Yorumları

Yorum Ekle

İstatistikleri Görüntüle:

Son 24 Saat: 1

Son 7 gün: 7

Son 30 gün: 49

Her zaman: 843