Giriş
You should have a basic understanding of tool usage (ie. screwdrivers)
Neye ihtiyacın var
-
-
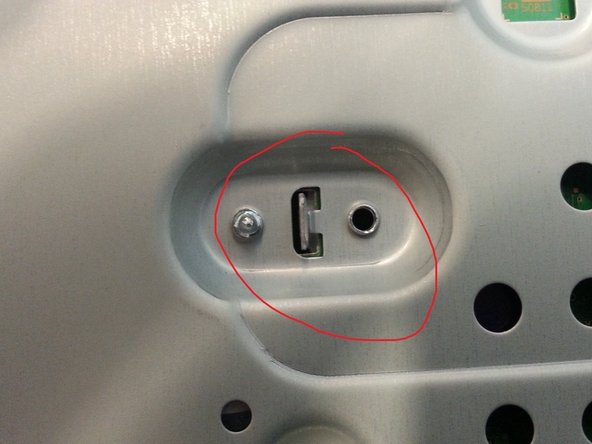
Remove the face plate by depressing the small plastic tab
-
*NOTE: eject disk tray first before dis-assembly to gain access.
-
-
-
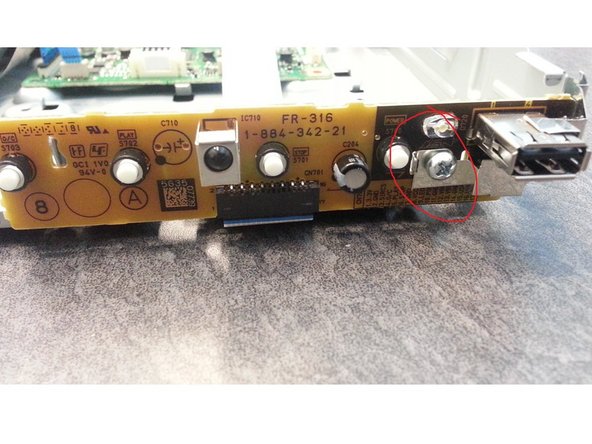
Release tabs on both left and right sides of unit while maintaining forward pressure to slide cover off.
-
*NOTE: The arrows depict where the tabs are located.
-
-
-
-
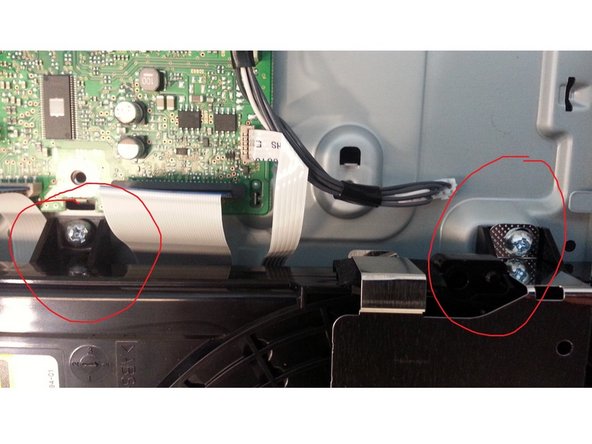
First remove metal shroud exposing tabs.
-
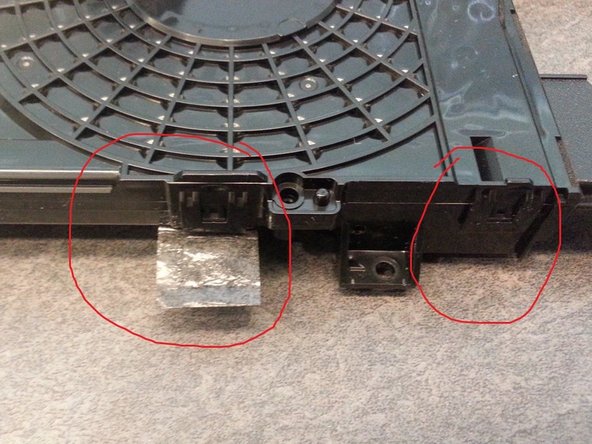
Peel back security tape and release all 4 tabs (2 on each side) for removal of top cover.
-
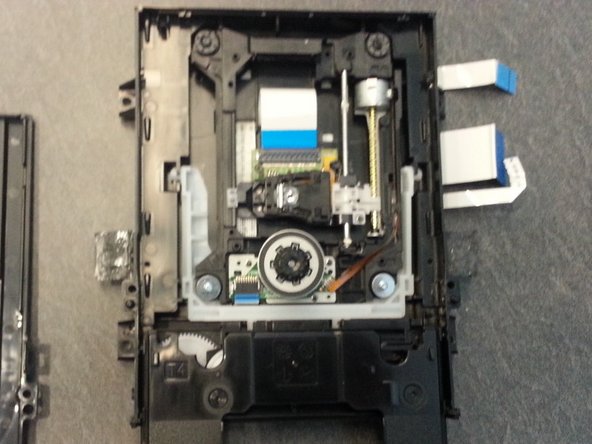
Now the internal components of the optical disc drive are now exposed.
-


To reassemble your device, follow these instructions in reverse order.
To reassemble your device, follow these instructions in reverse order.
İptal et: Bu kılavuzu tamamlamadım.
6 farklı kişi bu kılavuzu tamamladı.
7 Yorum
now I know I'm missing lots of parts...lol
Thanks! the hardest part was getting the tray out.
Cannon proceed past 3, I dont understand how you are supposed to release the tabs and press forward, I only have two hands. The tabs click back in place immediately and I don't have any place to get a grip of to remove the plate
exactly my question..
ideally you stick cocktail sticks in holes and label some instruction
on bare arm tactics
peter -
I had to fix the eject button. What a bad design... such thin plastic as a cantilever for the switches. Ended up super gluing the snapped part.
For my BDP-S185, there was a steel wire spring running through both the face plate and tray that came dislodged. I could not put it back in place, and two plastic tabs on the face plate broke. More detailed pictures of this step and the fine parts involved in the face plate to disk tray latching mechanism would be useful.
Tom Roden - Yanıt
For my SONY BDP-BX18, the instructions regarding the face-plate were not sufficiently detailed. It took some time to find the nearly invisible TWO tabs for removing the face plate. A better picture, at least with some indicators of where the tabs are would be desirable. From the outside, it also appeared that perhaps the buttons were preventing removal of the cover. A note that the buttons were part of the cover assembly and not physically attached to the circuit board would also have been helpful.
My problem was a broken disk eject button. I managed to figure out how to remove the button assembly without breaking it further. The two plastic pieces which attached the eject-button were broken. I repaired them with BONDIC UV-Activated plastic... We shall see how long the repair holds.
CB PlummerGuy - Yanıt
i had the same issue as CB PlummerGuy - a broken eject button. I managed to get the machine apart without breaking any tabs, but better instructions would be most desirable. For me i got thre tray cover off by very gently prying the cover away from the tray body while rotating the tray cover toward the bottom. The clips bent during removal but fortunately did not break. I know this is not the right way to do it, but i was lucky today. These machinesa are not meant to be taken apart or repaired. From the cheap construction it is apparent that Sony regards these as disposable. I find these regularly at goodwill for less than $10 - this is where i got mine. You get what you pay for
iCloneMeister - Yanıt