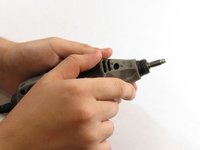
Ana içeriğe geç
Onarım Topluluğuna Katılın - Hesap Oluşturun

Dremel MultiPro 395 Casing Replacement

Neye ihtiyacın var

    1. Dremel MultiPro 395 Casing Replacement, Casing: adım 1, 2 resimden 1. Dremel MultiPro 395 Casing Replacement, Casing: adım 1, 2 resimden 2.
      Bu adımda kullanılan alet:
      Flathead 3/32" or 2.5 mm Screwdriver
      $5.49
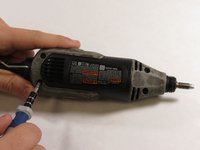
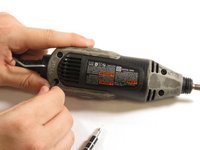
      • Remove the blue caps located on either side of the MultiPro, using a 3 mm flathead screwdriver.

      FixBot'a Sor

      Yorum Ekle

    2. Dremel MultiPro 395 Casing Replacement: adım 2, 2 resimden 1. Dremel MultiPro 395 Casing Replacement: adım 2, 2 resimden 2.
      • Carefully remove the carbon brushes attached at the end of the springs by gently pulling on the springs using your hands.

      FixBot'a Sor

      Yorum Ekle

    3. Dremel MultiPro 395 Casing Replacement: adım 3, 2 resimden 1. Dremel MultiPro 395 Casing Replacement: adım 3, 2 resimden 2.
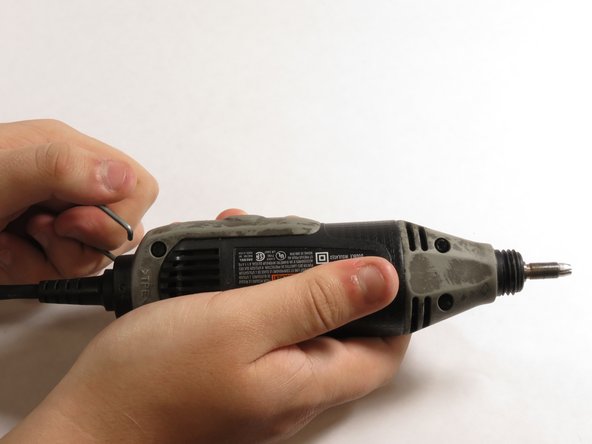
      • Pull one side of the hanger up and then pull away from the Multipro until the other side can be pulled out.

      FixBot'a Sor

      Yorum Ekle

    4. Dremel MultiPro 395 Casing Replacement: adım 4, 3 resimden 1. Dremel MultiPro 395 Casing Replacement: adım 4, 3 resimden 2. Dremel MultiPro 395 Casing Replacement: adım 4, 3 resimden 3.
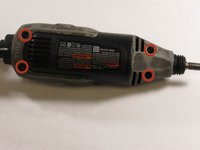
      • Remove the 4 screws located on the bottom of the Multipro with a T15 screwdriver.

      FixBot'a Sor

      Yorum Ekle

    5. Dremel MultiPro 395 Casing Replacement: adım 5, 3 resimden 1. Dremel MultiPro 395 Casing Replacement: adım 5, 3 resimden 2. Dremel MultiPro 395 Casing Replacement: adım 5, 3 resimden 3.
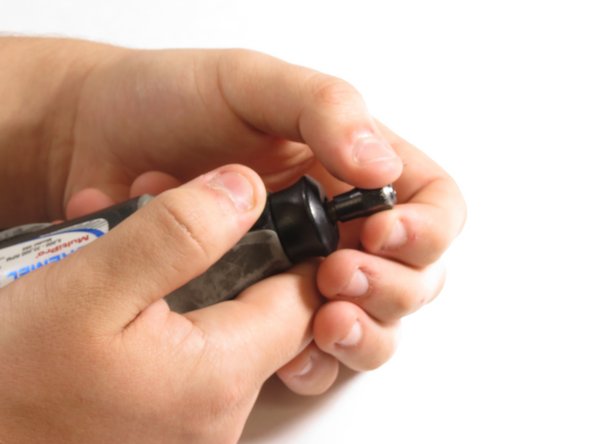
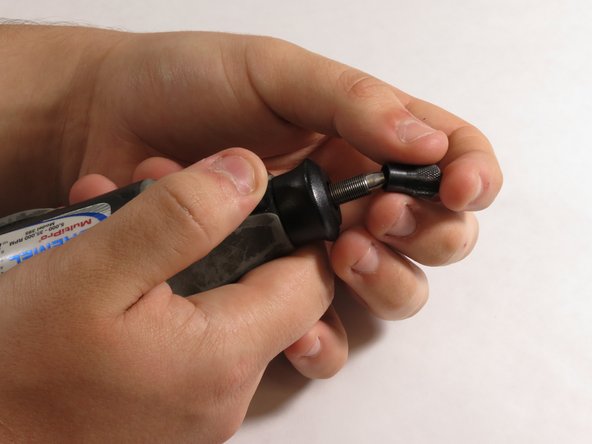
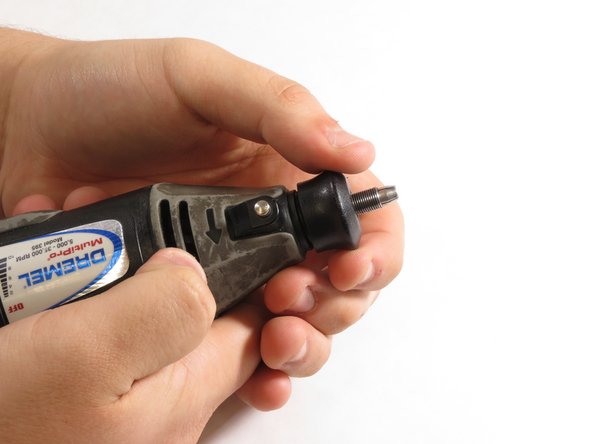
      • Hold down the collet lock, remove the chuck cap from the top of the Multipro by screwing counterclockwise.

      FixBot'a Sor

      Yorum Ekle

    6. Dremel MultiPro 395 Casing Replacement: adım 6, 3 resimden 1. Dremel MultiPro 395 Casing Replacement: adım 6, 3 resimden 2. Dremel MultiPro 395 Casing Replacement: adım 6, 3 resimden 3.
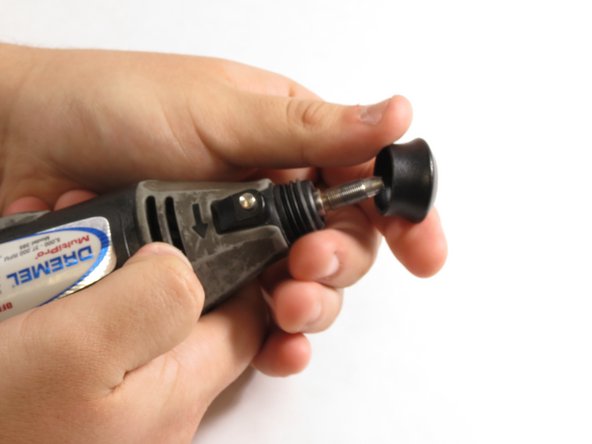
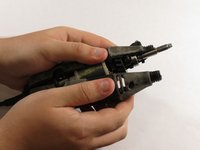
      • Remove the black housing cap from the Multipro located directly below the chuck cap.

      FixBot'a Sor

      Yorum Ekle

    7. Dremel MultiPro 395 Casing Replacement: adım 7, 3 resimden 1. Dremel MultiPro 395 Casing Replacement: adım 7, 3 resimden 2. Dremel MultiPro 395 Casing Replacement: adım 7, 3 resimden 3.
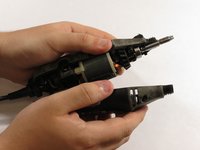
      • Pull the bottom side of the casing up to remove it.

      FixBot'a Sor

      Yorum Ekle

    8. Dremel MultiPro 395 Casing Replacement: adım 8, 3 resimden 1. Dremel MultiPro 395 Casing Replacement: adım 8, 3 resimden 2. Dremel MultiPro 395 Casing Replacement: adım 8, 3 resimden 3.
      • Gently lift the motor shaft out of the Multipro.

      FixBot'a Sor

      Yorum Ekle

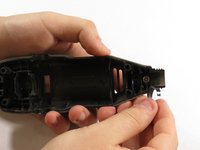
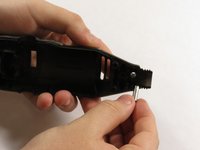
    9. Dremel MultiPro 395 Casing Replacement: adım 9, 3 resimden 1. Dremel MultiPro 395 Casing Replacement: adım 9, 3 resimden 2. Dremel MultiPro 395 Casing Replacement: adım 9, 3 resimden 3.
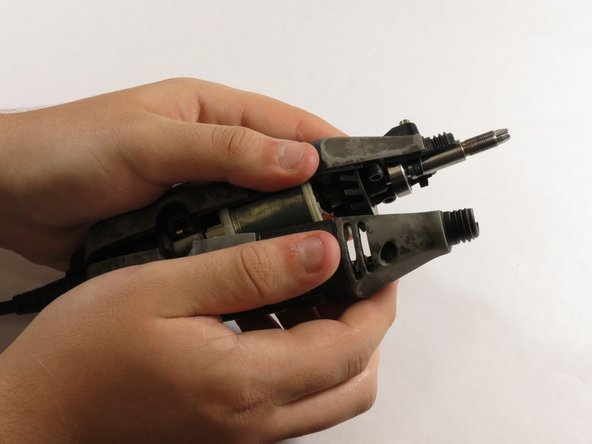
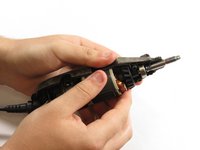
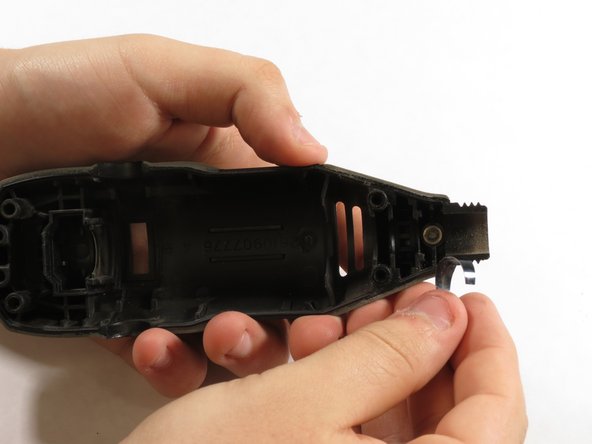
      • Pull the lock pin and its casing out of the other side of the Multipro case.

      FixBot'a Sor

      Yorum Ekle

Sonuç

To reassemble your device, follow these instructions in reverse order.

İptal et: Bu kılavuzu tamamlamadım.

3 farklı kişi bu kılavuzu tamamladı.

2Kılavuz Yorumları

A link to parts is always nice,

bari - Yanıt Paylaş

Yay! Got my old 395 warrior back to working condition! Many thanks!

Eduardo Capocchi - Yanıt Paylaş

Yorum Ekle

İstatistikleri Görüntüle:

Son 24 Saat: 0

Son 7 gün: 12

Son 30 gün: 37

Her zaman: 2,918