Giriş
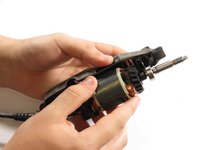
This replacement guide will show how to a replace a faulty on/off switch on the Dremel MultiPro 395.
Neye ihtiyacın var
-
Bu adımda kullanılan alet:Flathead 3/32" or 2.5 mm Screwdriver$5.49
-
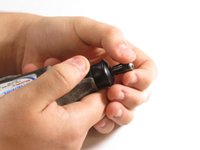
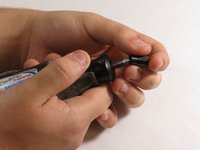
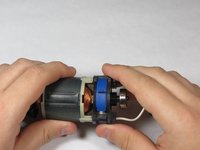
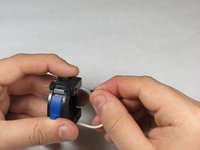
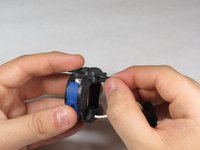
Remove the blue caps located on either side of the MultiPro, using a 3 mm flathead screwdriver.
 FixBot'a Sor
-
-
-
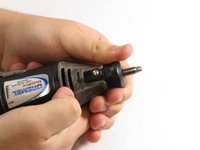
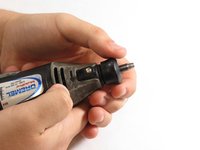
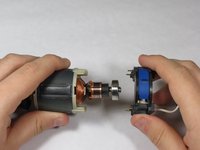
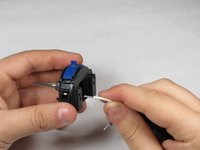
Carefully remove the carbon brushes attached at the end of the springs by gently pulling on the springs using your hands.
-
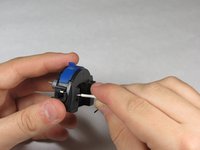
Inspect brushes at this time. If they are approching 1/8" in length, they will need replacement soon.
-
-
-
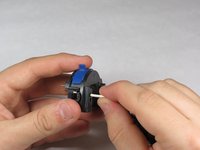
Pull one side of the hanger up and then pull away from the Multipro until the other side can be pulled out.
-
-
-
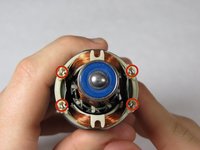
Remove the 4 15mm screws located on the bottom of the Multipro with a T-15 screwdriver.
-
-
-
-
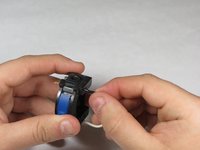
Hold down the collet lock, remove the chuck cap from the top of the Multipro by screwing counterclockwise.
-
-
-
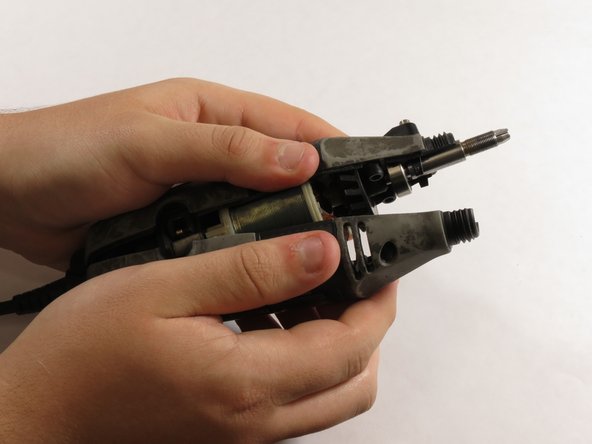
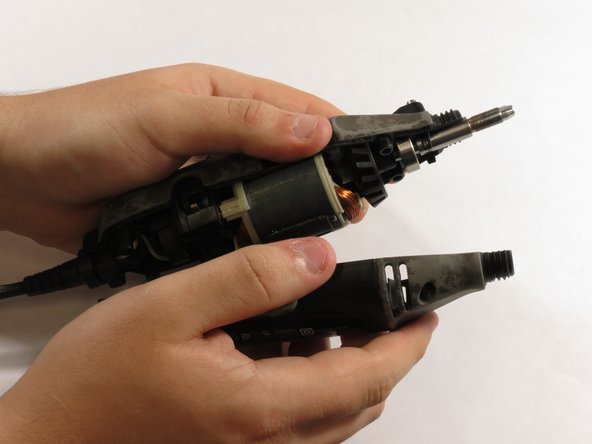
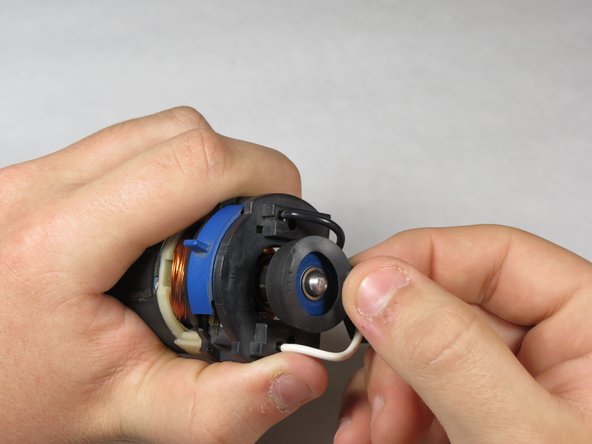
Remove the black housing cap from the Multipro located directly below the chuck cap.
-
-
-
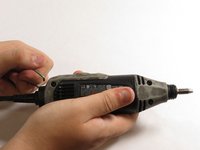
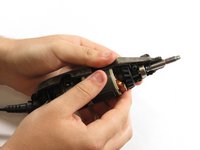
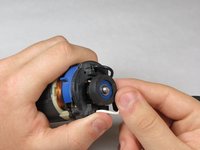
Pull the on/off switch off of the 120V field, paying careful attention to the prongs on the on/off switch.
-
For reassembly, make sure the prongs are touching the metal connecters on the bottom of the 120V field.
-
-
-
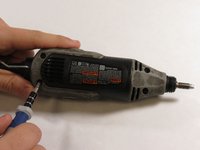
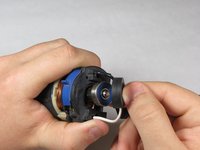
Remove the 2 wires on the back of the switch, connecting the cord to the switch, by inserting a small metal pick into the hole next to the wires and pulling the pick and the wire out together.
-
-
-
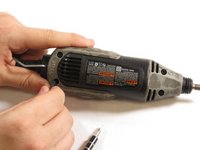
Carefully insert the wires into the new switch making sure the white wire is attached to left hand side and the black wire is attached to the right hand side when the switch is facing up. By pushing the wires in with your hand.
-


To reassemble your device, follow these instructions in reverse order.
İptal et: Bu kılavuzu tamamlamadım.
17 farklı kişi bu kılavuzu tamamladı.
Ekip

University of Kentucky Louisville, Team 1-5, Mathis Fall 2014 University of Kentucky Louisville, Team 1-5, Mathis Fall 2014 üyesi
LOUISVILLE-MATHIS-F14S1G5
5 Üyeler
5 adet Kılavuz yazıldı
11Kılavuz Yorumları
Useful.
You do not have to always replace the switch.
You may instead clean it. Just did that.
Alas I didn' t take any picture, (I'm not accustomed to tablets and thought would take too much time).
Switch's surface that faces mains cable is a lid held by four built-in pins that go in its corners; they end in hooks that latch in the body of switch. When you take out the lid you have ample access to the switch itself. It is actually a potentiometer. Mine was covered by dust and grease, after cleaning with Xerox film remover it functioned again, (if I had had it, I would have just used alcohol)
To remove lid I just used a small not too sharp knife to pry between the lid and the body of switch, going slowly and lifting each corner just a little rrpeating that in order severa times.
I too discovered that I could clean the potentiometer switch, and was then able to get it to function normally. Alas, I had already purchased the replacement switch, along with a spare set of brushes. I was quite surprised, by the amount of carbon remaining on the original brushes, especially considering the amount of use this particular Dremel MultiPro, Model #395 has logged! I found that simply by disassembling my unit, and blowing our the accumulated dust and gunk, yes that's a word in this man's vocabulary, it was ready to be reassembled, and has been working smoothly ever since! The fix-it directions provided here, were both simple and easy to follow, in addition to being filled with pictures. I am one of those who is very much, a visual learner. Kudos to the individual who produced this fix-it segment! A. Daniel Kunz - Nov. 23 2016
Weird. I replaced with a new switch and the “no inbetween speeds” sympton still remains. Measured the voltage in my shop and it is 125-127V so I should be fine. Dunno what else to do.
Nice write-up! Thank you… I have a Model 395, Type 4, and pretty sure I have a switch problem… Took the unit apart and cleaned with alcohol, but no change… The tool ramps up to speed (seemingly correctly) until I reach about 3-to-3-1/2 on the switch. It then levels-off at that same speed through the “4” setting, and then completely quits at 4-1/2-to-5 setting on the switch… It does that every time.. So the 3-1/2 speed setting is about as fast as it goes…
This familiar to anyone else? Again, pretty well convinced it’s a switch issue, but just thought I’d post to see if anyone else has experienced this, and the solution… Thanks!
Dremel MultiPro Model 395 Type5
Motor fails to run by itself. If I place the speed switch at setting 5 and then turn the chuck counter clockwise by hand, the motor runs at high speed. When I Iower the speed control to 4.3,2,1, the motor stops running. I thought it might be the brushes so I installed a new set of brushes. Dremel part # 90930-05. This has not solved the problem. The switch moves from 1 to 5 very smoothly without stopping at any settings between 1 and 5.
I normally use the Dremel on high speed. Any way to jump the switch so it only runs on high speed?