Giriş
This guide will show you how to remove the bottom or lower casing of your EasySMX X15 controller. Whether the bottom case is damaged due to cracks or wear, or you just want to change the style, this guide walks you through the process.
You may also need to remove the bottom casing to access the internal components of your controller.
Before you begin the repair, turn off the controller and make sure it is disconnected from your console or PC.
Neye ihtiyacın var
-
-
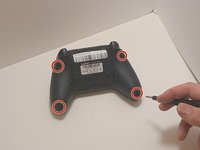
Use a Phillips #00 screwdriver to remove the four 9 mm screws from the bottom of the EasySMX X15.
-
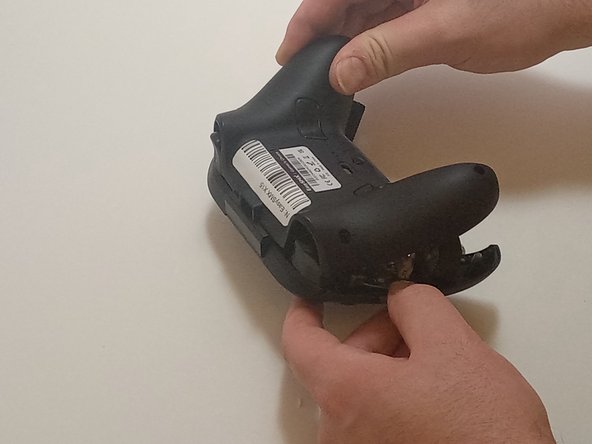
Use an opening tool to gently pry between the seams of the controller to separate the lower and upper casings.
-
-


To reassemble your device, follow these instructions in reverse order.
To reassemble your device, follow these instructions in reverse order.

Ekip

Austin Community College, Team 7-3, Watkins Fall 2024 Austin Community College, Team 7-3, Watkins Fall 2024 üyesi
AUSTINCC-WATKINS-F24S7G3
3 Üyeler
7 adet Kılavuz yazıldı