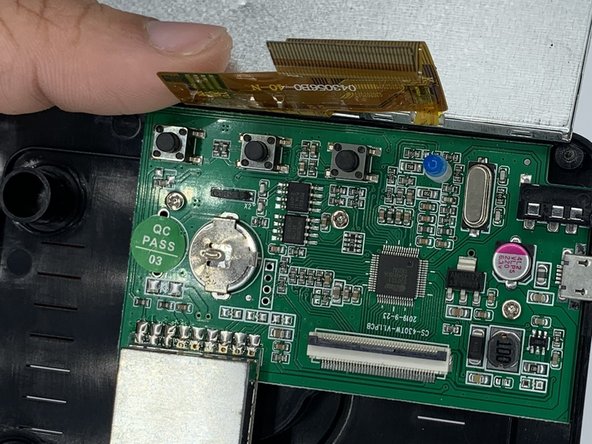
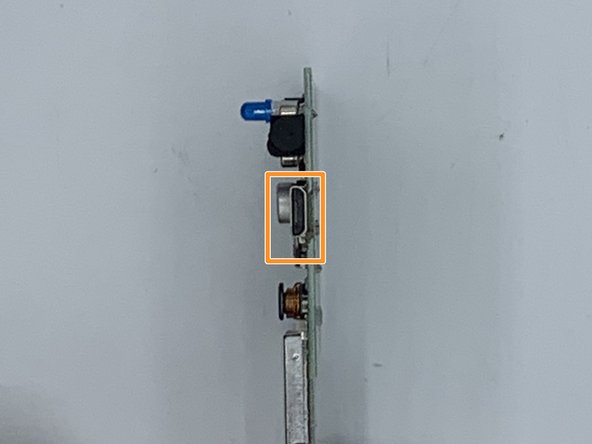
Ana içeriğe geç

EchoMaster MRC-WLP43 Wire Port Replacement

Neye ihtiyacın var

  1. EchoMaster MRC-WLP43 Wire Port Replacement, Wire Port: adım 1, 1 resimden 1.
    • Take your monitor and face in down so that the back is facing up. There will be four screws on each corner of the monitors back cover. Unscrew each one and set them to the side. Remove four 1.2 mm Phillips #1 screws.

    • Don't lose your screws!

  2. EchoMaster MRC-WLP43 Wire Port Replacement: adım 2, 2 resimden 1. EchoMaster MRC-WLP43 Wire Port Replacement: adım 2, 2 resimden 2.
    • Carefully lift the back along with the screen then flip it around slowly so the back is placed down on the table.

    • The back is connected to the motherboard and screen so lift with caution!

    • Lift your screen above the motherboard and set it down.

  3. EchoMaster MRC-WLP43 Wire Port Replacement: adım 3, 1 resimden 1.
    • There are three screws on the motherboard. Unscrew each one of the three 1.4 mm Phillips #1 screws.

    • Don't lose your screws

  4. EchoMaster MRC-WLP43 Wire Port Replacement: adım 4, 2 resimden 1. EchoMaster MRC-WLP43 Wire Port Replacement: adım 4, 2 resimden 2.
    • Once the screws are out, you can then remove the yellow strip connecting the screen to the motherboard.

    • There is a black tab that you can carefully flip up with your fingernail or a flathead screwdriver. Once it's flipped up you can easily slide the yellow ribbon out.

  5. EchoMaster MRC-WLP43 Wire Port Replacement: adım 5, 2 resimden 1. EchoMaster MRC-WLP43 Wire Port Replacement: adım 5, 2 resimden 2.
    • When everything is unscrewed and removed you can take your motherboard out.

    • Your charger port is attached to the motherboard. To replace it you can simply retrace these steps.

Sonuç

To reassemble your device, follow these instructions in reverse order.

0 Yorum

Yorum Ekle

İstatistikleri Görüntüle:

Son 24 Saat: 0

Son 7 gün: 0

Son 30 gün: 4

Her zaman: 52