Ana içeriğe geç

Edco KL14 Arbor Replacement

Neye ihtiyacın var

  1. Edco KL14  Arbor Replacement, Disengage the Spark Plug: adım 1, 2 resimden 1. Edco KL14  Arbor Replacement, Disengage the Spark Plug: adım 1, 2 resimden 2.
    • Before you begin, ensure that the machine is powered down and cool to the touch.

    • Disconnect the spark plug to prevent the engine from accidentally starting up during service:

    • Grab the plastic spark plug cap at the end of the spark plug wire.

    • Firmly pull to disconnect the spark plug cap from the spark plug.

  2. Edco KL14  Arbor Replacement, Place Wheel Chocks: adım 2, 3 resimden 1. Edco KL14  Arbor Replacement, Place Wheel Chocks: adım 2, 3 resimden 2. Edco KL14  Arbor Replacement, Place Wheel Chocks: adım 2, 3 resimden 3.
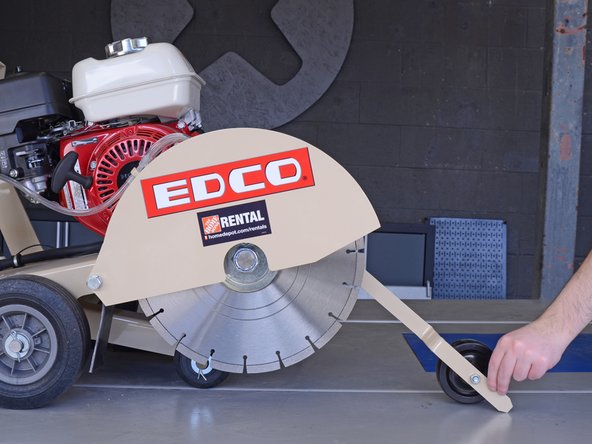
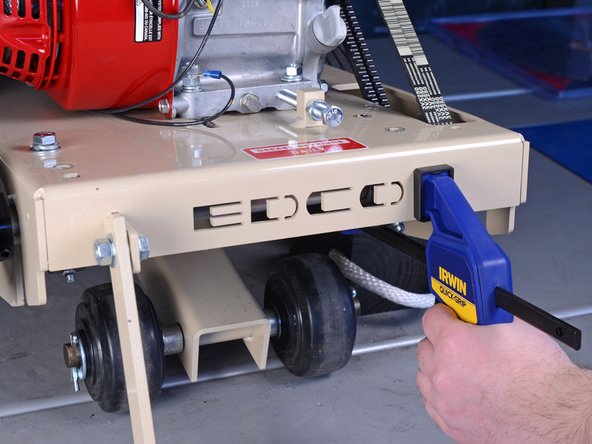
    • To prevent the concrete saw from rolling during service, place wheel chocks in front of and behind a rear wheel.

  3. Edco KL14  Arbor Replacement, Remove the Arbor Guard: adım 3, 2 resimden 1. Edco KL14  Arbor Replacement, Remove the Arbor Guard: adım 3, 2 resimden 2.
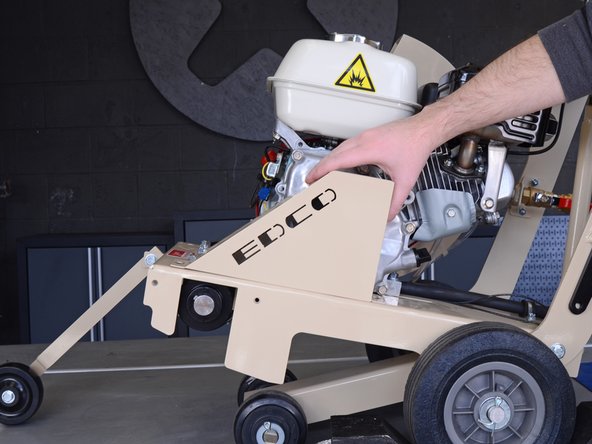
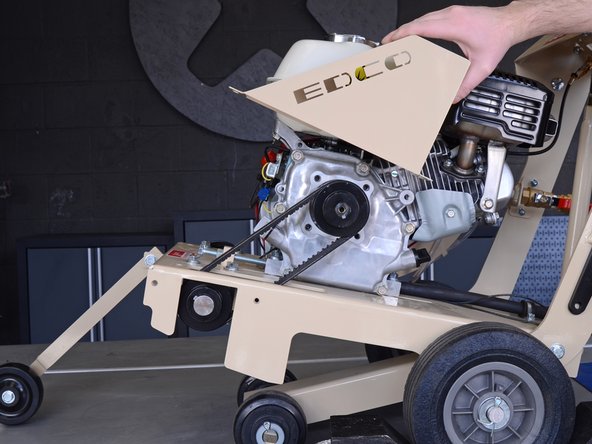
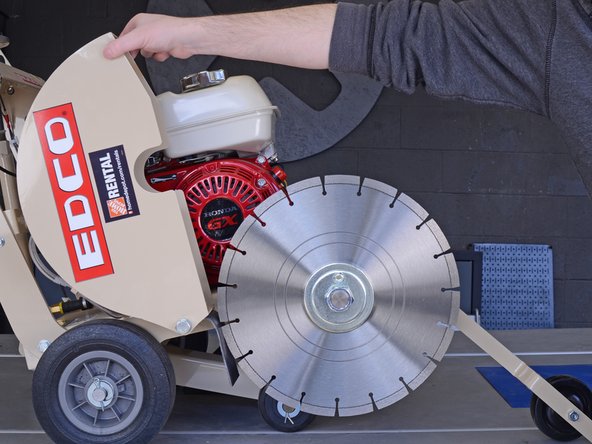
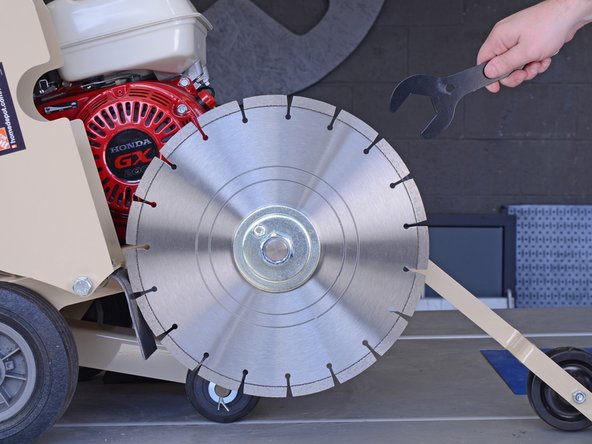
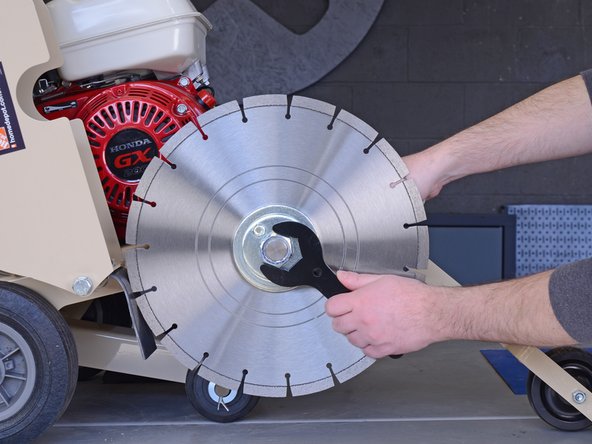
    • Use a 3/8-inch wrench to remove the two bolts securing the arbor guard.

    • Remove the arbor guard.

  4. Edco KL14  Arbor Replacement, Remove the Belt Guard: adım 4, 3 resimden 1. Edco KL14  Arbor Replacement, Remove the Belt Guard: adım 4, 3 resimden 2. Edco KL14  Arbor Replacement, Remove the Belt Guard: adım 4, 3 resimden 3.
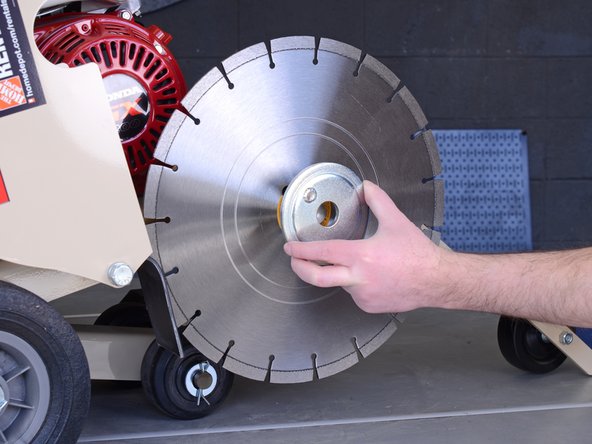
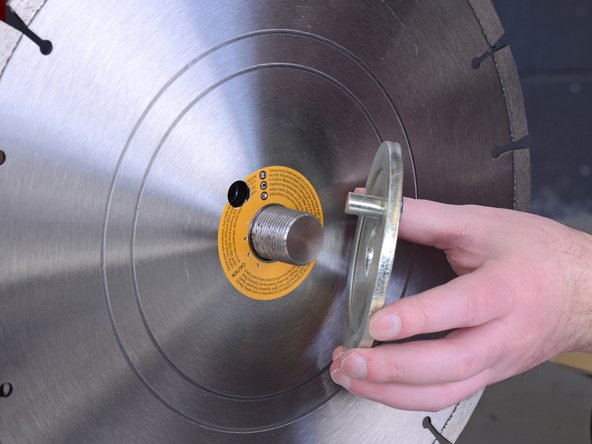
    • Use a 3/8-inch wrench to remove the two bolts securing the belt guard.

    • Remove the belt guard.

  5. Edco KL14  Arbor Replacement, Arbor: adım 5, 2 resimden 1. Edco KL14  Arbor Replacement, Arbor: adım 5, 2 resimden 2.
    • Lower the guide bar all the way down until it rests on the work surface.

  6. Edco KL14  Arbor Replacement, Remove the Blade: adım 6, 1 resimden 1.
    • Use a 9/16-inch wrench to remove the bolt securing the blade cover.

  7. Edco KL14  Arbor Replacement: adım 7, 1 resimden 1.
    • Use a 3/4-inch wrench to loosen the blade cover pivot bolt, but do not remove it.

  8. Edco KL14  Arbor Replacement: adım 8, 2 resimden 1. Edco KL14  Arbor Replacement: adım 8, 2 resimden 2.
    • Raise the blade cover all the way up to expose the cutting blade.

    • Work slowly and take extra precautions when working around the exposed cutting blade.

  9. Edco KL14  Arbor Replacement: adım 9, 3 resimden 1. Edco KL14  Arbor Replacement: adım 9, 3 resimden 2. Edco KL14  Arbor Replacement: adım 9, 3 resimden 3.
    • Use the included wrenches to remove the jam nut securing the cutting blade to the arbor.

    • Use one wrench behind the blade to secure the arbor in place as you use the other wrench to remove the jam nut.

    • The jam nut is accompanied by a lock washer. Be sure to retain it for reinstallation.

  10. Edco KL14  Arbor Replacement: adım 10, 3 resimden 1. Edco KL14  Arbor Replacement: adım 10, 3 resimden 2. Edco KL14  Arbor Replacement: adım 10, 3 resimden 3.
    • Remove the blade cap.

    • Reassembly Tip: Make sure the pin on the blade cap lines up with the holes on the blade and arbor.

  11. Edco KL14  Arbor Replacement: adım 11, 3 resimden 1. Edco KL14  Arbor Replacement: adım 11, 3 resimden 2. Edco KL14  Arbor Replacement: adım 11, 3 resimden 3.
    • Remove the blade from the arbor.

    • Use extreme care while removing the blade to avoid injury.

  12. Edco KL14  Arbor Replacement: adım 12, 1 resimden 1.
    • Use a 9/16-inch wrench to remove the four bolts securing the arbor assembly to the concrete saw.

  13. Edco KL14  Arbor Replacement: adım 13, 2 resimden 1. Edco KL14  Arbor Replacement: adım 13, 2 resimden 2.
    • Support the arbor assembly from the bottom and tilt the left side down to remove it from the belts.

  14. Edco KL14  Arbor Replacement: adım 14, 2 resimden 1. Edco KL14  Arbor Replacement: adım 14, 2 resimden 2.
    • Remove the arbor assembly.

    • Reassembly Tip: Reinstall a mounting bolt on the blade side to hold the arbor assembly in place. Then use a clamp to help line up the remaining mounting bolt holes, as the tension of the belts will make it difficult to do this by hand.

Sonuç

To reassemble your device, follow these instructions in reverse order.

Craig Lloyd

Üyelik tarihi: 02/10/16

35.351 İtibar

82 adet Kılavuz yazıldı

Bir Yorum

I'd really like to see this type of guide done on a machine that has been USED by say rental customers! I do appreciate the guides but they are somewhat unrealistic because everything is new. Also, I didn't see a part number for a whole and assembled arbor. That would be nice to have.

MICHEL - Yanıt

Yorum Ekle

İstatistikleri Görüntüle:

Son 24 Saat: 1

Son 7 gün: 5

Son 30 gün: 21

Her zaman: 944