Bu sürüm, hatalı düzenlemeler içerebilir. En son doğrulanmış bellek kopyası dönün.
Neye ihtiyacın var
-
Bu adım çevrilmemiş. Çevrilmesine yardım edin
-
Remove the 10 mm Phillips #1 screw from the battery cover.
-
Remove the battery cover.
-
-
-
Bu adım çevrilmemiş. Çevrilmesine yardım edin
-
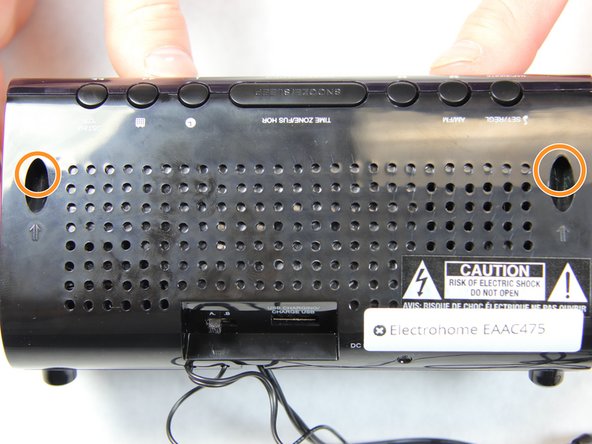
Remove the two 10 mm Phillips #1 screws from the bottom of the device.
-
Remove two 10 mm Phillips #1 screws from the back side of the device.
-
-
Bu adım çevrilmemiş. Çevrilmesine yardım edin
-
Carefully and slowly pull the lower case away from the rest of the device.
-
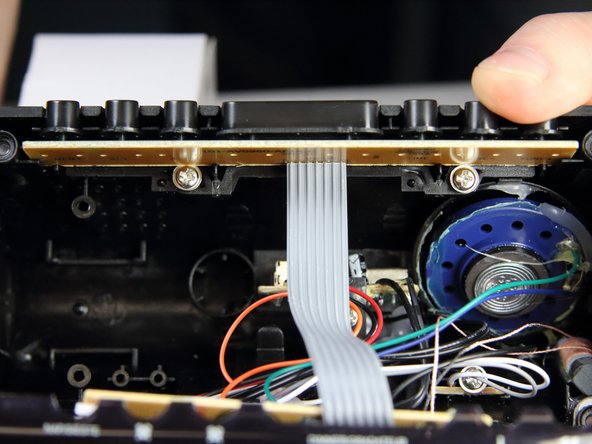
Flip the device over to access the button assembly.
-
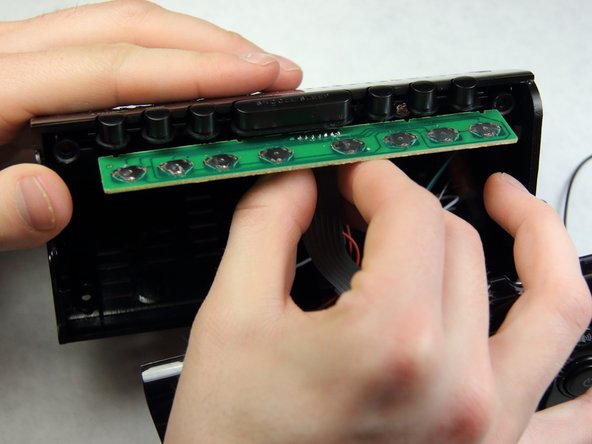
Slowly remove the button contact board from the assembly.
-
-
Bu adım çevrilmemiş. Çevrilmesine yardım edin
-
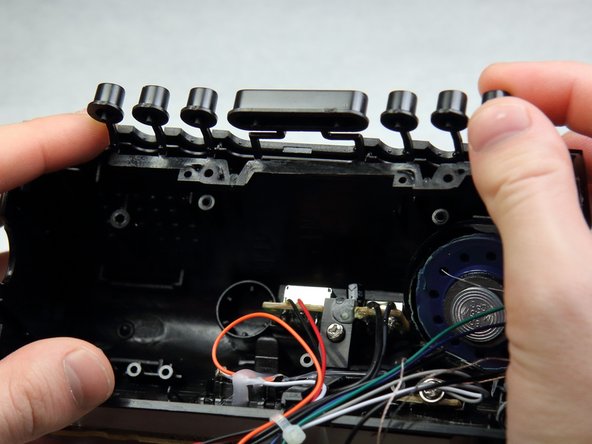
Remove the two 7 mm Phillips # 1 screws holding the buttons.
-
Remove the plastic buttons.
-


Ekip

IUPUI, Team 2-1, Harley Spring 2016 IUPUI, Team 2-1, Harley Spring 2016 üyesi
IUPUI-HARLEY-S16S2G1
4 Üyeler
6 adet Kılavuz yazıldı