Ana içeriğe geç
Onarım Topluluğuna Katılın - Hesap Oluşturun

Electrohome EAAC475 Projector Lens Replacement

Neye ihtiyacın var

    1. Electrohome EAAC475 Projector Lens Replacement, Battery: adım 1, 2 resimden 1. Electrohome EAAC475 Projector Lens Replacement, Battery: adım 1, 2 resimden 2.
      • Remove the 10 mm Phillips #1 screw from the battery cover.

      • Remove the battery cover.

      FixBot'a Sor

      Yorum Ekle

    2. Electrohome EAAC475 Projector Lens Replacement: adım 2, 1 resimden 1.
      • Remove the flat lithium battery.

      FixBot'a Sor

      Yorum Ekle

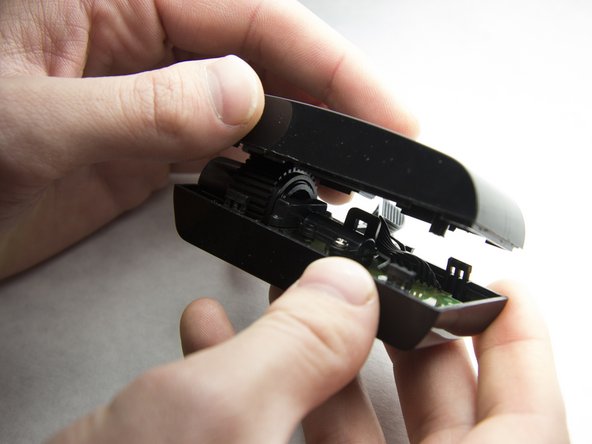
    1. Electrohome EAAC475 Projector Lens Replacement, Projector Lens: adım 3, 1 resimden 1.
      • Slowly and carefully move one side away from another without detaching anything on the device.

      FixBot'a Sor

      Yorum Ekle

    2. Electrohome EAAC475 Projector Lens Replacement: adım 4, 1 resimden 1.
      • Detach the projector.

      FixBot'a Sor

      Yorum Ekle

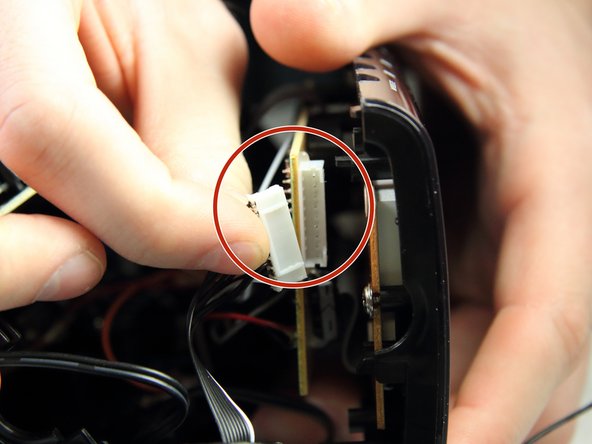
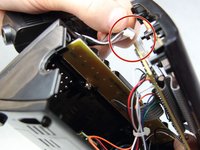
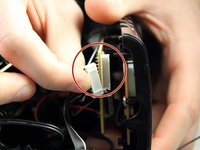
    3. Electrohome EAAC475 Projector Lens Replacement: adım 5, 2 resimden 1. Electrohome EAAC475 Projector Lens Replacement: adım 5, 2 resimden 2.
      • Unplug the projector's connector from the circuit board.

      FixBot'a Sor

      Yorum Ekle

    4. Electrohome EAAC475 Projector Lens Replacement: adım 6, 1 resimden 1.
      • Take off the rubber ring.

      FixBot'a Sor

      Yorum Ekle

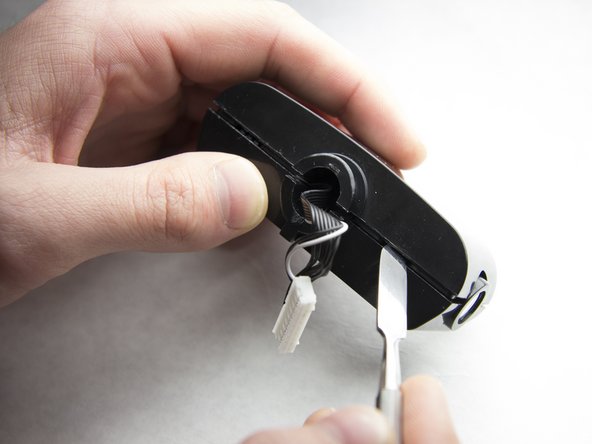
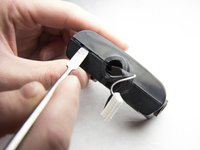
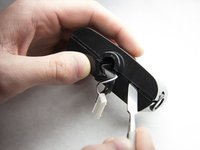
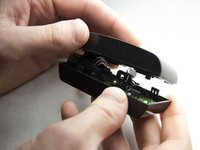
    5. Electrohome EAAC475 Projector Lens Replacement: adım 7, 3 resimden 1. Electrohome EAAC475 Projector Lens Replacement: adım 7, 3 resimden 2. Electrohome EAAC475 Projector Lens Replacement: adım 7, 3 resimden 3.
      • Using a metal spudger, pry into the crease until it separates enough to slip the spudger between the pieces.

      • Slide the tool along the crease to separate.

      FixBot'a Sor

      Yorum Ekle

    6. Electrohome EAAC475 Projector Lens Replacement: adım 8, 1 resimden 1.
      • Take the lens out of the projector.

      FixBot'a Sor

      Yorum Ekle

    7. Electrohome EAAC475 Projector Lens Replacement: adım 9, 1 resimden 1.
      • Separate the lens and the gear by unscrewing the gear.

      FixBot'a Sor

      Yorum Ekle

Sonuç

To reassemble your device, follow these instructions in reverse order.

İptal et: Bu kılavuzu tamamlamadım.

Sterling Fulk

Üyelik tarihi: 02/16/16

264 İtibar

2 adet Kılavuz yazıldı

Ekip

IUPUI, Team 2-1, Harley Spring 2016 IUPUI, Team 2-1, Harley Spring 2016 üyesi

IUPUI-HARLEY-S16S2G1

4 Üyeler

12 adet Kılavuz yazıldı

0Kılavuz Yorumları

Yorum Ekle

İstatistikleri Görüntüle:

Son 24 Saat: 0

Son 7 gün: 9

Son 30 gün: 31

Her zaman: 636