Giriş
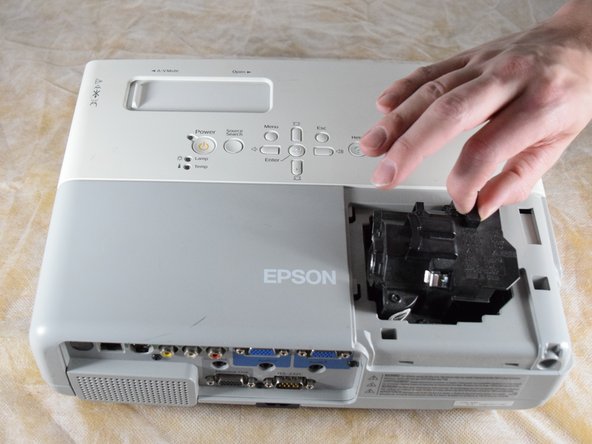
The lamp is a major component in the Epson PowerLite 83+ projector and could be the cause of multiple issues. The process of replacing the lamp is relatively basic as it just involves removing the lamp cover and removing the lamp from within the case. This process can also be used for re-seating the lamp if it is needed.
Before beginning this repair, be sure to to turn off the projector and unplug the device from the power source. Allow the projector to cool for an hour if it has been just been used recently as well.
Neye ihtiyacın var
-
-
Turn off and unplug the projector.
-
Allow the projector to cool for an hour before performing maintenance on it.
-
-


To reassemble your device, follow these instructions in reverse order.
To reassemble your device, follow these instructions in reverse order.
İptal et: Bu kılavuzu tamamlamadım.
2 farklı kişi bu kılavuzu tamamladı.

Ekip

Clemson, Team 2-4, Hunter Spring 2022 Clemson, Team 2-4, Hunter Spring 2022 üyesi
CLEM-HUNTER-S22S2G4
4 Üyeler
6 adet Kılavuz yazıldı