Bu çeviri bir makine tarafından oluşturulmuştur ve henüz bir kişi tarafından incelenmemiştir. Bu dili konuşuyor musunuz? İnceleme için.
Giriş
Motor çalışmıyorsa veya sadece TAM güçte çalışıyorsa, triyak yanmış demektir.
Neye ihtiyacın var
-
-
-
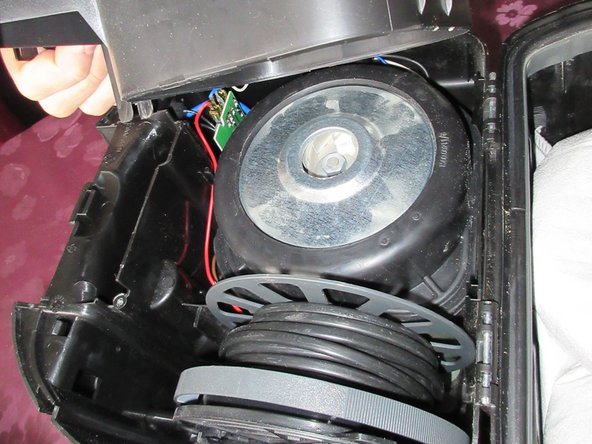
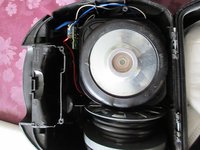
Öncelikle fişi çekin ve kabloyu sarın. Vakum hortumunu çıkarın. Makineyi açın.
-
Dört adet PH2 vida bulunmaktadır.
-
Bu vidaların tümü aynı uzunluktadır.
 FixBot'a Sor
-
-
-
Vida detayı
-
Çekin, çıt sesi gelecek
-
Buraya bakın, bir klips var; diğer tarafta da ikinci bir klips bulunuyor
-
-
-
Bakın, 2. ADIM'daki ikinci klips burada.
-
ÇEKİN.
-
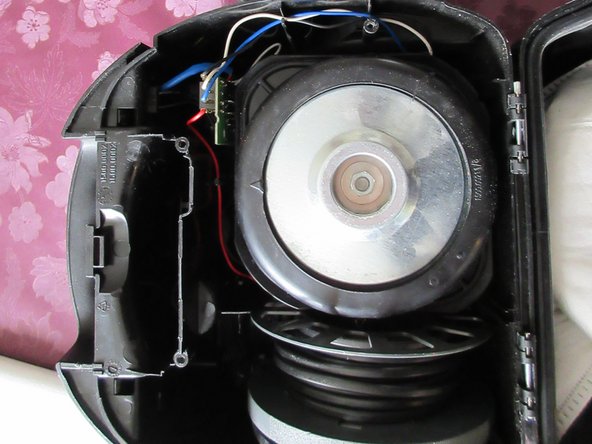
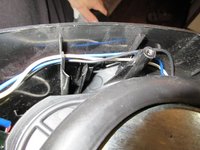
Açın. Bakın, orada çıkarmanız gereken beyaz kablo ve mavi kablo var.
-
Mavi kablo ve beyaz kablonun FARKLI BOYUTLARDA KONNEKTÖRLERİ var. Sadece doğru şekilde oturur. ;)
-
-
-
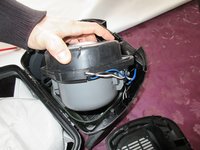
Türbini ÇEKİN, sıkışmış bir kauçuk muhafazası var. Sadece ÇEKİN.
-
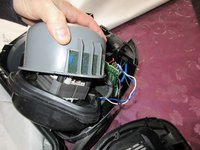
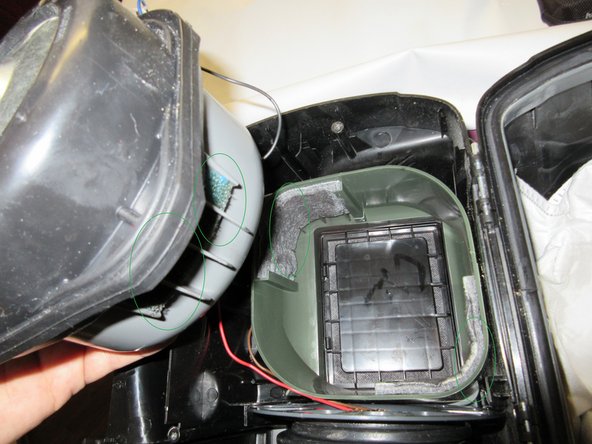
Ardından tekrar sadece çekin, gri plastik parçayı. Filtrelere bakın, tekrar takarken birbirlerine bakmaları gerekiyor !!! YEŞİL daireler içine alınmıştır
-
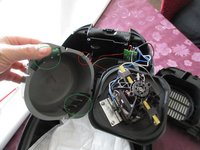
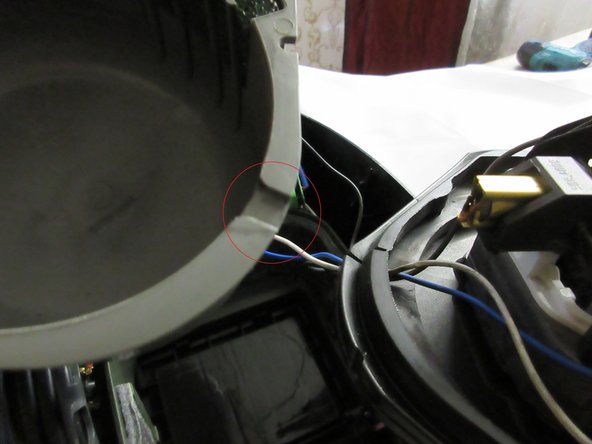
Kırmızı daireye bakın, bir çentik var; beyaz kablonun, mavi kablonun ve siyah kablonun yuvadan geçtiği yer orasıdır.
-
-
-
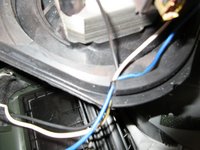
Beyaz kablonun ve mavi kablonun detayı. Fişlerin üzerinde küçük bir yaylı tutucu bulunur; önce bastırmanız, ardından çekerek çıkarmanız gerekir!!
-
Fişlerin boyutları farklıdır.
-
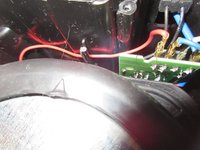
Motordaki kısa siyah kabloyu çıkarın. Fişin üzerinde yine bastırılması gereken bir yay bulunur, ardından siyah kabloyu çekerek çıkarın.
-
-
-
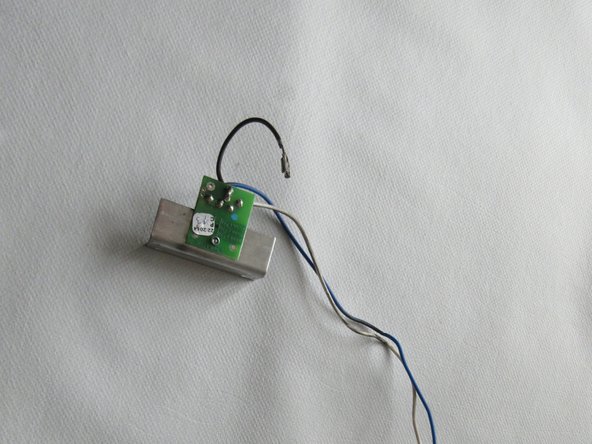
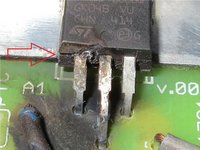
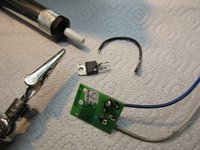
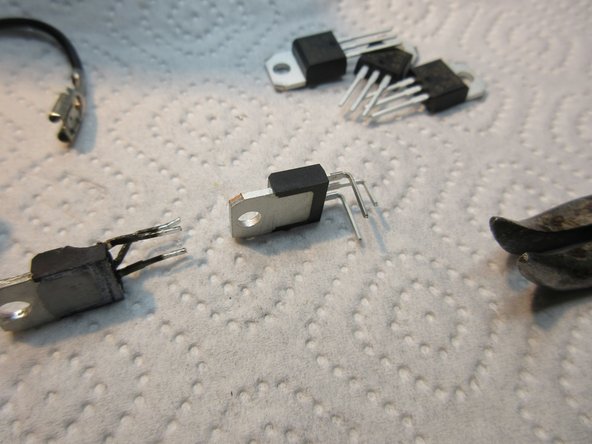
İşte karşınızda. Kabloları ve alüminyum soğutucusuyla birlikte parçalanmış, yanmış TRIAC.
-
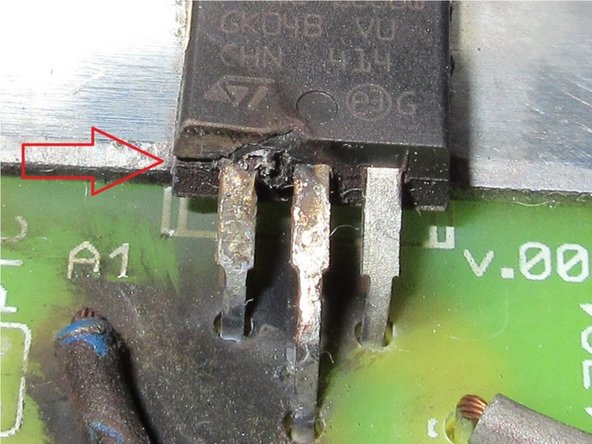
Bu parça gövde kısmından kırılmış, kırmızı oka bakın. Bacaklar doğrudan gövde hizasında bükülmüş, yani bu hasar TRIAC'ın montajı sırasında meydana gelmiş! Kötü. :( Akım, parçanın patlamasına ve tamamen zarar görmesine neden olmuş.
-
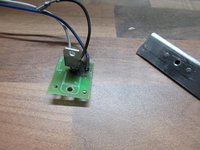
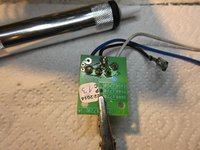
Kablolar iyi görünüyor, devre kartı da sağlam. Yanmış gibi görünüyor ancak bu sadece kara duman kaynaklı bir iz.
-
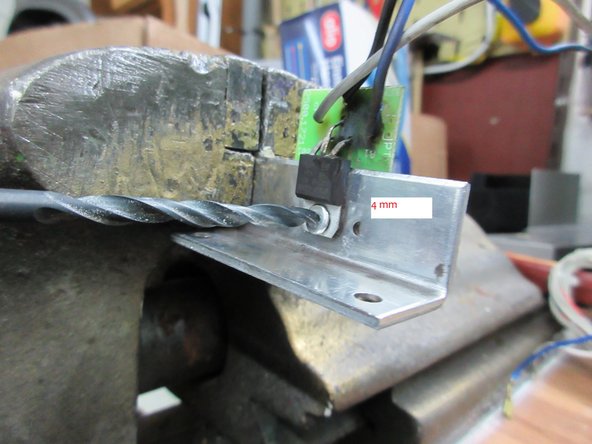
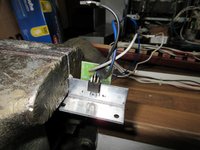
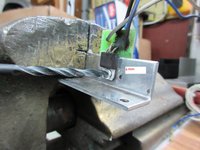
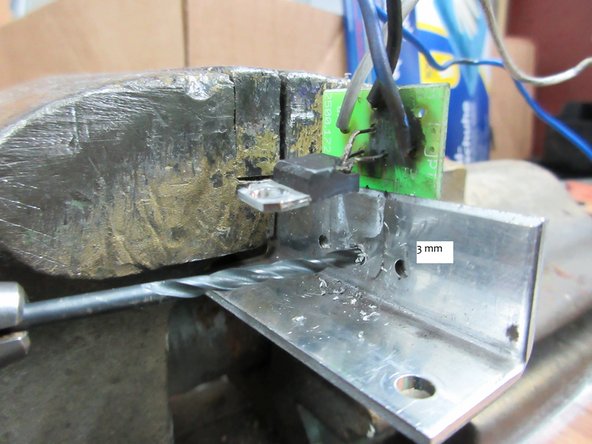
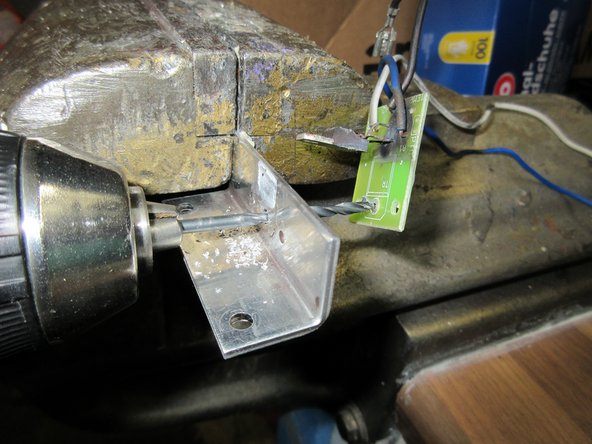
Şimdi bu parçayı delerek çıkarmamız gerekiyor...
-
-
-
-
ardından bozuk TRIAC'ı yukarı doğru çekin.
-
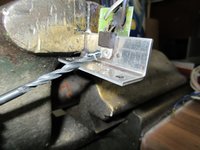
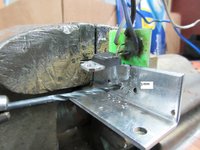
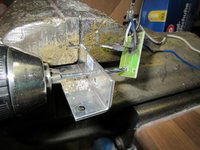
sonrasında baskı devreyi geçmek için 3 mm'lik uçla delin.
-
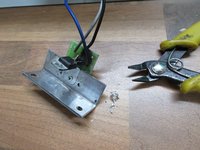
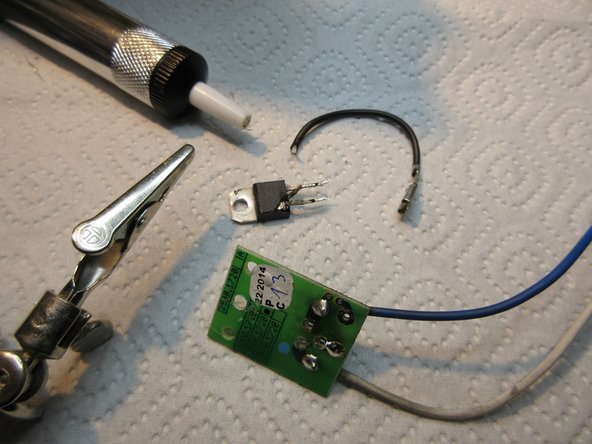
işte bu kadar, tüm parçalar ayrıldı. :)
-
-
Bu adımda kullanılan alet:Desoldering Pump$3.99
-
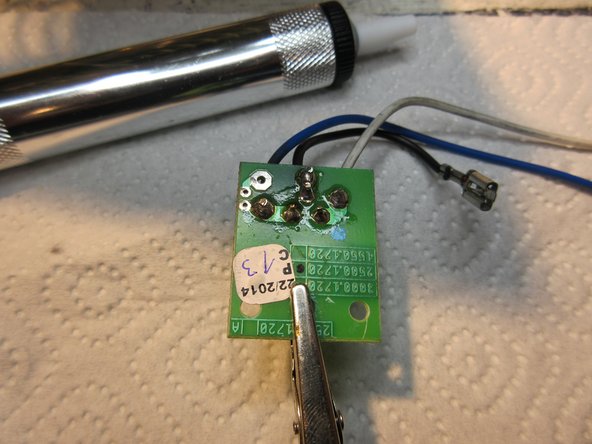
şimdi lehimini sökün. Kartın üzerinde, alüminyum soğutucuya oturan iki delik bulunur.
-
lehim pompasını kullanmakta hiçbir sorun yok.
-
-
-
yenisi.
-
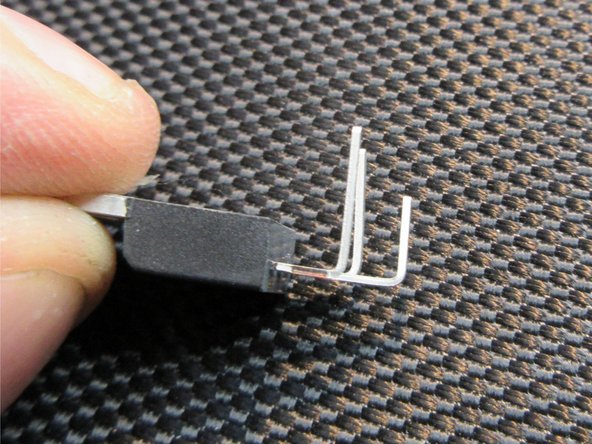
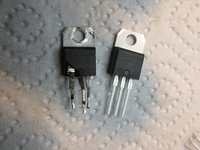
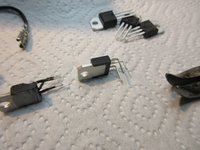
resimlerdeki adımları izleyin, bunu açıklayamıyorum, kusura bakmayın. Resimlerde görebildiğiniz gibi aynısını yapın.
-
-
-
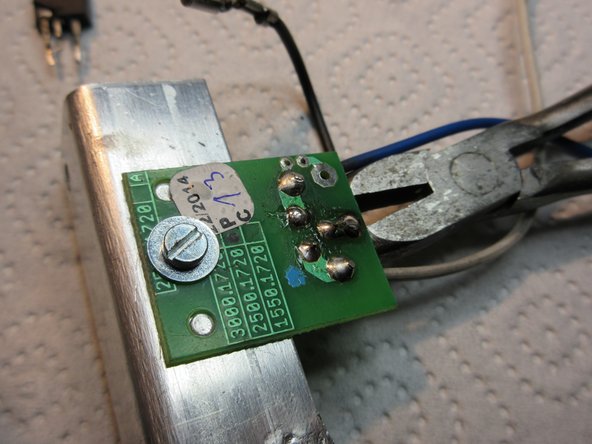
Bir miktar termal macun alın. Sadece çok az miktarda kullanın.
-
M3 vidayı ve M3 pulu alın ve alüminyum parçaya monte edin.
-
Mekanik gerilimin ardından yeni parçayı lehimleyin.
-
-
-
Bir soğutma yükseltmesi yaptım; bunu sizin yapmanıza gerek yok çünkü bu, gerçekten gerekli olmayan bir kendin yap (DIY) modifikasyonudur. XD
-
-
-
ŞİMDİ YENİDEN MONTAJ
-
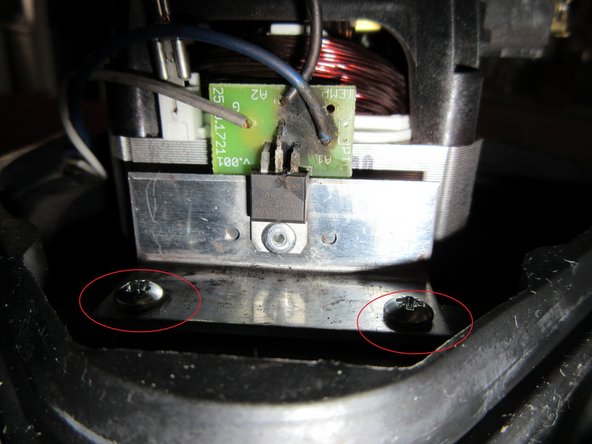
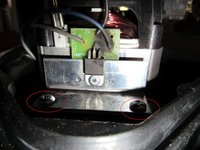
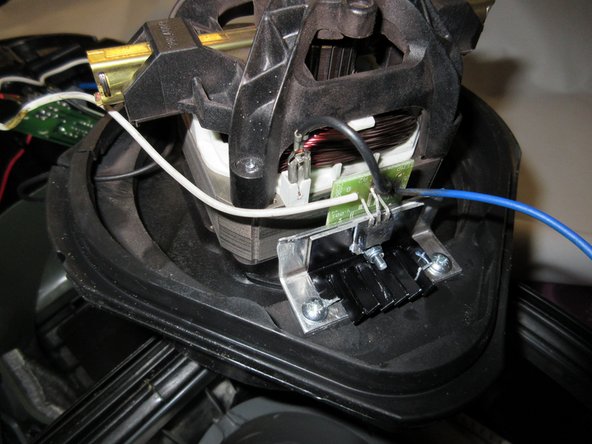
parçayı yerine takın, ardından iki adet KISA ph2 vidaya ihtiyacınız olacak.
-
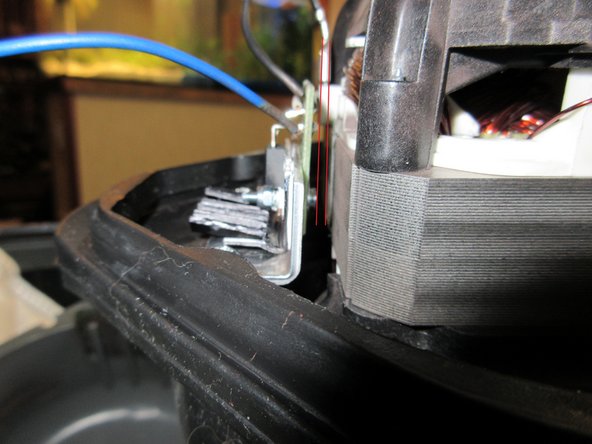
Üçüncü resimde gösterildiği gibi parçalar arasındaki mesafeye dikkat edin, bunu iki kırmızı çizgiyle işaretledim.
-
-
-
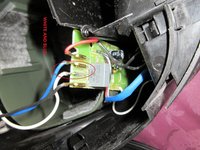
ardından beyaz ve mavi kabloyu yerlerine yerleştirin, ayrıca ikinci bir uzun siyah kablo daha bulunmaktadır.
-
Çentiğe bakın, tam olarak oturmalıdır.
-
oradaki filtrelerin doğru şekilde oturduğundan emin olun.
-
-
-
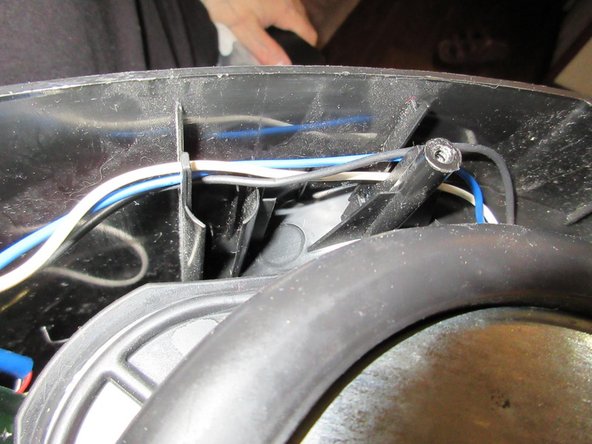
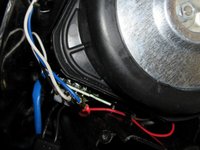
Kabloların detayları.
-
Kabloları sabitlemek için çentikler bulunur.
-
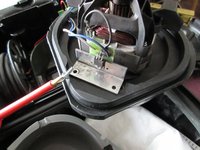
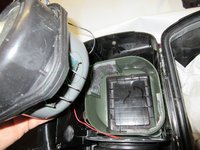
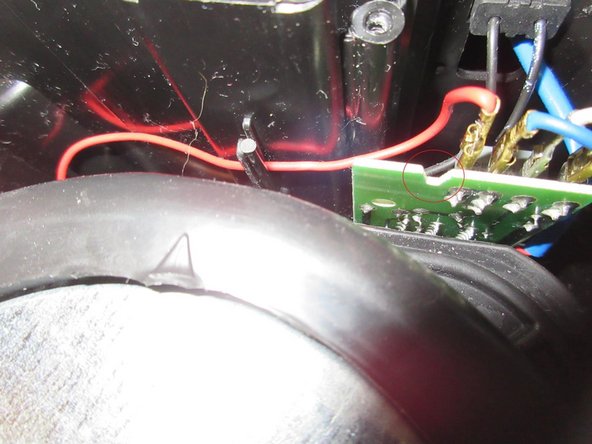
Üçüncü resimdeki kartın üzerinde bulunan büyük çentiğe dikkat edin. KIRMIZI DAİRE. Bu parçayı kapattığınızda, kasanın bir tırnağı bu çentiğe oturur. Tırnaklara, çentiklere ve klipslere nerede dikkat etmeniz gerektiğini görmek için 1'den 4'e kadar olan adımları inceleyin.
-
-
-
Tüm parçalar birbirine tam oturduğunda, tüm tırnaklar, çentikler ve klipsler yerleştiğinde ve gövdeye sıkıca bastırdığınızda, 4 uzun vidayı dikkatlice vidalayabilirsiniz.
-
Test edin, çalıştırın, bitti; şimdi bir Jägermeister.
-
:D
-
Sadece birkaç kelime, üzgünüm, İngilizcem zayıf ancak umarım resimler size yardımcı olur.
-
-




















Cihazınızı tekrar toplamak için adımları ters sırayla uygulayın.
İptal et: Bu kılavuzu tamamlamadım.
4 farklı kişi bu kılavuzu tamamladı.

5Kılavuz Yorumları
Well, my child played with that Vacuum-cleaner and it overheated.
So I had to do this repairmanual for you.
Do not let play children with Machines. ;)
Just some comments for English speakers. I'm not dealing with spelling or awkward phrasing - I think it's clear emough. But for those that aren't sure on certain words, maybe this will help.
First tool listed is a #2 Philips-head screwdriver. So when you see PH2 screws, use your phillips screwdriver (also known as a cross screwdriver in some parts of the English-speaking world).
Step 2, middle bullet - "Pull, it knacks" literally would be cracks, which might sound negative. So "Pull, it does separate."
Step 4 (and elsewhere): turbine or motor.
Step 6, 1st bullet (& see Step 9 and elsewhere for variations) - (aluminium-)cooling or cooler = (aluminum) heat sink. [Americans don't use the 2nd i of aluminium.]
Step 6 (and elsewhere), 3rd bullet: platine = printed circuit board (I'll always refer to it as the PCB).
Part 2 of notes comes in my next comment --
Part 2 of notes here --
Step 6, 2nd bullet [I know, out of order, but I wanted to use PCB, so translated it first] - Instead of translating it "The pins are bent directly at the housing, so this destruction occured at the montage of the triac !" I would've said "The pins are bent to go into the PCB, and the destructive forces inside the triac caused the assembly ("montage") to burst open at the other end of the pins, where they enter the triac housing!"
Steps 7-8 - there is a rivet that goes through the triack, then through the heat sink, then through the PCB. For getting the rivet out, you drill with a 4mm drill bit through the rivet head, through the triac mount, and lift the triac out of the way, then continue very carefully through the heat sink. Now the PCB can be removed from the heat sink. Then switch to a 3mm bit and drill the remnants of the rivet out of the PCB.
Part 3 coming up --
Part 3 of 3 here
Step 10 - "follow the steps like on the pictures, i can't explain it, sorry. Like on the pictures, you can see, do it too" becomes "Follow the pictures in steps 4-10, especially step 6 and step 10. Pins 1 and 3 get bent closer to the triac, pin 2 (the middle pin) gets bent further out ('longer') from the triac, to fit the wholes in the PCB.
Step 11, 1st bullet - use less thermal grease/compund than is shown in the picture of step 11. He said "little" and that was correct.
Step 11, 2nd bullet - Instead of riveting (if you aren't good at it you might break the PCB), he replaces it with a bolt, washer, and nut. Tighten it - but not so much you break the PCB.
Starting Step 13, you're reassembling. His CONCLUSION at the end says to do the steps in reverse order to finish - maybe he later added steps 13 to the end later and didn't remove that statement.
Step 17 Jägermeister = hunt master -- go hunting things to vacuum up?
