Bu sürüm, hatalı düzenlemeler içerebilir. En son doğrulanmış bellek kopyası dönün.
Neye ihtiyacın var
-
Bu adım çevrilmemiş. Çevrilmesine yardım edin
-
Remove the screws from the bottom of the camera using the tri-wing screwdriver.
-
Three 5.4 mm tri-head screws.
-
-
Bu adım çevrilmemiş. Çevrilmesine yardım edin
-
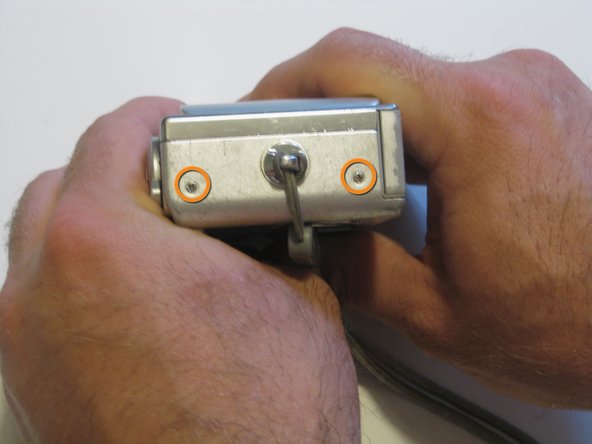
Remove screws from charger side of camera using the Phillips 00 screwdriver.
-
Two 3.3 mm Phillips #00 screws.
-
-
-
Bu adım çevrilmemiş. Çevrilmesine yardım edin
-
Remove screws from wrist-strap side of camera using the Phillips 00 screwdriver.
-
Two 3.3 mm Phillips #00 screws.
-
-
Bu adım çevrilmemiş. Çevrilmesine yardım edin
-
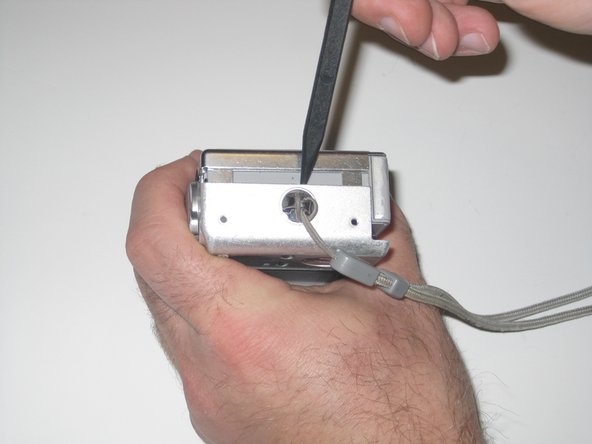
Separate the front and back casing using the spudger.
-
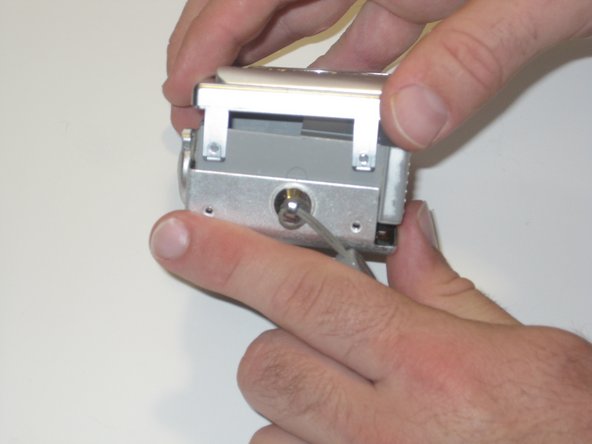
Gently pull apart the two casings.
-
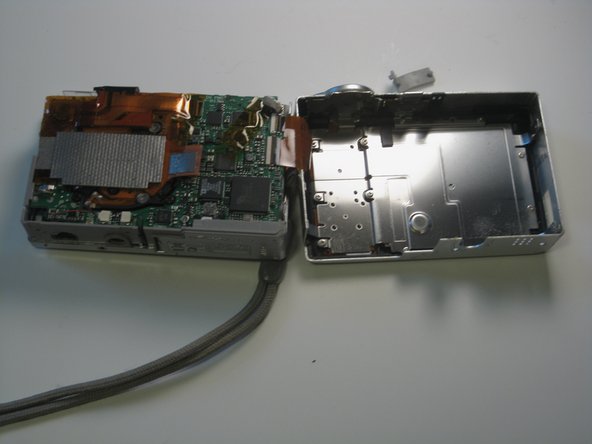
Pull the back casing away from the camera.
-


İptal et: Bu kılavuzu tamamlamadım.
3 farklı kişi bu kılavuzu tamamladı.
Ekip

Clemson, Team 13-4, Benson Spring 2013 Clemson, Team 13-4, Benson Spring 2013 üyesi
CLEM-BENSON-S13S13G4
2 Üyeler
16 adet Kılavuz yazıldı