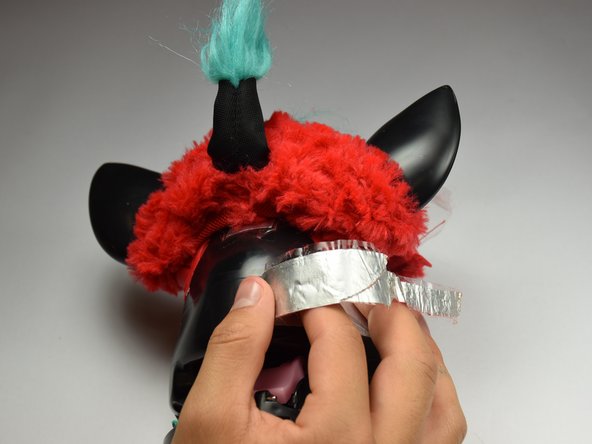
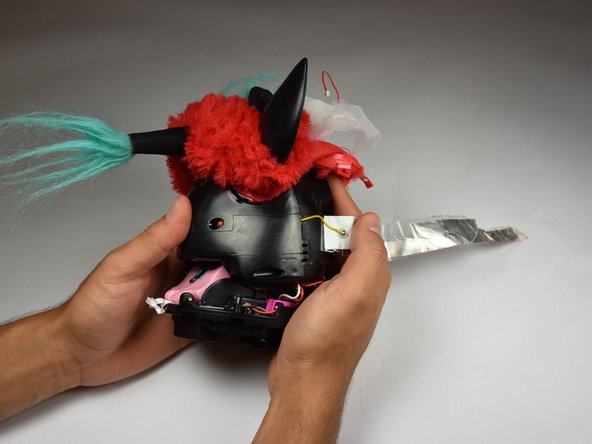
Ana içeriğe geç

Furby Outer Shell Replacement

Salt Önkoşul
Bu kılavuz yalnızca diğer kılavuzlar için bir ön koşul olarak kullanılmak üzere tasarlanmıştır. Tek başına eksiktir.

Neye ihtiyacın var

  1. Furby Outer Shell Replacement, Outer Shell: adım 1, 3 resimden 1. Furby Outer Shell Replacement, Outer Shell: adım 1, 3 resimden 2. Furby Outer Shell Replacement, Outer Shell: adım 1, 3 resimden 3.
    • Use a flathead screwdriver to remove the two 10mm screws on the base of the Furby.

  2. Furby Outer Shell Replacement: adım 2, 3 resimden 1. Furby Outer Shell Replacement: adım 2, 3 resimden 2. Furby Outer Shell Replacement: adım 2, 3 resimden 3.
    • Use a Phillips #0 driver to unscrew the eight 10mm screws.

    • Remove the base ring after unscrewing all the screws.

    • Be careful when lifting the base ring from the Furby. There are sharp edges that hold the base ring in place.

  3. Furby Outer Shell Replacement: adım 3, 2 resimden 1. Furby Outer Shell Replacement: adım 3, 2 resimden 2.
    • Unhook the white ribbon from the tab on the base.

  4. Furby Outer Shell Replacement: adım 4, 3 resimden 1. Furby Outer Shell Replacement: adım 4, 3 resimden 2. Furby Outer Shell Replacement: adım 4, 3 resimden 3.
    • Roll the Furby's fur downward.

    • Disconnect the now exposed red wire.

  5. Furby Outer Shell Replacement: adım 5, 3 resimden 1. Furby Outer Shell Replacement: adım 5, 3 resimden 2. Furby Outer Shell Replacement: adım 5, 3 resimden 3.
    • Locate the two middle clips first.

    • Locate the two remaining clips on Furby's sides, they are opposite each other.

    • Orient the Furby upside down with the tail facing away from you.

  6. Furby Outer Shell Replacement: adım 6, 3 resimden 1. Furby Outer Shell Replacement: adım 6, 3 resimden 2. Furby Outer Shell Replacement: adım 6, 3 resimden 3.
    • Insert a metal prying tool directly into the clip opening.

    • Press upward into the clip. At the same time, use your other hand to pull away the plastic seam from the Furby's body.

    • Repeat the previous step to remove the remaining three clips.

  7. Furby Outer Shell Replacement: adım 7, 3 resimden 1. Furby Outer Shell Replacement: adım 7, 3 resimden 2. Furby Outer Shell Replacement: adım 7, 3 resimden 3.
    • Locate the two 10mm screws and remove them with the Phillips #0 head screwdriver.

    • Lift up on the fur covering until the face of the Furby is exposed.

  8. Furby Outer Shell Replacement: adım 8, 3 resimden 1. Furby Outer Shell Replacement: adım 8, 3 resimden 2. Furby Outer Shell Replacement: adım 8, 3 resimden 3.
    • Orient the Furby on its side to where the beak is facing left and locate the edge of the aluminum tape.

    • Lift tape gently and peel back until the tape is nearly removed.

    • Do not pull on the yellow wire located on the opposite end of the tape.

  9. Furby Outer Shell Replacement: adım 9, 2 resimden 1. Furby Outer Shell Replacement: adım 9, 2 resimden 2.
    • Locate the four 10mm screws. Two on either side of body, and two on top of back plate, around the tape.

    • Remove the 10mm screws with the Phillips#0 screwdriver.

  10. Furby Outer Shell Replacement: adım 10, 1 resimden 1.
    • Peel the tape gently, grabbing it from the bottom edge and folding the tape upward.

    • Peel the tape up until it is nearly detached from the black case.

  11. Furby Outer Shell Replacement: adım 11, 2 resimden 1. Furby Outer Shell Replacement: adım 11, 2 resimden 2.
    • Orient the Furby face down, with the base facing away from you.

    • Locate the clips below the ears.

    • Repeat the technique used in Step 6. Create leverage using a metal prying tool to press upward into the clip, while also pulling back on the clip itself.

  12. Furby Outer Shell Replacement: adım 12, 2 resimden 1. Furby Outer Shell Replacement: adım 12, 2 resimden 2.
    • Remove the loose, plastic back panel by pulling the panel away from Furby's body.

Bitiş Çizgisi

Bir başkası bu kılavuzu tamamladı.

Jordan Castillo

Üyelik tarihi: 10/06/16

912 İtibar

5 adet Kılavuz yazıldı

Ekip

Cal Poly, Team 15-5, Livingston Fall 2016 Cal Poly, Team 15-5, Livingston Fall 2016 üyesi

CPSU-LIVINGSTON-F16S15G5

4 Üyeler

9 adet Kılavuz yazıldı

0 Yorum

Yorum Ekle

İstatistikleri Görüntüle:

Son 24 Saat: 0

Son 7 gün: 0

Son 30 gün: 0

Her zaman: 90