Giriş
This guide will walk users through removing the Dash Cam's casing revealing the internal components, allowing access to rechargeable battery.
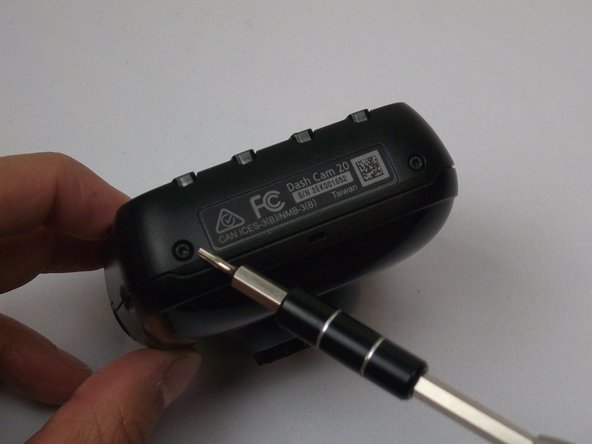
Neye ihtiyacın var
-
-
-
Remove the green tape overlying the pin connector with tweezers.
-
Remove the pin connector using tweezers.
-


To reassemble your device, follow these instructions in reverse order.
To reassemble your device, follow these instructions in reverse order.
İptal et: Bu kılavuzu tamamlamadım.
3 farklı kişi bu kılavuzu tamamladı.
Ekip

USF Tampa, Team 2-1, Cagle Fall 2016 USF Tampa, Team 2-1, Cagle Fall 2016 üyesi
USFT-CAGLE-F16S2G1
4 Üyeler
5 adet Kılavuz yazıldı
3 Yorum
An excellent article except for one major problem but, why does iFixIt not sell theses batteries or direct you on where a person could actually buy one? This knowledge is pretty much useless with out a replacement battery to actually use.
Yeah I agree
Thanks for this guide. This gave my Garmin 20 another couple of years! :)
BTW, I was able to buy the battery replacement from Amazon: https://www.amazon.com/gp/product/B07KSR...