Neye ihtiyacın var
-
-
Required tools:
-
Replacement battery
-
T5 driver
-
Spudger or other plastic pry tool [You can use a flat bladed screwdriver if you're careful and don't mind some signs on the plastic finish]
-
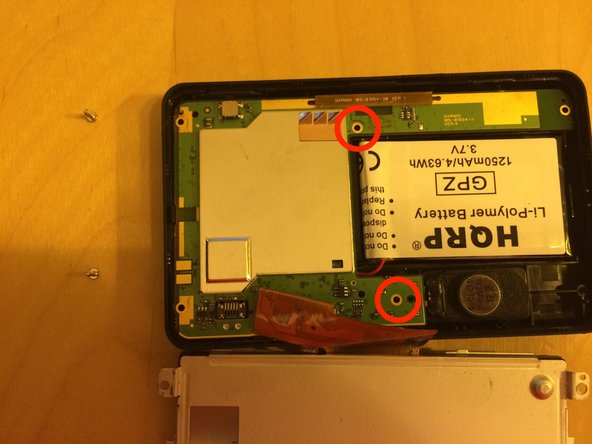
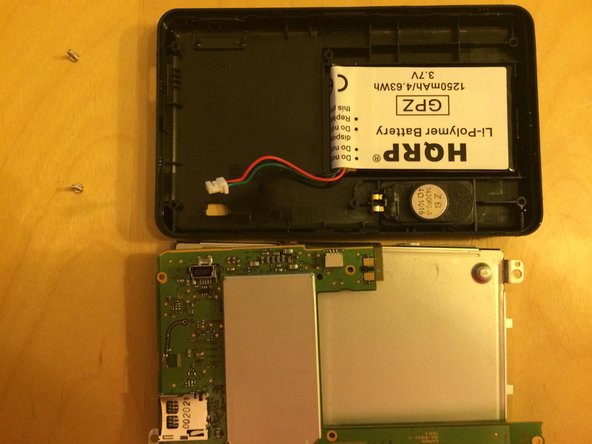
Note: I did this documentation after having done the replacement, so you may notice that the battery pictured here is the original Garmin battery. Similarly, later in this documentation when we get the thing open, you'll see the third-party replacement already in place.
-
-
-
-
The existing battery is glued in place. It will take a bit of prying to remove it. Be careful you don't puncture the battery.
-
I slowly worked a flat-blade screwdriver under the battery, prying it up a bit at a time.
-
Replace the old battery with the new one. I didn't bother to glue the new one in place, as it is nestled securely in a plastic cavity within the case. Plug it in to the circuit board, and reverse the disassembly steps.
-
-
-
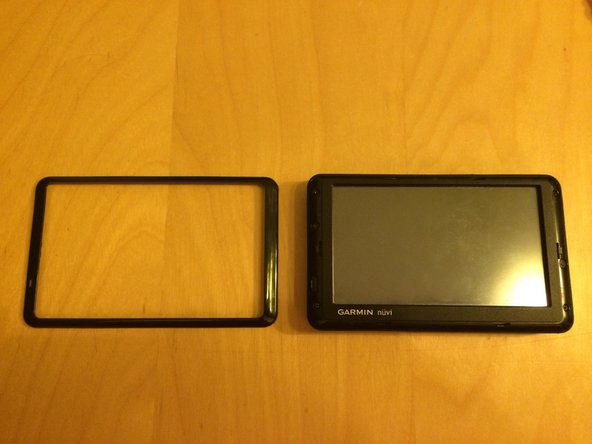
When you replace the decorative bezel, note that there is a small hole in the bezel that corresponds to a hole in the inner bezel.
What is this hole for?
I suspect it’s the microphone. The device is with my mother-in-law across the country [assuming she still has it], so I can’t verify that for sure.
-


To reassemble your device, follow these instructions in reverse order.
To reassemble your device, follow these instructions in reverse order.
İptal et: Bu kılavuzu tamamlamadım.
Bir başkası bu kılavuzu tamamladı.

Bir Yorum
Great guide and very informative. Here is a replacement battery that is reasonably priced and it comes with all of the tools needed for installation. It even has a 1 year replacement warranty!