Giriş
This is a moderately difficult process. The screen is an essential part of the computer and it is important to follow these steps with care to prevent unwanted damages to the device.
Neye ihtiyacın var
-
Bu adımda kullanılan alet:Tweezers$4.99
-
Open the laptop so that the screen and keyboard are facing you.
-
Remove the two screw covers at the bottom right and left corners of the screen using tweezers.
 FixBot'a Sor
-
-
-
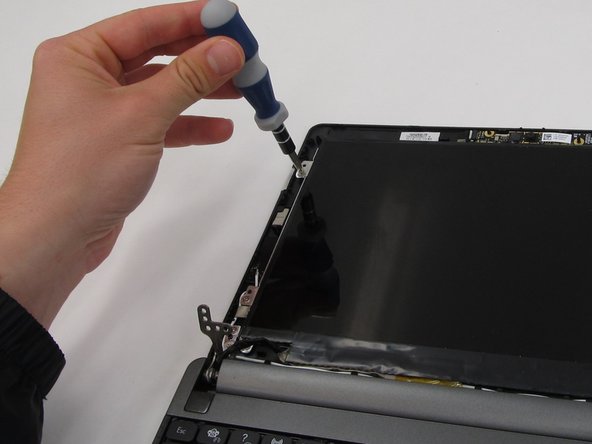
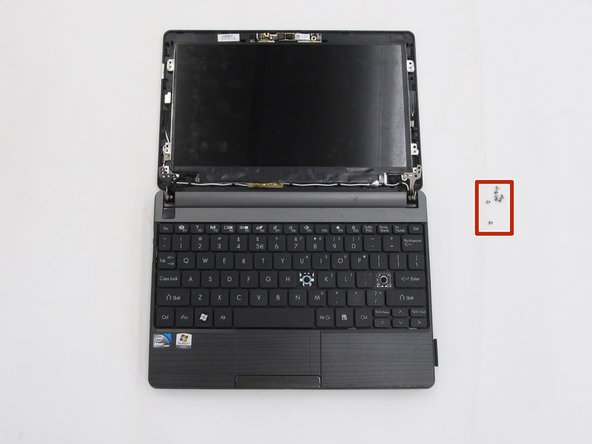
Unscrew the two 5.0mm screws underneath the screen covers on the left and right side and remove them from the laptop. For this step and the following steps, use a Phillips #0 head screwdriver.
-
-
-
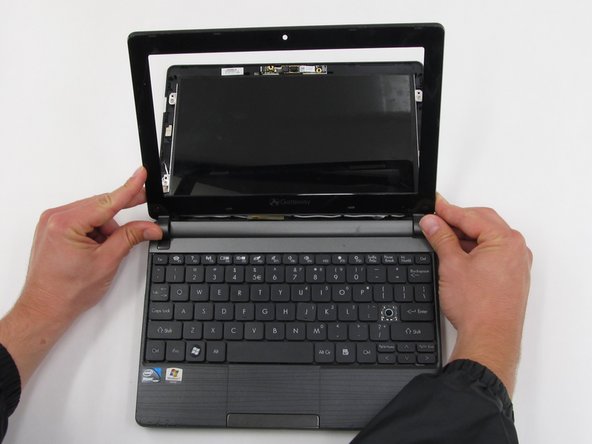
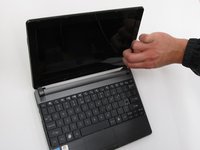
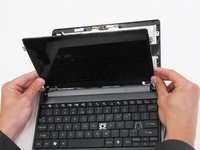
Once the two screws are removed, pry the screen casing away from the screen. You can use your fingernails or a tool such as tweezers to separate the screen casing from the backing.
-
Unhook the screen casing at the bottom of the screen from the central hinges on the left and right side connecting the screen casing to the keyboard.
-
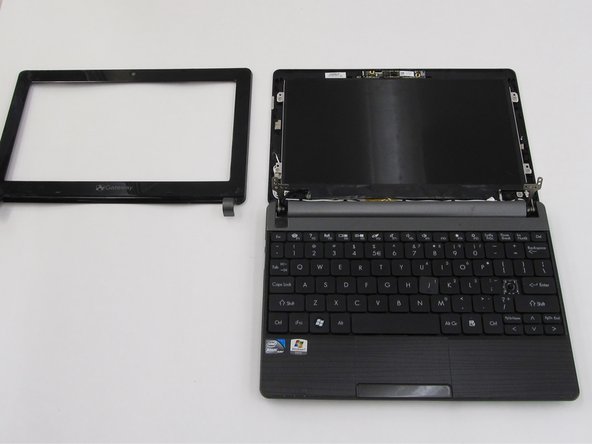
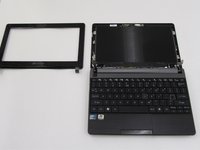
Remove the screen casing.
-
-
-
-
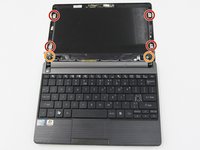
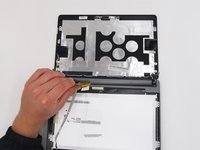
Once the screen casing is removed, unscrew the 8 screws surrounding the screen and remove them from the laptop. All 8 screws should measure 4.0mm long.
-
-
-
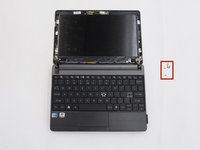
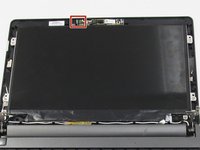
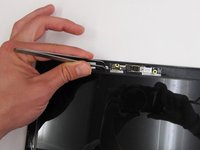
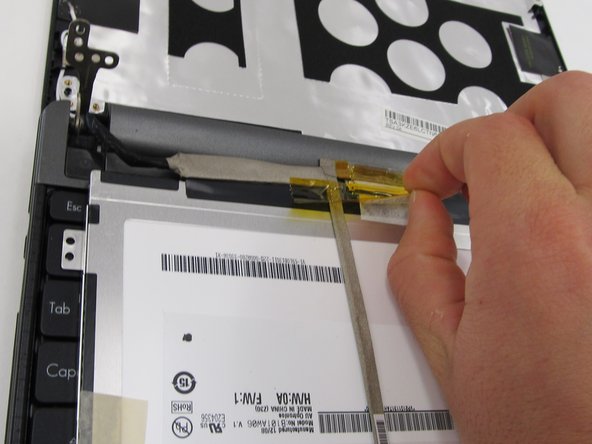
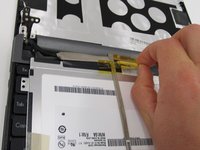
Flip the screen over so that it is lying on top of the keyboard.
-
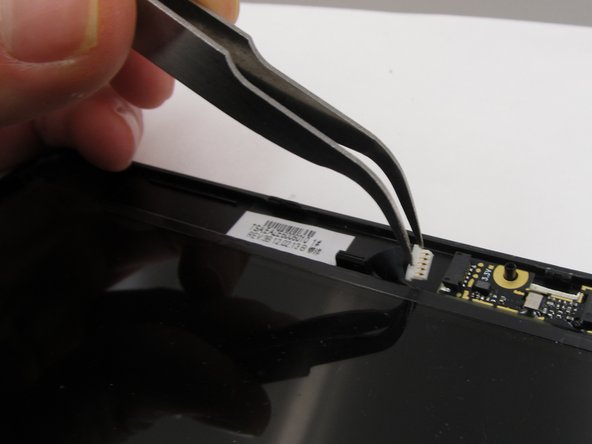
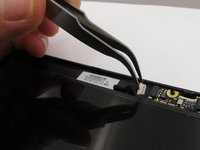
Looking at the underside of the screen, remove the yellow tape and carefully remove the wires attaching the screen to the laptop.
-


To reassemble your device, follow these instructions in reverse order.
İptal et: Bu kılavuzu tamamlamadım.
Bir başkası bu kılavuzu tamamladı.
Ekip

Clemson, Team 6-5, Benson Spring 2016 Clemson, Team 6-5, Benson Spring 2016 üyesi
CLEM-BENSON-S16S6G5
4 Üyeler
16 adet Kılavuz yazıldı