Bu kılavuzda güncel değişiklikler var. En son onaylanmamış sürüme geçin.
Giriş
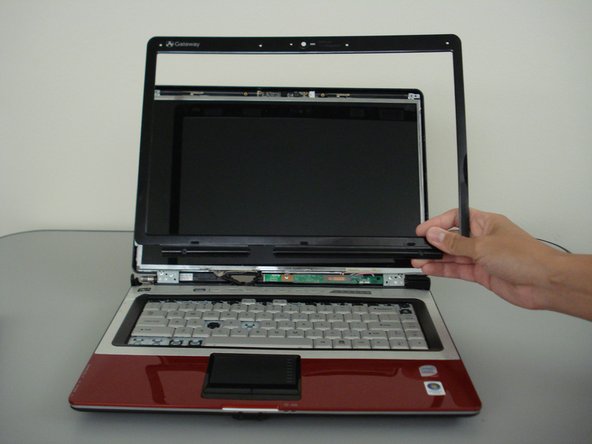
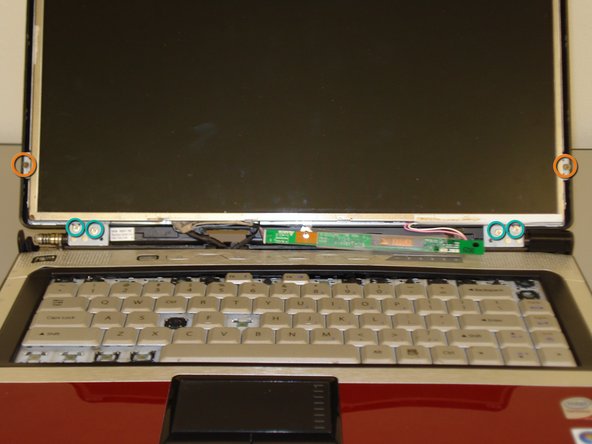
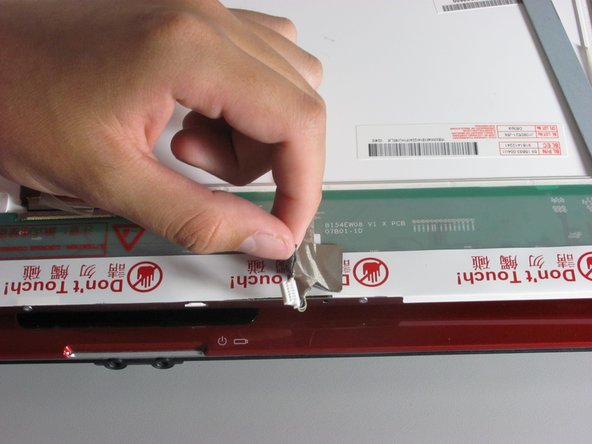
Replace a broken screen in your Gateway SA1 laptop.
Neye ihtiyacın var


Neredeyse bitti!
To reassemble your device, follow these instructions in reverse order.
Sonuç
To reassemble your device, follow these instructions in reverse order.
İptal et: Bu kılavuzu tamamlamadım.
2 farklı kişi bu kılavuzu tamamladı.
Ekip

Cal Poly, Team 24-20, Regan Spring 2010 Cal Poly, Team 24-20, Regan Spring 2010 üyesi
CPSU-REGAN-S10S24G20
4 Üyeler
14 adet Kılavuz yazıldı