Giriş
This is an outdated guide, the newest version is available here.
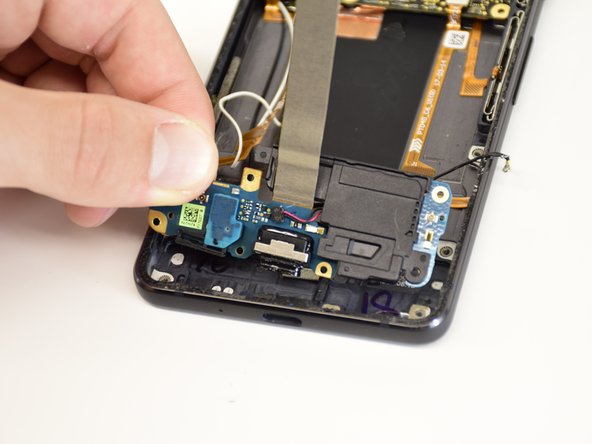
The charging assembly contains the USB-C port and is connected to the vibrator. Use this guide to replace the charging assembly.
Neye ihtiyacın var
-
-
If your display glass is cracked, keep further breakage contained and prevent bodily harm during your repair by taping the glass. This also makes a smooth surface allowing the suction cup to bond.
-
Apply a suction cup as close to the volume button edge of the phone as you can while avoiding the curved edge.
-
-
-
-
Apply a heated iOpener to the proximity sensor on the top edge of the midframe for two minutes to soften its adhesive.
-
-
-
Peel back the small piece of tape covering the screw below the earpiece speaker. Peel back any tape covering other screws as well.
-
Remove the following screws securing the midframe:
-
Eleven 3.7 mm Phillips screws
-
One 4 mm T5 Torx screw
-
-
-
Use the flat end of a spudger to disconnect the battery connector.
-
-
-
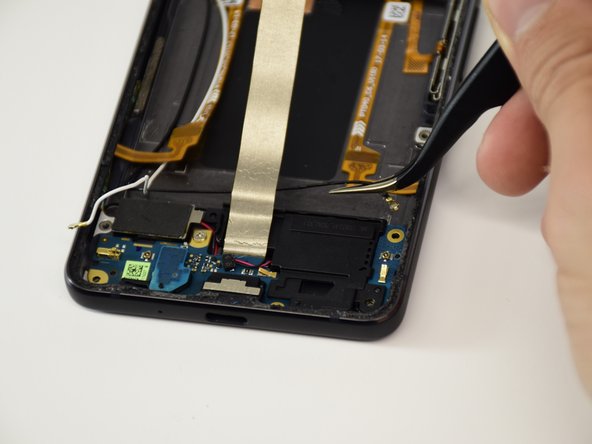
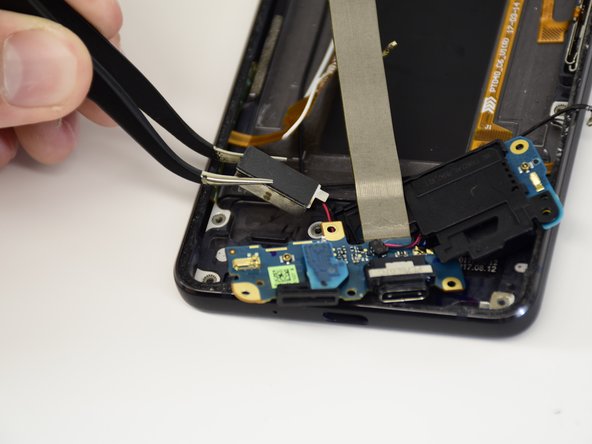
Disconnect the white antenna cable.
-
Disconnect the black antenna cable.
-


Compare your new replacement part to the original part—you may need to transfer remaining components or remove adhesive backings from the new part before installing.
To reassemble your device, follow the above steps in reverse order.
Take your e-waste to an R2 or e-Stewards certified recycler.
Repair didn’t go as planned? Check out our Answers community for troubleshooting help.
Ekip

Cal Poly, Team S18-G5, Livingston Winter 2018 Cal Poly, Team S18-G5, Livingston Winter 2018 üyesi
CPSU-LIVINGSTON-W18S18G5
4 Üyeler
11 adet Kılavuz yazıldı