Bu sürüm, hatalı düzenlemeler içerebilir. En son doğrulanmış bellek kopyası dönün.
Neye ihtiyacın var
-
Bu adım çevrilmemiş. Çevrilmesine yardım edin
-
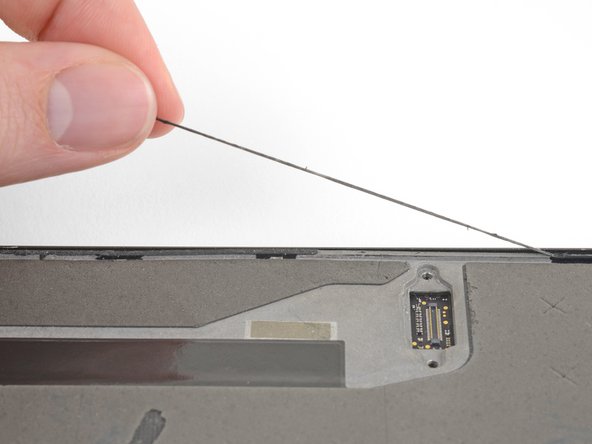
Peel away and remove all the old display adhesive from the body of your phone.
-
Use the point of your spudger to scour away and remove any lingering adhesive.
-
For best results, clean the area underneath the removed adhesive with 90% or greater isopropyl alcohol to prep the surface for the new adhesive.
-
-
Bu adım çevrilmemiş. Çevrilmesine yardım edin
-
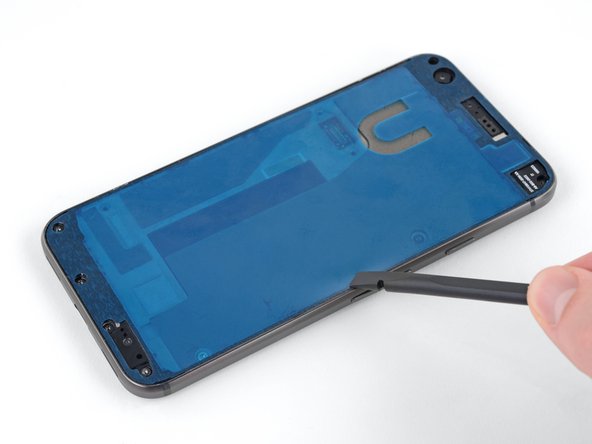
The replacement adhesive should only be applied to the edges of the frame, but may come with the center filled in.
-
To remove the unnecessary center section of the adhesive strip, carefully peel away the center portion of both the white (paper) and black (adhesive) layers, starting with the U-shaped cutout.
-
-
Bu adım çevrilmemiş. Çevrilmesine yardım edin
-
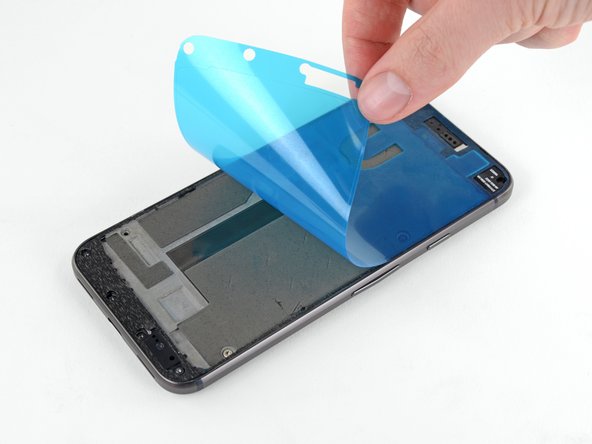
Peel off and discard the remaining paper liner, exposing the adhesive underneath.
-
-
-
Bu adım çevrilmemiş. Çevrilmesine yardım edin
-
Hold the adhesive sheet with the exposed adhesive facing down, and carefully align it into the lower edge of the phone.
-
When it's correctly aligned, lower the rest of the adhesive sheet into the phone.
-
-
Bu adım çevrilmemiş. Çevrilmesine yardım edin
-
Peel off and discard the plastic liner, exposing the display adhesive.
-
-
Bu adım çevrilmemiş. Çevrilmesine yardım edin
-
Re-attach the display cable connector.
-
Screw the connector bracket back in place.
-
Power on your phone to make sure your repair was successful.
-
-
Bu adım çevrilmemiş. Çevrilmesine yardım edin
-
Once you are sure the display is functioning properly, carefully align it with the chassis and firmly press it into place.
-


İptal et: Bu kılavuzu tamamlamadım.
48 farklı kişi bu kılavuzu tamamladı.

2 Yorum
What is the included tesa tape for?
The Tesa tape is to adhere the battery to the frame. You don't want anything moving around inside your phone--that can stress, damage, or disconnect ribbon connectors.