Giriş
This repair guide was authored by the iFixit staff and hasn’t been endorsed by Google. Learn more about our repair guides here.
Follow this guide to remove and replace a shattered rear glass panel, or to change the color of the panel, for the Google Pixel XL.
Neye ihtiyacın var
-
-
Heat an iOpener and apply it to the phone's back glass panel for two minutes.
-
-
-
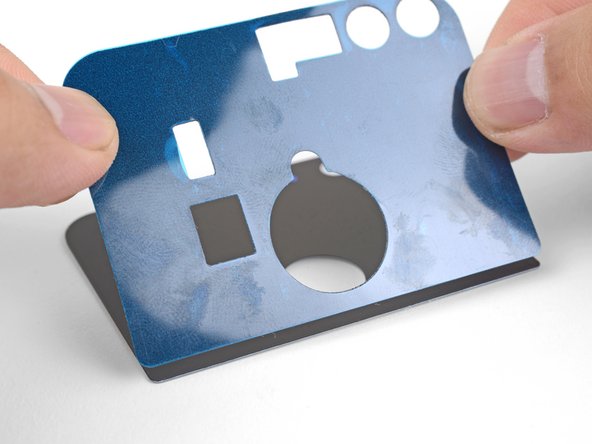
When the glass is warm to the touch, apply a suction cup close to the edge.
-
Lift on the suction cup and insert an opening pick in the gap.
The suction cup method did not work for me at all. Even after applying heat worrisomely long with a hairdryer the glass wouldn't budge. Maybe if I'd had a better or bigger suction cup it could've. I bought a kit from a local store and the suction cup was smaller than iFixit's.
One thing to mention is that it's really hard to try and hold the phone down while pulling the suction cup. And then you'd need a third hand to try and slide a pick in there. Seems pretty impossible for one person to accomplish without something not covered in this guide to be honest.
The solution was to start from the corner that was broken, taking out one bit first and then lifting up next to that, causing the glass to break into smaller sections and just going from there bit by bit.
Also a good technique I found was to use the hairdryer while pulling out the bits which loosens up the glue while you're pulling out a piece (especially a bigger one).
-
-
-
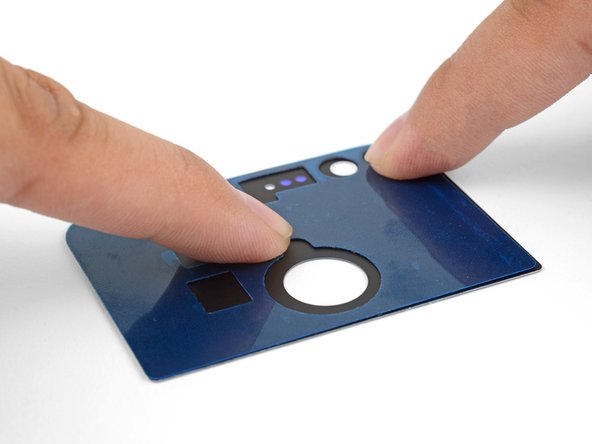
Use the opening pick to slice through the glass panel's perimeter adhesive.
-
If the slicing becomes hard, reapply heat to the panel.
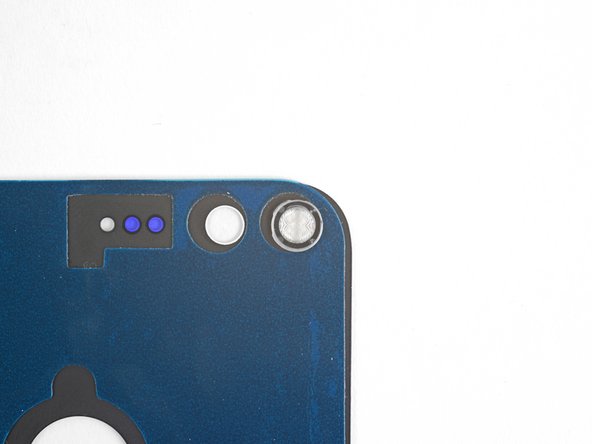
be careful- you can easily rip/slice the NFC antenna ribbon with the pick. the Pixel and Pixel XL have NFC ribbon adhered to the underside of the very adhesive you are trying to peel up. In the photo for step 6 you can see the black rectangular ribbon that surrounds the fingerprint scanner. Perhaps i didn’t heat long enough or i was too aggressive or the cracks in my glass offered different angles of attack for the pick. Either way, exercise caution. It might be recommended to try to insert the pick straight down from the top center of the glass so that the pick tip glances over the rounded edge of ribbon going into the phone. (see the wide slit above fingerprint scanner in step 6 photo)
Hey Austin,
Thanks for the feedback! I’ll add a warning to this step.
-
-
-
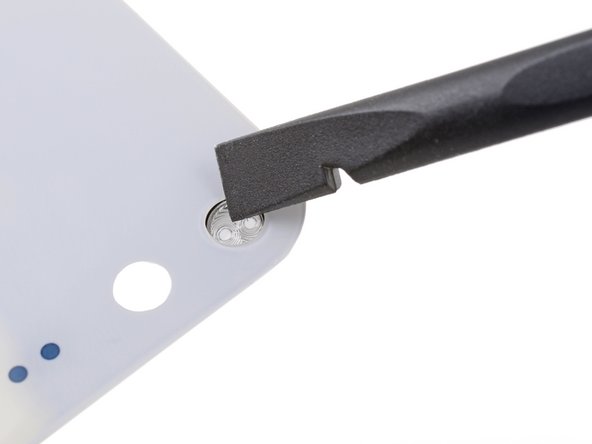
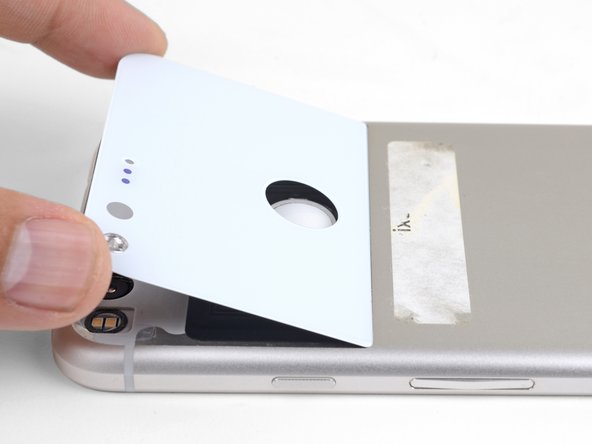
When you free the back glass around the fingerprint sensor, press down on the sensor firmly until it separates from the back glass.
-
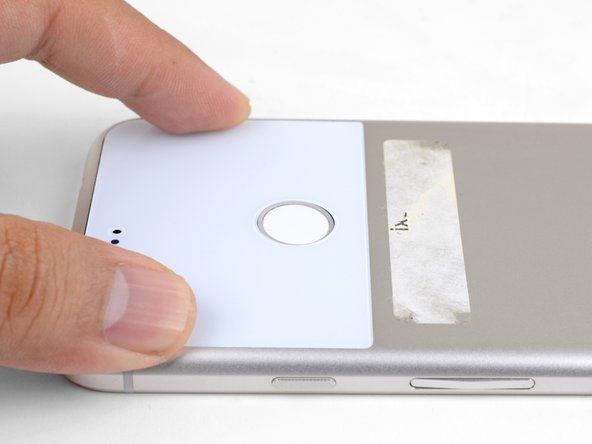
Continue to slice through the adhesive underneath the back glass until you are able to remove the panel.
There is some kind of a filter/grille/grating covering the (what I think is the) focus on the right side of the two black holes. You probably should be careful removing that (I believe it's glued into the glass) and transfer it to your replacement glass if it doesn't have that (none of the replacement glasses in pics/videos I've seen have had it). The glue in it was good enough that I just pressed it down to my replacement glass. I'd post a pic but it isn't possible here apparently.
Hi Fensi,
Thanks for the feedback! I added a step to cover what you mentioned.
-
-
-
-
Peel the white backing away from the included adhesive sheet, making sure to punch out all cutouts.
-
Line the bottom edge of the adhesive to the bottom edge of the replacement glass panel.
-
Slowly lower the adhesive onto the glass panel.
-
Rub your fingers against the adhesive to help it bond with the glass panel.
-
-
-
Use a spudger or your finger to firmly press on the lens from the outward-facing side (the side you can usually see on the phone) of the glass panel until it loosens from its recess.
-
Remove the lens and transfer it onto the back side of the replacement panel.
The lens has adhesive surrounding it on the metal frame that will get pressed against the back side of your glass to hold it still. You should either not remove it, or replace it e.g. with some of the adhesive from the old glass. Note that you should use a miniscule amount so that it fits (it's a very narrow ring of adhesive surrounding it on the original). Of course there might be differences between versions but this was the case for me.
-


To reassemble your device, follow these instructions in reverse order.
Repair didn’t go as planned? Check out our Google Pixel XL Answers community for troubleshooting help.
To reassemble your device, follow these instructions in reverse order.
Repair didn’t go as planned? Check out our Google Pixel XL Answers community for troubleshooting help.
İptal et: Bu kılavuzu tamamlamadım.
16 farklı kişi bu kılavuzu tamamladı.

