Bu çeviri bir makine tarafından oluşturulmuştur ve henüz bir kişi tarafından incelenmemiştir. Bu dili konuşuyor musunuz? İnceleme için.
Giriş
Proje başlığı: HP Pavilion Serisi Dizüstü Bilgisayarda Klavye Nasıl Değiştirilir
İçerik:
- Kontrol noktası fotoğraf seti (PDF, adım 1–8): 4 tamamlanmış, uygulamalı fotoğraf (benim HP Pavilion'um ve çerçeve içindeki elim) ve onaydan sonra ekleyeceğim son dört çekim için etiketlenmiş yer tutucular.
iFixit_Checkpoint_Photo_Set_Nancy_Forvilus-Corvil.pdf - (Kayıtlarınız için isteğe bağlı destekleyici belgeler)
• Hızlı Onarım Proje Teklifi
• Tam iFixit Projesi – HP Pavilion Klavye
Ekli fotoğrafların gösterdikleri (1–4 arası adımlar tamamlandı):
- HP Pavilion'u kapatma ve fişten çekme
- Alt panele/pil alanına erişmek için dizüstü bilgisayarı ters çevirme
- Alt panel vidalarını ve pil mandalını tanımlama
- Çalışma alanını ve parça tepsisini hazırlama
Kalan çekimleri (panelin çıkarılması, ribbon kablonun kilidinin açılması/kilitlenmesi ve son tuş testi) kontrol noktası onayından hemen sonra eklemeyi planlıyorum. Bunların EDU gereksinimlerini karşılayıp karşılamadığını veya devam etmeden önce herhangi bir düzeltme isteyip istemediğinizi lütfen bana bildirin.
Zamanınız için teşekkürler!
Neye ihtiyacın var
-
-
-
Bilgisayara bağlı tüm harici cihazları çıkarın.
-
Şarj kablosunu bilgisayardan çıkarın.
 FixBot'a Sor
-
-
-
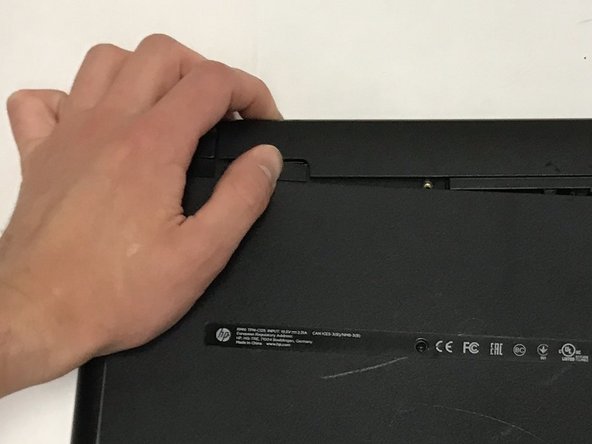
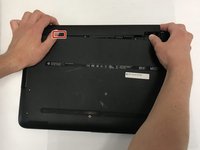
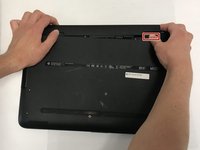
Bataryayı çıkarmak için arka kısımdaki sol sürgüyü kilit açık konumuna getirin.
-
-
-
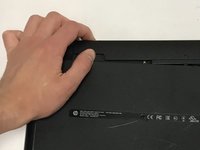
Sağ sürgüyü içeri doğru itin.
-
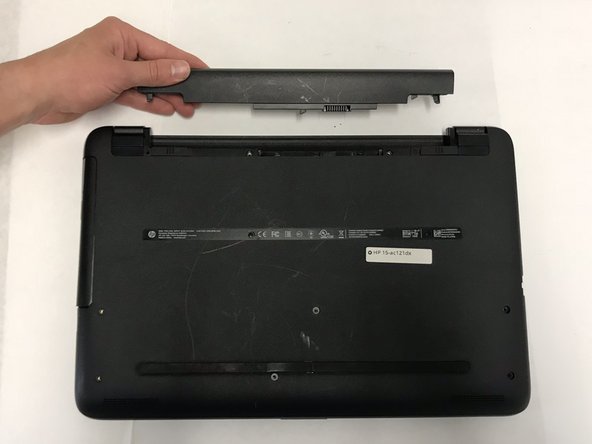
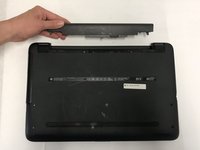
Bataryayı düz bir şekilde dışarı ve sağa doğru çekerek çıkarın.
-
-
-
-
-
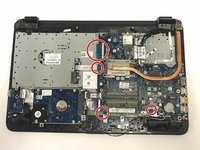
Gösterilen vidaları sökerek laptopun arka kapak/kılıfını çıkarın.
-
Ayrıca arka kapak/kılıfı çevreleyen diğer 5 Yıldız vidayı da çıkarın.
-
-
-
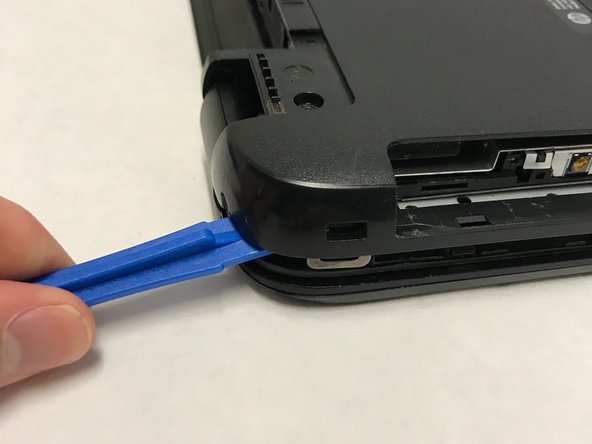
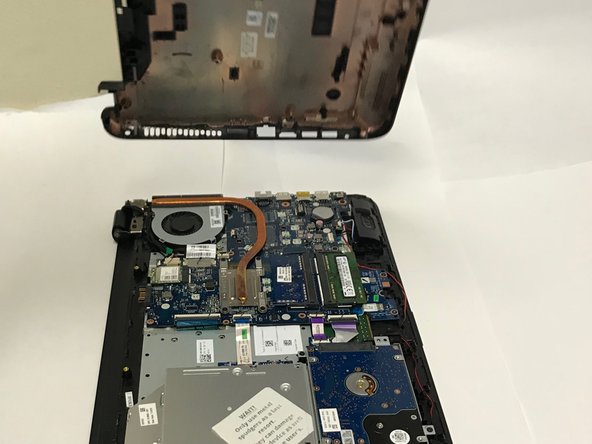
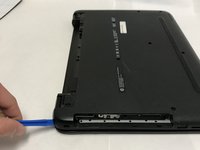
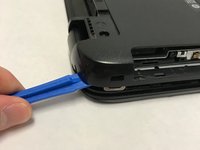
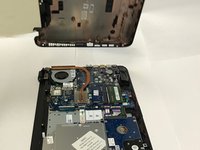
Ayırma aparatını dizüstü bilgisayarın arka kısmının altına yerleştirin ve arka kapak çıkana kadar aynı işlemi tüm çevrede uygulayın.
-
2 plastik tırnağın (her bir menteşede bir tane) altındaki 2 vidayı sökmeyi unutmayın. Bu vidalar çıkarılmadan kapak yerinden çıkmayacaktır!
-
-
-
-
-
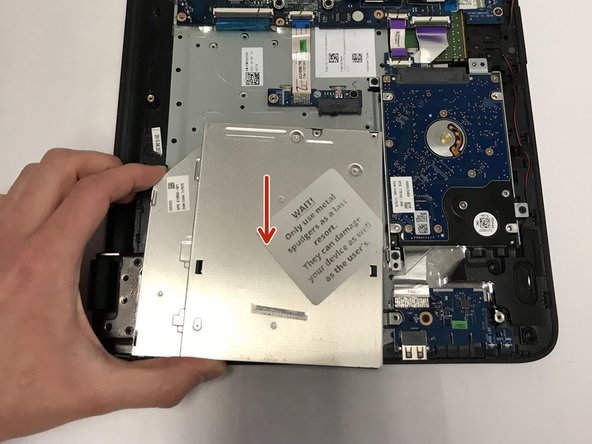
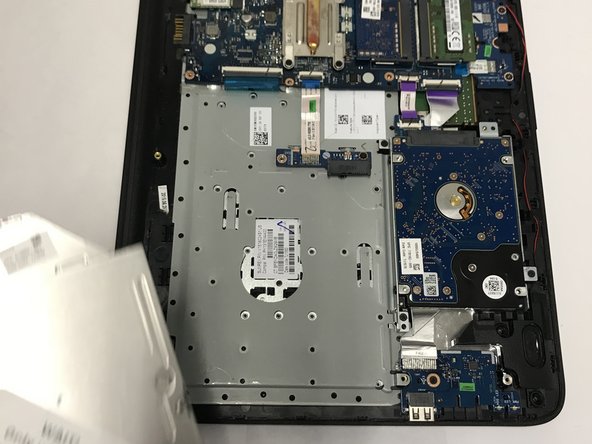
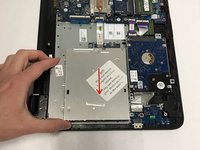
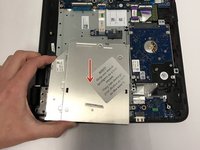
CD bölmesini gösterildiği gibi bulun ve nazikçe dışarı doğru kaydırın.
-
-
-
-
-
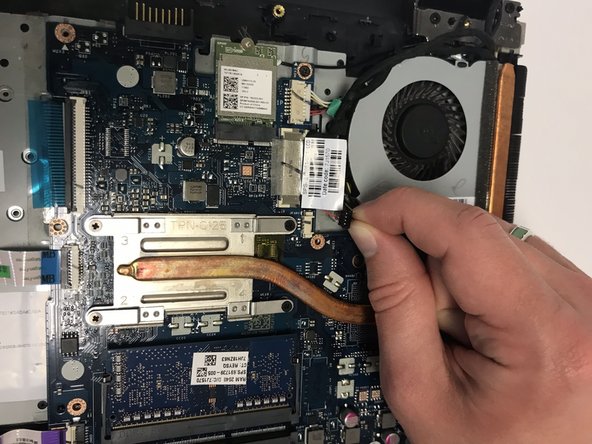
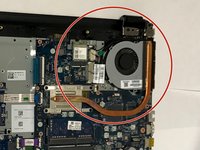
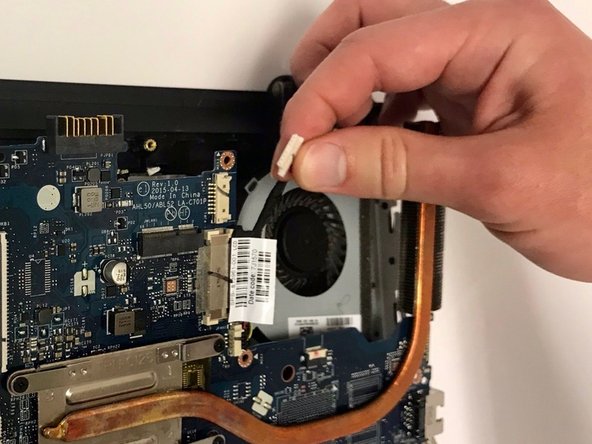
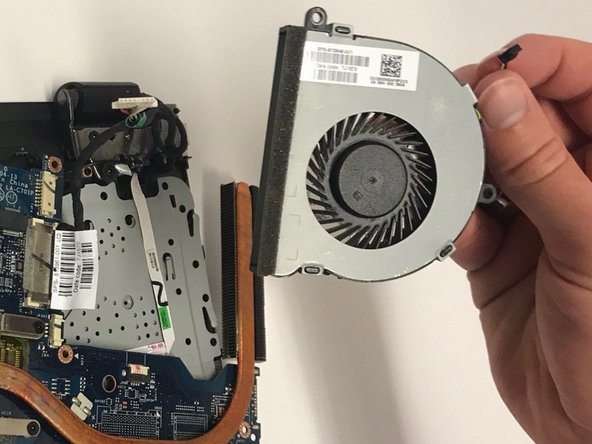
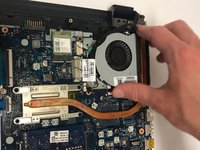
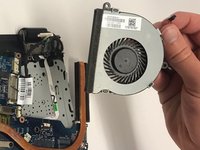
Fan'ı gösterildiği şekilde bulun.
-
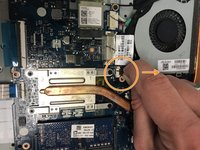
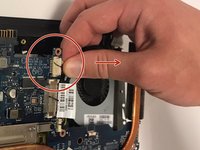
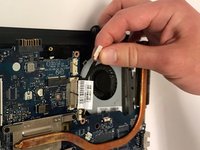
Dört telli siyah kabloyu portundan çekerek çıkarın.
-
-
-
Beyaz kabloyu portundan çekerek çıkarın.
-
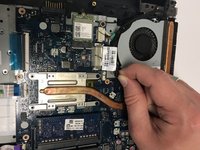
Fanı sabitleyen iki adet siyah yıldız vidayı sökün.
-
-
-
-
-
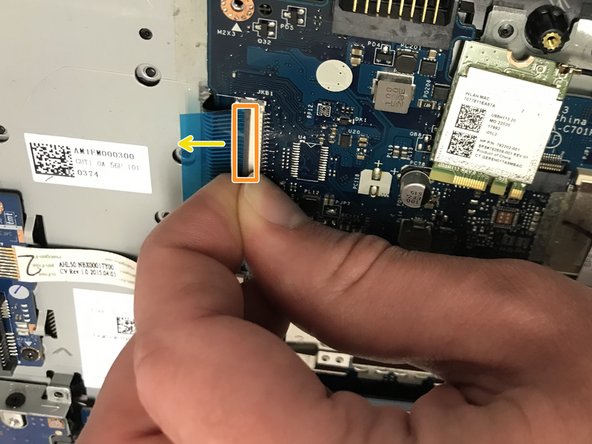
Dört adet ribbon klipsini bulun.
-
Ribbon klipslerinin gri kısmını kaldırın.
-
Ribbon kablosunu dışarı çekin ve bu adımı dört ribbon kablosunun tamamı için tekrarlayın.
-
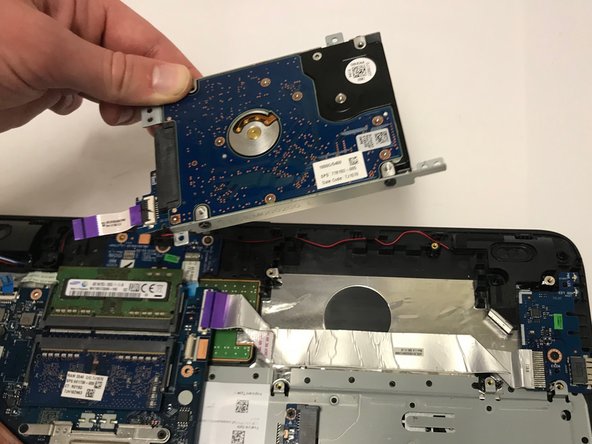
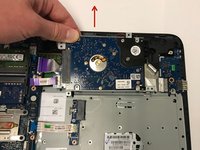
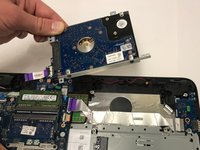
Ayrıca bir plastik kanırtma aparatı kullanarak sabit sürücüyü anakarta bağlayan İKİ kabloyu serbest bırakın. Fanın altında bir ribbon kablosu daha bulunmaktadır.
-
-
-
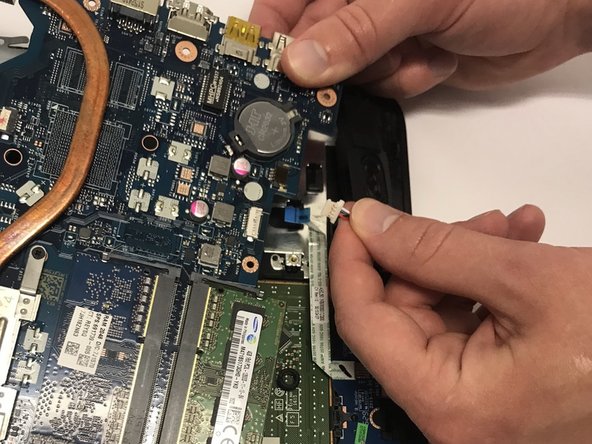
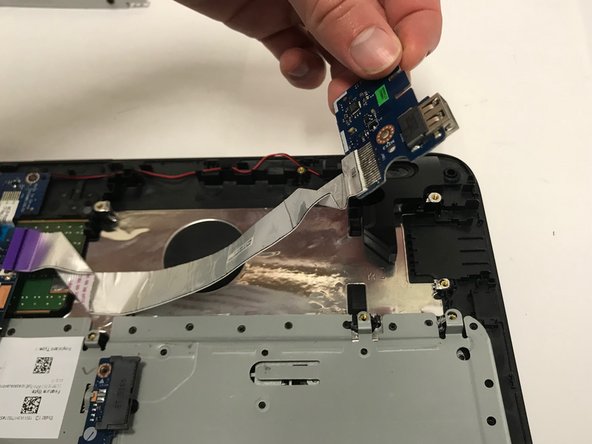
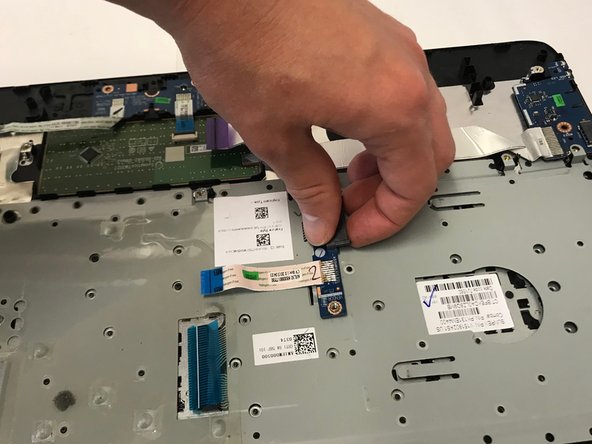
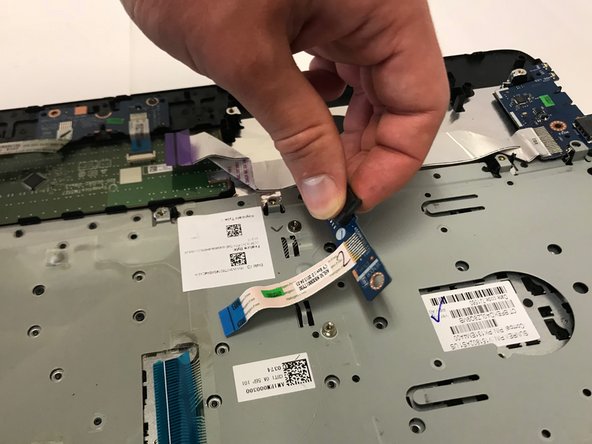
Kablolarıyla birlikte beyaz kabloyu (siyah bir desteğe bağlı kırmızı ve beyaz kablo içerir) portundan dışarı çekin.
-
-
-
-
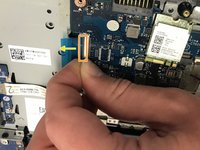
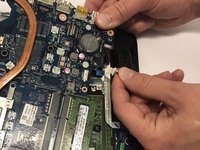
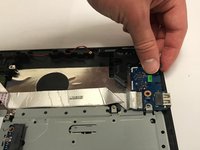
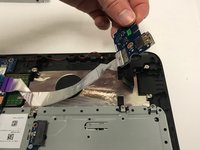
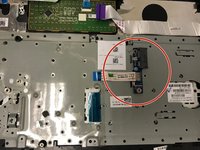
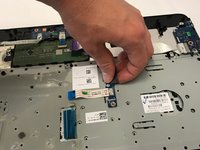
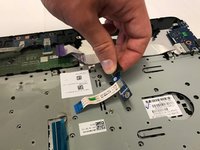
Kablo portunu yukarı kaldırın ve dizüstü bilgisayardan tamamen ayırmadan yana doğru çekin.
-
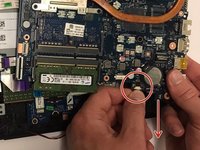
Öncelikle onu sabitleyen tek bir yıldız vidayı çıkarın.
-
-
-
VENDOR bileşenini çıkarın.
-
Önce onu çerçeveye sabitleyen tek Yıldız vidayı sökün.
-
-
-
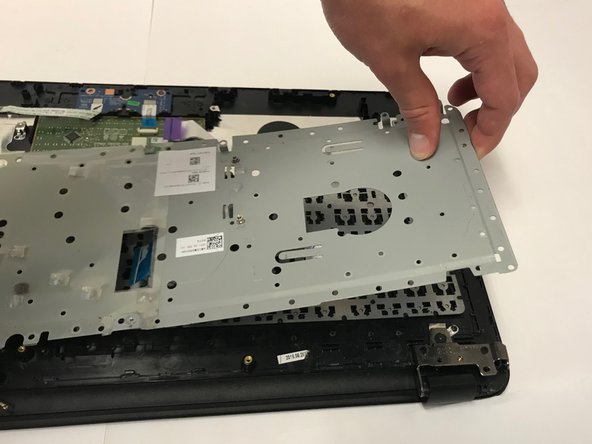
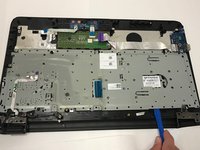
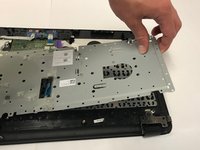
Plastik bir ayırma aparatı kullanarak gri metal plakayı çıkarın.
-
Kolayca çıkmayacaktır, ancak zorlamayın.
-
-
-
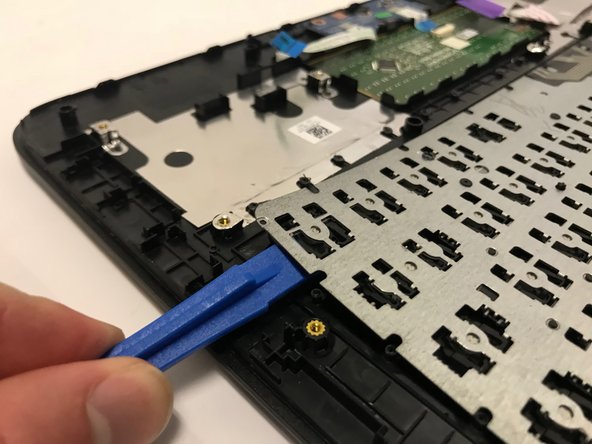
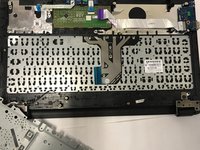
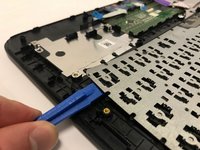
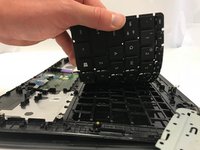
Hasarlı klavyeyi bulun ve prying tool (ayırma aparatı) yardımıyla kaldırarak çıkarın.
-
-
-
Her şeyi tekrar bir araya getirmek ve dizüstü bilgisayarınızı yeni klavye ile kullanmak için adımları TERSİNE uygulayın.
-
KEYFİNİ ÇIKARIN :)
-




















Cihazınızı tekrar toplamak için bu talimatları ters sırada uygulayın.
İptal et: Bu kılavuzu tamamlamadım.
7 farklı kişi bu kılavuzu tamamladı.

Ekip

Baylor, Team S1-G2, Johnson Spring 2018 Baylor, Team S1-G2, Johnson Spring 2018 üyesi
BU-JOHNSON-S18S1G2
3 Üyeler
72 adet Kılavuz yazıldı
3Kılavuz Yorumları
Did you have to use soldering iron to melt the plastic rivets when putting back the keyboard?
Cheers.
I have done these before and yes, using a soldering iron to melt the plastic rivets is a good method.
Helpful. Too good!
