Giriş
If your HP 15-ay114cy (also known as the HP Notebook 15) has been recently dropped or damaged, resulting in a cracked or scratched display, you may have to replace the laptop’s screen.
A properly functioning screen would not only have a high-resolution display but would also be free of scratches or cracks. However, since the screen has the ability to fracture, it is possible that, over time and through extensive use, the piece can become damaged.
Before replacing the device’s screen, ensure that all external devices are unplugged from your USB or Audio ports. It is also important to unplug the device from any charging cables and to turn off the device before following the replacement guide.
No special skills are needed to replace the screen, but you will need a plastic opening tool and a #000 Phillip’s head screwdriver.
Neye ihtiyacın var
-
-
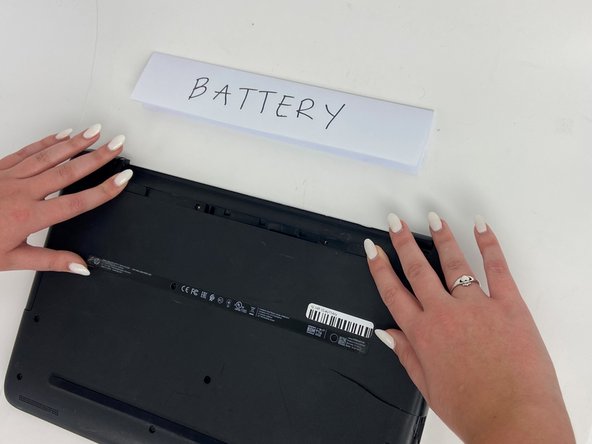
Orient the Laptop so the HP logo is facing the table and the battery tabs are accessible.
-
-
-
Place your index fingers on each of the two battery holder clips.
-
Using your index fingers, push the battery holder clips inwards (towards the center of the laptop).
-
-
-
-
After the battery clips are pushed in, use either hand to grab hold of the battery.
-
Gently push up to remove the battery.
-
-
-
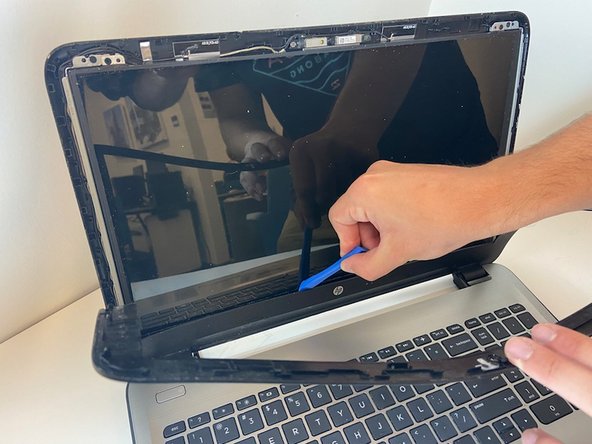
Insert the flat end of the plastic opening tool between the screen and plastic frame.
-
Use the plastic opening tool to carefully pry the plastic frame off of the screen, starting in the middle and moving towards the corners.
-
-
-
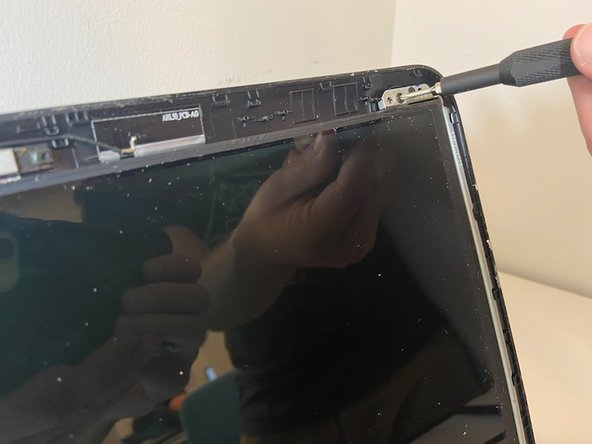
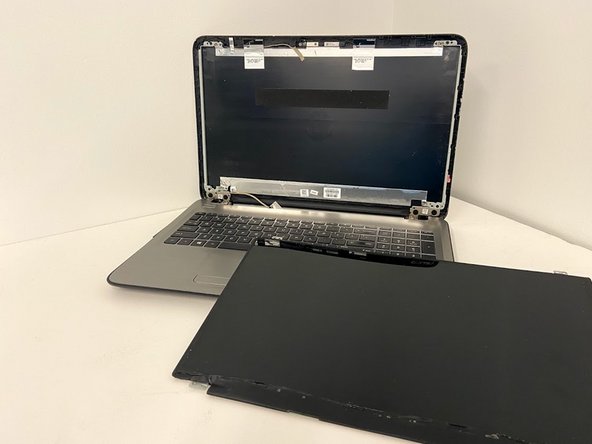
Use the #00 Phillips-head screwdriver to remove the four 3 mm screws in each corner and carefully detach the screen and lay it onto the keyboard.
-
-
-
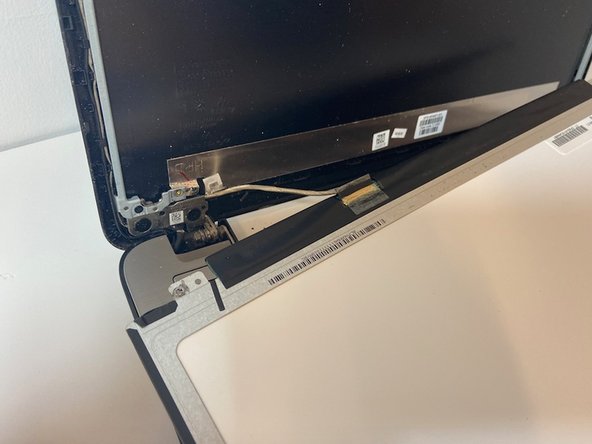
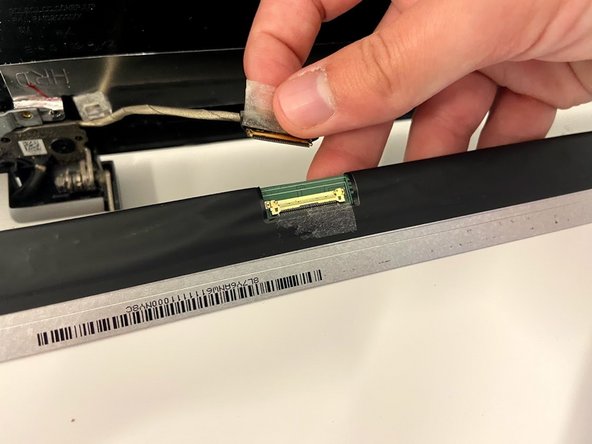
Use your thumb and pointer finger to cautiously remove the display connector from the metal frame.
-


To reassemble your device, follow these instructions in reverse order.
To reassemble your device, follow these instructions in reverse order.

