Ana içeriğe geç
Onarım Topluluğuna Katılın - Hesap Oluşturun

HP 15-dy2702dx SSD Replacement

Neye ihtiyacın var

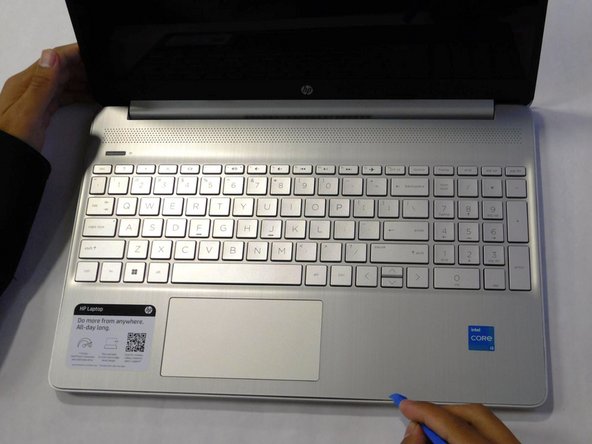
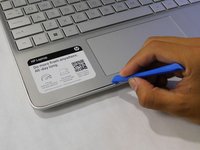
    1. HP 15-dy2702dx SSD Replacement, Lower Case: adım 1, 1 resimden 1.
      • Remove both of the rubber strips to uncover the hidden screws.

      • You can use a prying tool to help lift an end.

      FixBot'a Sor

      Yorum Ekle

    2. HP 15-dy2702dx SSD Replacement: adım 2, 1 resimden 1.
      • Unscrew all 8 Phillips #1 screws on the bottom panel:

      • Two M2.5x6

      • Six M2x6

      FixBot'a Sor

      Yorum Ekle

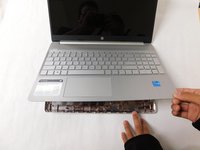
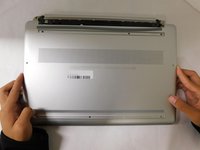
    3. HP 15-dy2702dx SSD Replacement: adım 3, 2 resimden 1. HP 15-dy2702dx SSD Replacement: adım 3, 2 resimden 2.
      • Flip the laptop over and open the lid.

      • Separate the bottom panel from the main body by using the iFixit opening tool.

      • Ensure that the bottom panel is completely separated along the edges.

      FixBot'a Sor

      Yorum Ekle

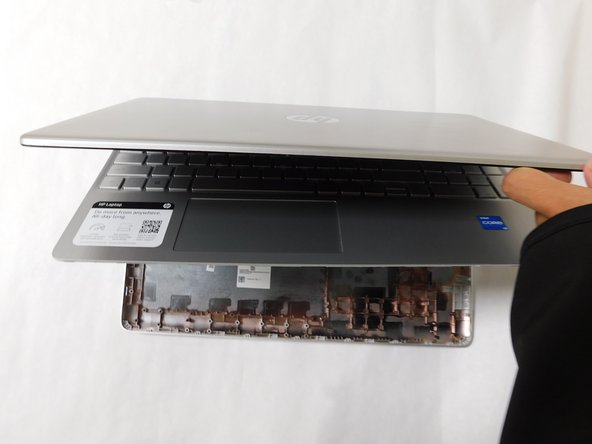
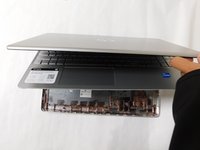
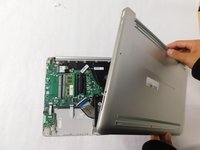
    4. HP 15-dy2702dx SSD Replacement: adım 4, 2 resimden 1. HP 15-dy2702dx SSD Replacement: adım 4, 2 resimden 2.
      • If you can lift the laptop like shown in the first picture, the bottom panel is nearly separated.

      • Close the laptop to allow the back edges to fully separate

      FixBot'a Sor

      Yorum Ekle

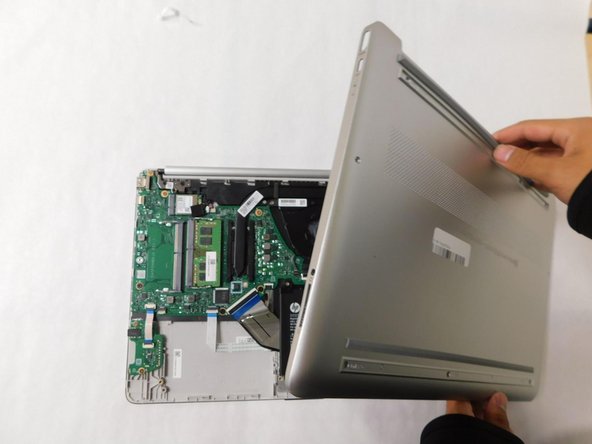
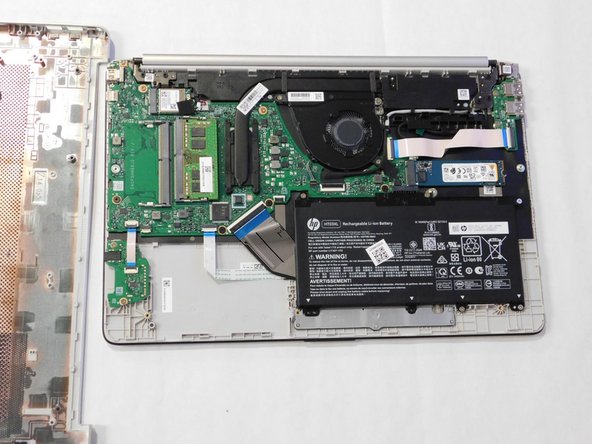
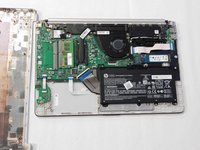
    5. HP 15-dy2702dx SSD Replacement: adım 5, 3 resimden 1. HP 15-dy2702dx SSD Replacement: adım 5, 3 resimden 2. HP 15-dy2702dx SSD Replacement: adım 5, 3 resimden 3.
      • Flip the laptop over and carefully remove the lower case.

      FixBot'a Sor

      Yorum Ekle

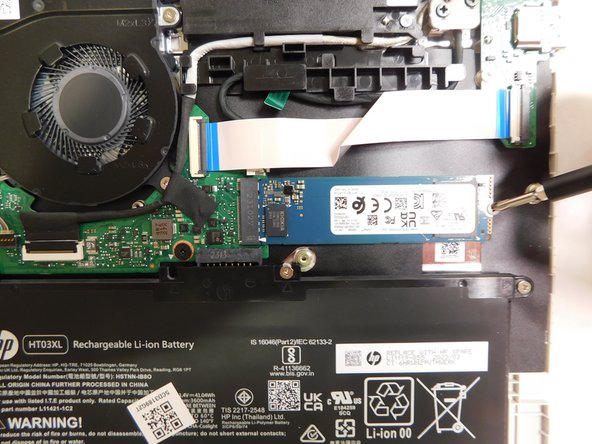
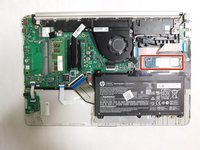
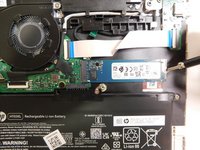
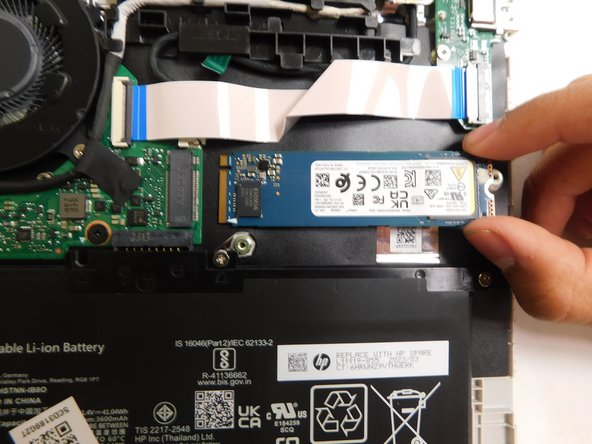
    1. HP 15-dy2702dx SSD Replacement, SSD: adım 6, 3 resimden 1. HP 15-dy2702dx SSD Replacement, SSD: adım 6, 3 resimden 2. HP 15-dy2702dx SSD Replacement, SSD: adım 6, 3 resimden 3.
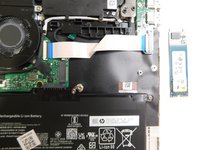
      • Locate the storage drive.

      • Unscrew the single screw holding the drive in place.

      • The screw is a M2x3 mm Phillips #1 head screw.

      FixBot'a Sor

      Yorum Ekle

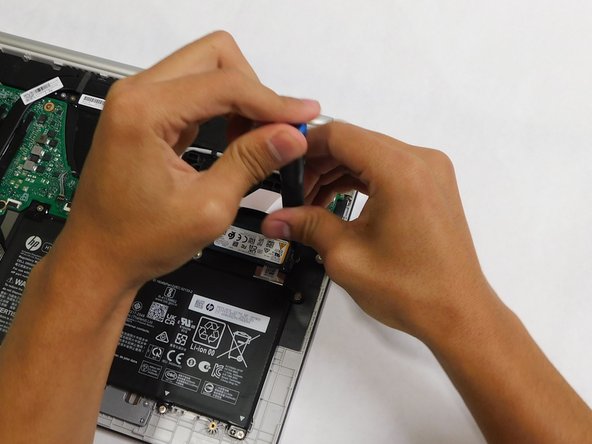
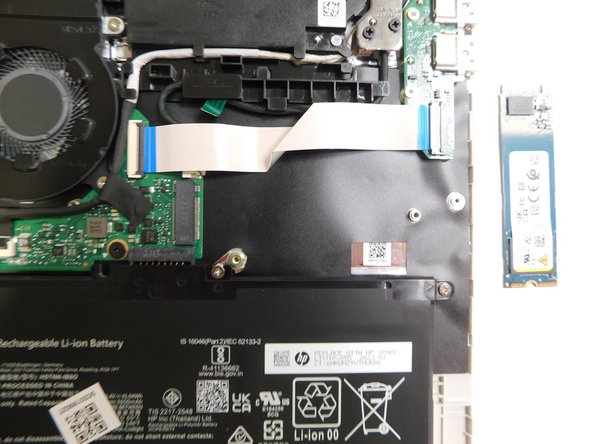
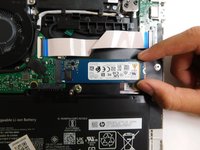
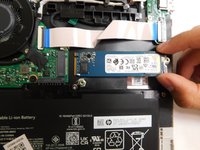
    2. HP 15-dy2702dx SSD Replacement: adım 7, 3 resimden 1. HP 15-dy2702dx SSD Replacement: adım 7, 3 resimden 2. HP 15-dy2702dx SSD Replacement: adım 7, 3 resimden 3.
      • Grab the drive by its side and gently pull it out.

      FixBot'a Sor

      Yorum Ekle

Sonuç

To reassemble your device, follow these instructions in reverse order.

İptal et: Bu kılavuzu tamamlamadım.

Bir başkası bu kılavuzu tamamladı.

Zander Herbold

Üyelik tarihi: 09/05/23

700 İtibar

4 adet Kılavuz yazıldı

Ekip

Gateway, Team 1-4, Pee Fall 2023 Gateway, Team 1-4, Pee Fall 2023 üyesi

GCC-PEE-F23S1G4

4 Üyeler

80 adet Kılavuz yazıldı

0Kılavuz Yorumları

Yorum Ekle

İstatistikleri Görüntüle:

Son 24 Saat: 2

Son 7 gün: 31

Son 30 gün: 117

Her zaman: 1,379