Giriş
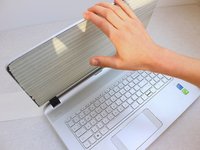
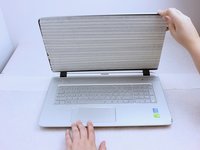
Use this guide to replace the display panel inside an HP Envy 17t-k000 series laptop.
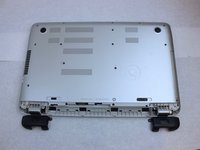
A broken screen severely hinders the usefulness of a laptop. The symptoms of display damage range from a few nonfunctional pixels to visible cracks or even deformation in the display. This series of HP laptops features a display panel located behind a plastic or glass sheet. If the display damage is localized to the display panel, then replacing this part should restore the screen to working order.
As with all guides that involve disassembling a computer, it is recommended to first backup all important data stored on the laptop if possible. Additionally, since the sensitive internal electronics will be exposed during the repair, be sure to take the necessary Electrostatic Discharge precautions.
Although this guide should be applicable to the entire 17t-k000 family of HP laptops, note that your laptop may differ from the exact model pictured in the steps.
Neye ihtiyacın var
-
-
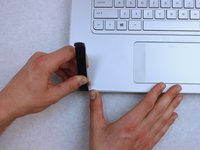
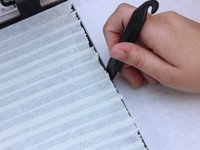
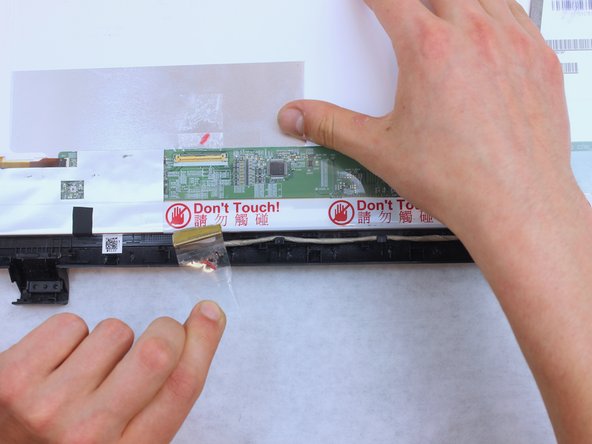
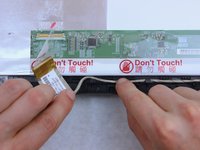
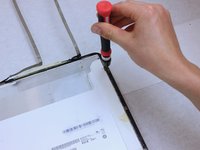
If the screen is cracked or otherwise severely damaged, apply painter's tape (or a light adhesive tape) over the screen to protect yourself and the laptop.
-
-


To reassemble your device, follow these instructions in reverse order.
İptal et: Bu kılavuzu tamamlamadım.
2 farklı kişi bu kılavuzu tamamladı.
Ekip

Embry-Riddle Aeronautical University, Team S4-G1, Ives Fall 2019 Embry-Riddle Aeronautical University, Team S4-G1, Ives Fall 2019 üyesi
ERAU-IVES-F19S4G1
3 Üyeler
1 Kılavuz yazıldı