Giriş
This guide will provide information on how to replace the LCD screen if you ever experience black out screen issues.
Neye ihtiyacın var
-
-
Carefully flip the device over so that the bottom is facing up.
-
Slide both of the latches to the left.
 FixBot'a Sor
-
-
-
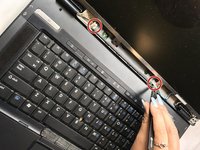
Remove the four 1.2mm Phillip #1 screws circled.
-
The laptop may have rubber covers over the screws,. Remove them using a pointed tool to pry them out.
-
-
-
-
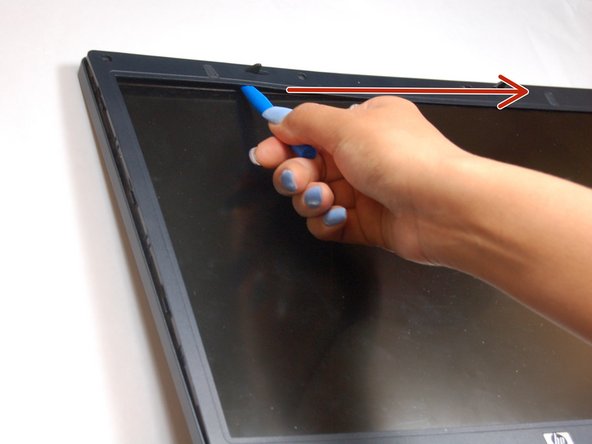
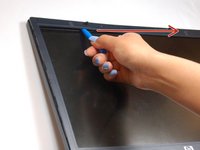
Pry up the plastic screen cover with the pry tool.
-
Once a corner of the plastic screen cover is lifted, slide the pry tool around the entire screen until the screen is completely lifted from the base.
-
-
-
Gently lift the monitor, from the base of the laptop.
-
The laptop will still be connected to the monitor wires located at the bottom of the screen.
-
-
Bu adımda kullanılan alet:Tweezers$4.99
-
Locate the video cable wires.
-
Gently remove the video cables from the sensor board with tweezers.
-
-
-
All cables should be disconnected from the sensor board. Remove the eight 2mm Phillip screws attaching the bezel to the side of the monitor.
-
Attach the bezel to the new replacement screen.
-


To reassemble your device, follow these instructions in reverse order.
İptal et: Bu kılavuzu tamamlamadım.
Bir başkası bu kılavuzu tamamladı.
Ekip

Texas Tech, Team S13-G4, Bennett Spring 2017 Texas Tech, Team S13-G4, Bennett Spring 2017 üyesi
TTU-BENNETT-S17S13G4
5 Üyeler
5 adet Kılavuz yazıldı