Giriş
This piece of the device is responsible for the connection between headphones and the computer. If this piece of the device isn’t working, then it isn’t possible to hear sound from the laptop unless it is playing out loud from the speakers. This guide will show how to replace a faulty Audio Jack.
Neye ihtiyacın var
-
-
Remove the two 7.8 mm screws using the Phillips #0 screwdriver.
-
Remove the six 5.2 mm screws using the Torx T5 screwdriver.
-
-
-
-
Remove the two 4.6 mm screws using the Phillips #0 screwdriver.
-
Remove the one 4.4mm screw using the Phillips #0 screwdriver.
-
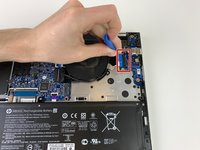
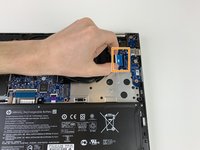
Remove the one 2.8mm screws securing the audio jack/power button board using the Phillips #0 screwdriver.
-


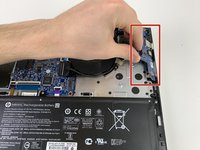
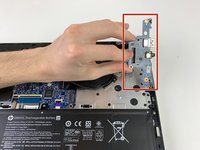
To reassemble your device, follow these instructions in reverse order.
To reassemble your device, follow these instructions in reverse order.
Ekip

Embry-Riddle Aeronautical University, Team S6-G3, Rauch Spring 2020 Embry-Riddle Aeronautical University, Team S6-G3, Rauch Spring 2020 üyesi
ERAU-RAUCH-S20S6G3
4 Üyeler
6 adet Kılavuz yazıldı