Bu çeviri bir makine tarafından oluşturulmuştur ve henüz bir kişi tarafından incelenmemiştir. Bu dili konuşuyor musunuz? İnceleme için.
Giriş
Termal macun genellikle fan ile birlikte değiştirilir. Bu nedenle, zamandan tasarruf etmek için dizüstü bilgisayarın parçalarına ayrıldığı sırada termal macunu değiştirmek iyi bir fikirdir.
Neye ihtiyacın var
-
-
Bu adımda kullanılan alet:Anti-Static Wrist Strap$7.95
-
Boyanmamış metal bir yüzeye dokunarak veya anti statik bilek bandı kullanarak statik elektriğinizi boşaltın.
-
Bilgisayarı kapatın ve şarj kablosunu şarj yuvasından çıkarın.
-
Dizüstü bilgisayarı ters çevirin ve batarya serbest bırakma mandalını sağa kaydırın. Batarya yuvasından yukarı doğru çıkacaktır. Parmaklarınızı kullanarak bataryayı çıkarın.
 FixBot'a Sor
-
-
-
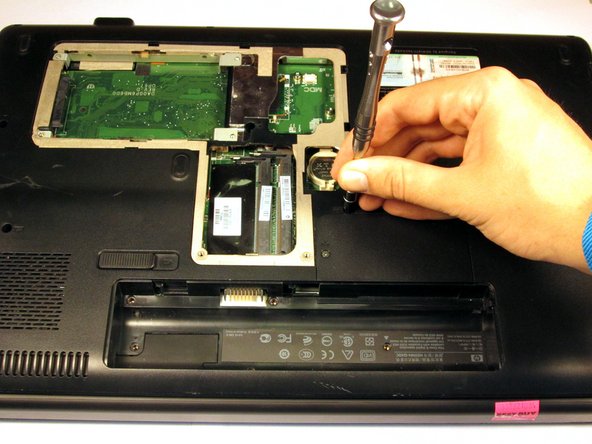
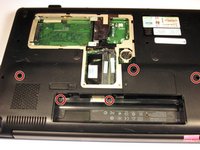
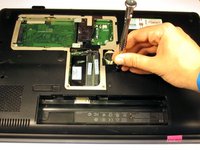
Belirtilen kapağın üzerindeki dört vidayı Phillips #0 tornavidayla çıkarın.
-
Kapağı nazikçe kaldırın ve çıkarın.
-
-
-
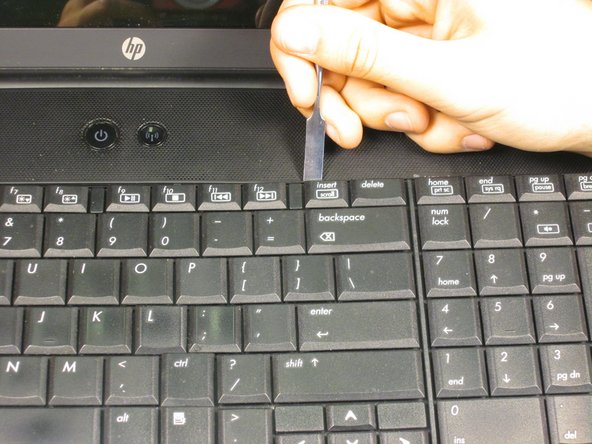
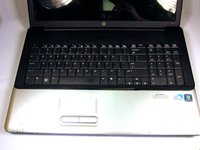
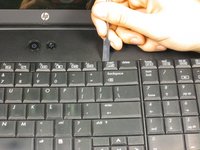
Klavyeyi plastik kanırtma aparatı ile dikkatlice ayırın. Çok fazla baskı uygulamamaya ve hiçbir bileşene zarar vermemeye dikkat edin.
-
-
-
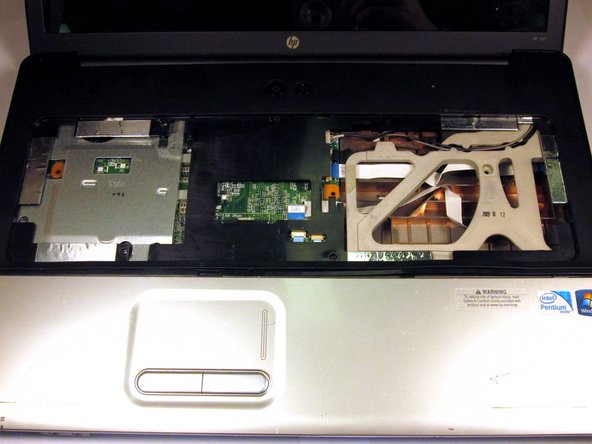
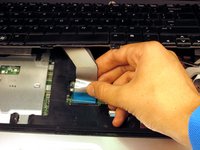
Klavyenin kablolamasını anakarta bağlayan klipsi açın. Klavyeyi kaldırarak çıkarın.
-
-
-
-
-
-
Üst paneldeki 6 mm vidayı çıkarmak için bir Yıldız tornavida (Phillips #0) kullanın.
-
Paneli nazikçe kaldırın ve çıkarın. Eğer panel yerine sıkışmış gibi görünüyorsa bir plastik kanırtma aparatı kullanın.
-
-
-
Wi-Fi modülü kapağının 6 mm vidasını çıkarmak için bir Phillips #0 yıldız tornavida kullanın.
-
Kapağı çıkarın.
-
-
-
Bağlantılar görünür hale gelene kadar iki paneli kısmen birbirinden ayırın.
-
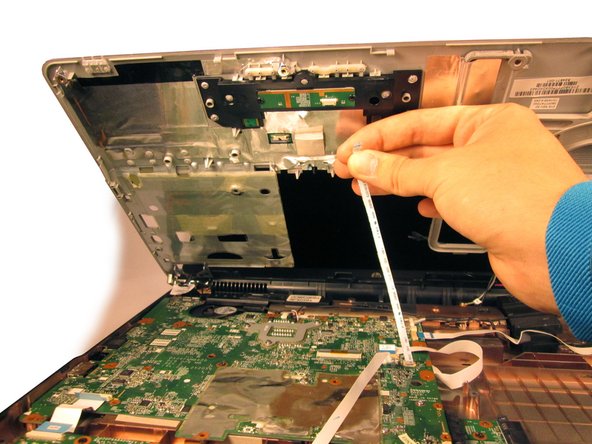
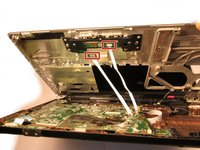
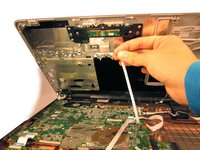
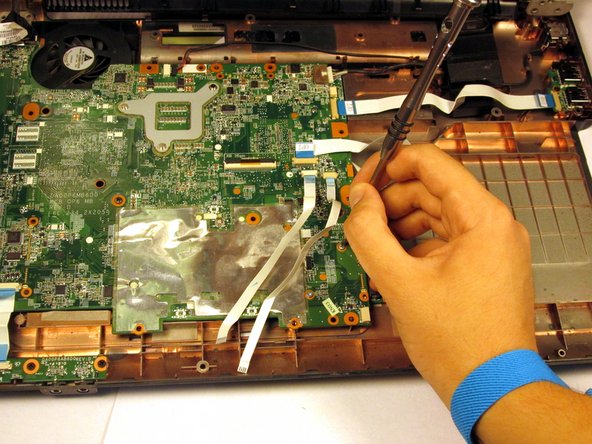
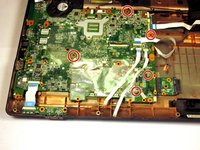
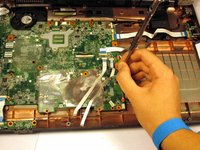
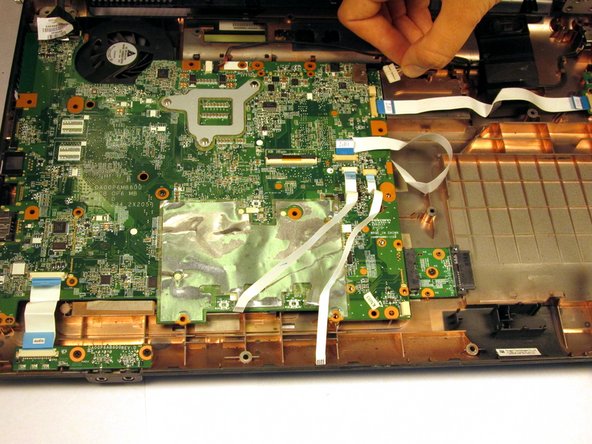
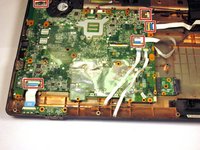
Dokunmatik yüzey modülünü anakarta bağlayan kabloları yerinden çıkarın.
-
-
-
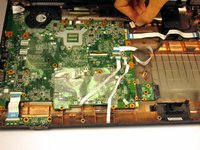
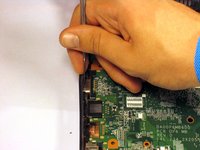
VGA portu ile plastik kasa arasına bir metal plastik kanırtma aparatı yerleştirerek anakartı kaldırın.
-
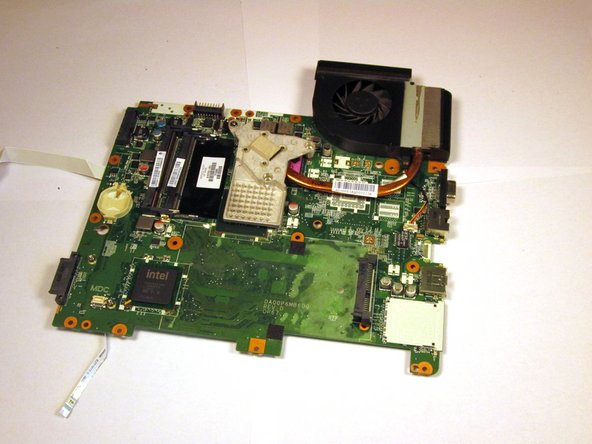
Anakartı çıkarın ve fan yukarı bakacak şekilde çevirin.
-
-
-
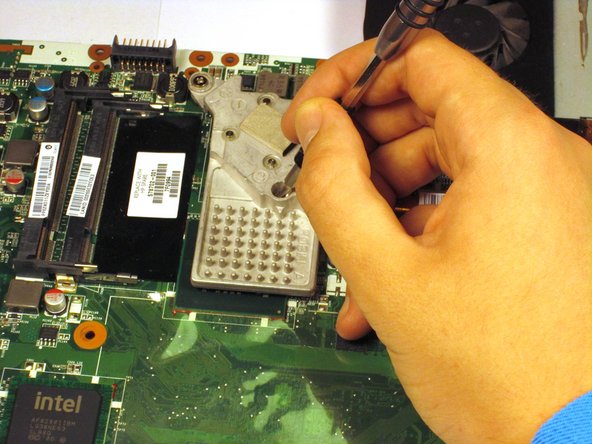
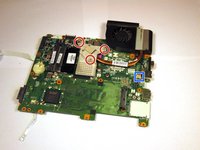
Soğutucuyu anakarta sabitleyen üç vidayı gevşetmek için bir Yıldız tornavida (Phillips #0) kullanın.
-
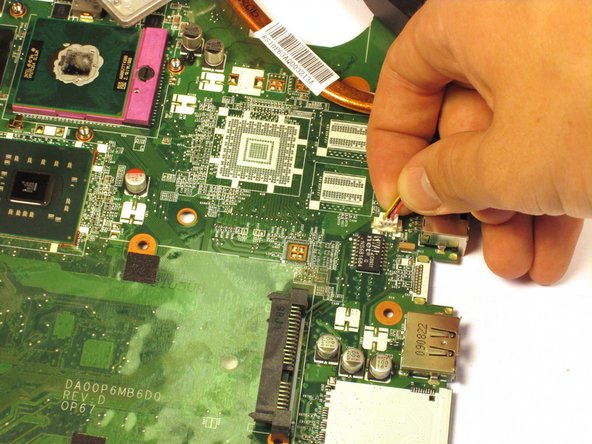
Fan kablosunu anakarttan ayırarak soğutucu ve fan düzeneğini yerinden çıkarın.
-
-
-
-
-
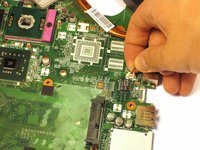
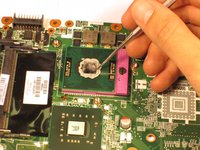
Termal macunu alkollü bir ped veya nemli bir bez kullanarak işlemci ve soğutucunun üzerinden nazikçe silin. Bileşenlerin birkaç dakika kurumasına izin verin.
-
İşlemci ve soğutucu üzerine bezelye büyüklüğünde termal macun uygulayın. Hava kabarcığı oluşmasını ve termal performansın düşmesini önlemek için macunu kalın tutun.
-
-





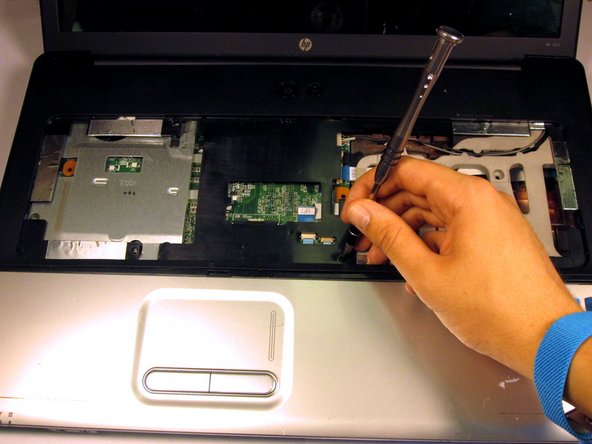
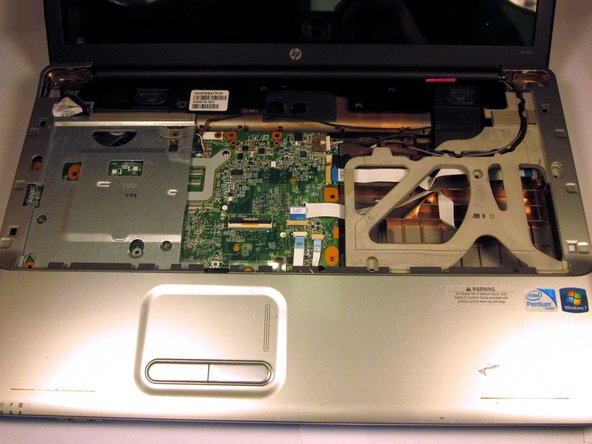
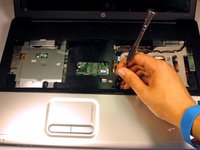
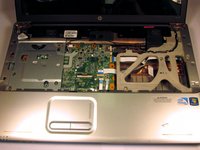

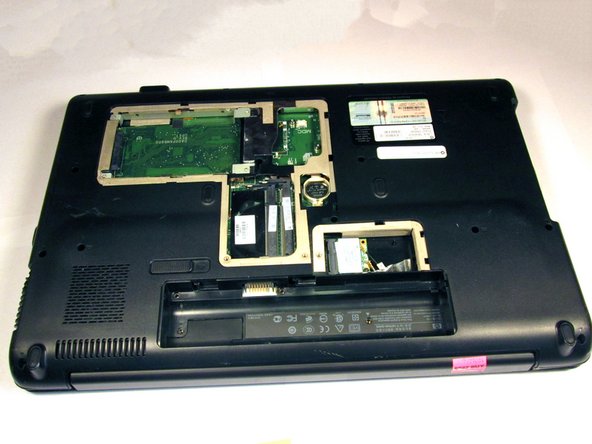
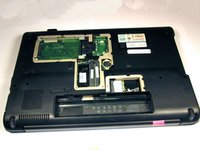

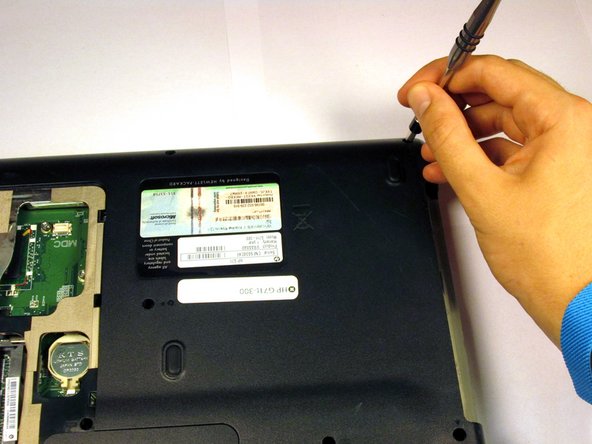
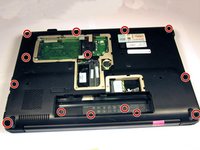
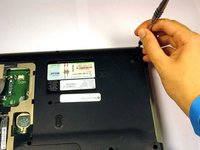




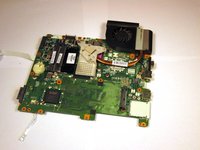



Cihazınızı tekrar monte etmek için bu talimatları ters sırayla uygulayın.

Ekip

UC Davis, Team 2-3, Oliver Fall 2016 UC Davis, Team 2-3, Oliver Fall 2016 üyesi
UCD-OLIVER-F16S2G3
5 Üyeler
72 adet Kılavuz yazıldı
